Well Cap Inspection Guide: Protecting Your Well's Sanitary Seal
Your well cap is the primary barrier between your water supply and surface contamination. A damaged or poorly sealed cap can allow insects, rodents, bacteria, and pollutants into your well—turning your water source into a health hazard. Regular inspection takes just minutes and protects your family's drinking water.
Understanding Well Caps
A proper well cap does more than simply cover the opening—it's an engineered sanitary seal designed to prevent contamination while allowing necessary pressure equalization.
Sanitary Well Caps: Modern sanitary caps (also called vermin-proof caps) feature several protective elements: a rubber or neoprene gasket that creates a watertight seal against the well casing, screened vents that allow air exchange without letting insects in, and a design that overlaps the casing to prevent surface water entry. They typically bolt or lock down to prevent tampering.
Cap Components: A complete well cap assembly includes the cap body (aluminum, cast iron, or thermoplastic), the gasket seal, screened vent(s), and the electrical conduit penetration where pump wiring enters. Each component can fail and compromise the seal.
Code Requirements: California well standards require sanitary caps on all wells. If you have an older well with a simple cover plate or deteriorated cap, upgrading to a modern sanitary cap is both a code requirement and a wise health protection measure. Caps cost $50-150 and installation takes 30-60 minutes.
Visual Inspection Steps
Inspect your well cap at least twice yearly—spring and fall work well. Also check after severe weather, earthquakes, or any work near the wellhead. Here's what to look for:
Cap Integrity: Look for cracks, holes, or corrosion in the cap body. Aluminum caps can corrode; cast iron can rust. Thermoplastic caps can crack from UV exposure or impact. Any breach in the cap body is a potential contamination pathway.
Gasket Condition: The rubber gasket creates the seal between cap and casing. Look for cracking, hardening, or deterioration. Try to see if there are any gaps where the gasket meets the casing. A compressed, flattened gasket may no longer seal properly. Gaskets typically need replacement every 5-10 years.
Vent Screens: Locate the screened vents (small mesh-covered openings). Screens should be intact with no holes, tears, or missing mesh. Check for wasp nests, spider webs, or debris blocking the screens. A clogged vent can cause pressure problems; a damaged vent invites pests.
Bolts and Security: Well caps should be bolted or locked down. Check that all bolts are present and tight. A loose cap can shift in wind or from vibration, breaking the seal. Missing bolts should be replaced with stainless steel hardware to prevent rust.
Common Problems to Identify
Knowing what problems look like helps you catch them before they cause contamination.
Deteriorated Gaskets: This is the most common problem. Rubber degrades over time from UV exposure, temperature changes, and age. A hard, cracked, or flattened gasket doesn't seal. You might see daylight or feel air movement at the cap edge. Replace deteriorated gaskets immediately—they cost $15-30.
Damaged Vent Screens: Screens get damaged by impacts, corrosion, or animal activity. Even small holes allow insects entry. Wasp nests in or under caps are common in Southern California. Remove nests carefully and repair or replace damaged screens.
Cap Damage: Cracks often start at bolt holes or conduit penetrations. Corrosion weakens metal caps over time. Impact damage can occur from lawn equipment, falling branches, or vehicles. Any structural damage to the cap body usually means replacement.
Conduit Seal Issues: Where the electrical conduit enters the cap, there should be a watertight seal. Look for gaps, cracked sealant, or loose fittings. Water following the conduit into the well is a common contamination pathway.
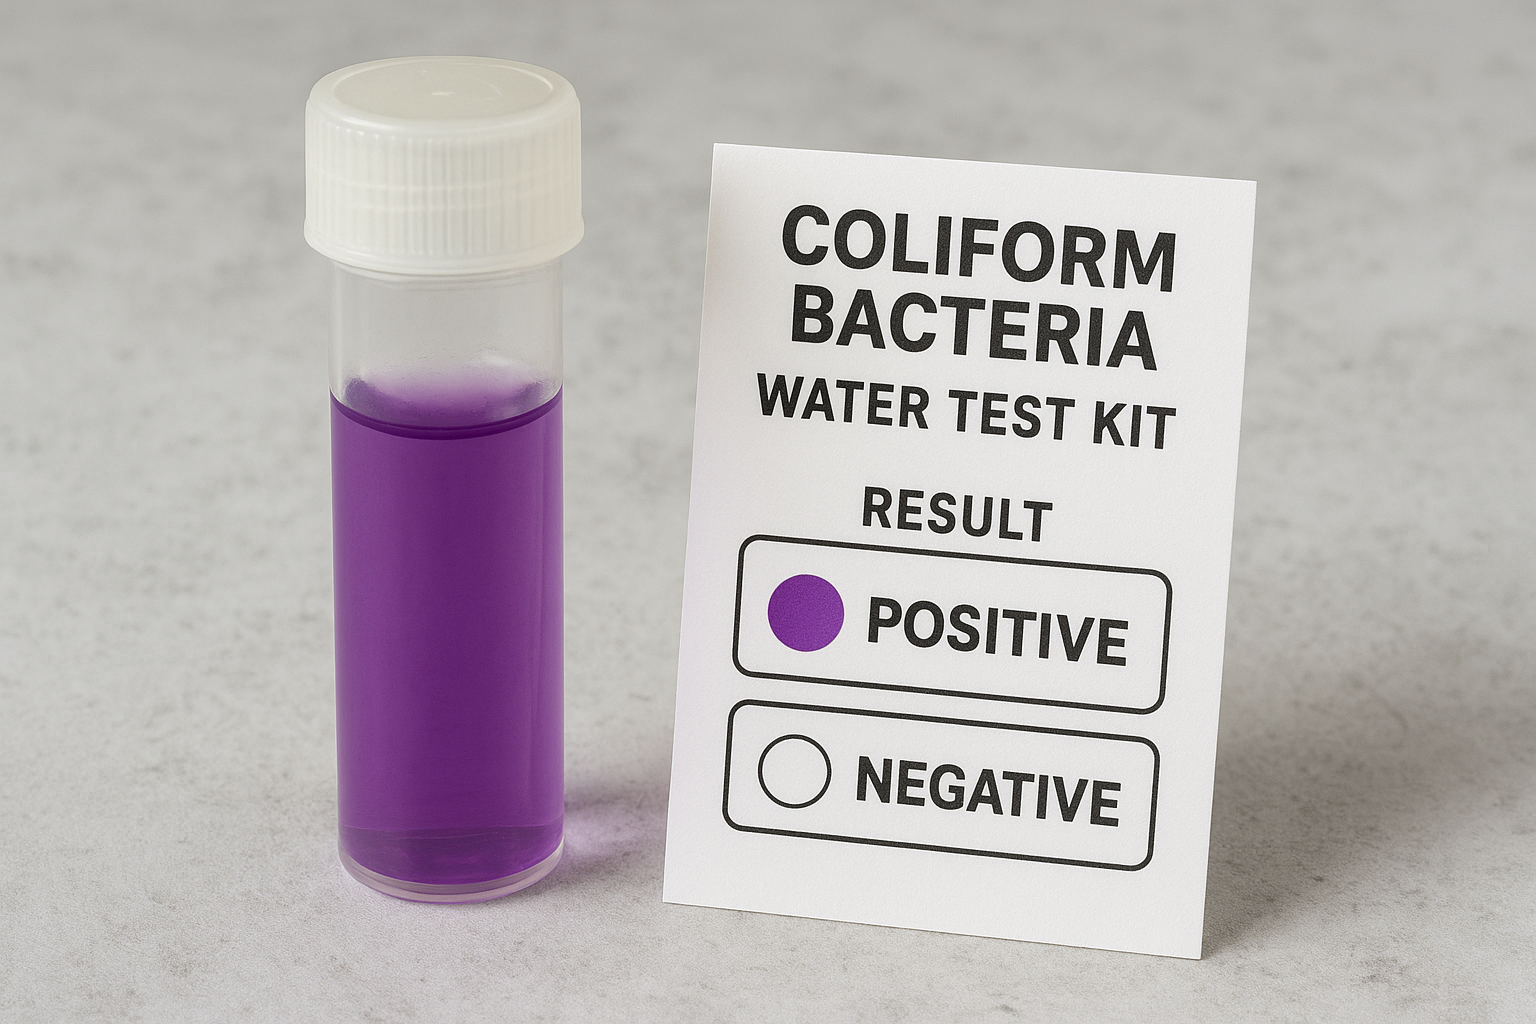
Signs of Entry: Evidence of pest activity—droppings, nesting material, dead insects—near or under the cap indicates the seal has been compromised. If you find evidence of entry, have your water tested for bacteria before consuming.
When to Replace Your Well Cap
Sometimes repair isn't enough—the cap needs replacement. Here's when to make that call:
- Cracked or Broken Cap Body: Structural cracks compromise the entire seal. Replacement is the only fix.
- Severe Corrosion: Heavy rust on cast iron or pitting on aluminum weakens the cap and creates contamination pathways.
- Obsolete Design: Older well covers that aren't true sanitary caps should be upgraded to modern vermin-proof designs.
- Repeated Seal Failures: If gaskets keep failing or the cap won't seal properly, the casing or cap may be damaged in ways that prevent proper seating.
- After Contamination: If your well has tested positive for bacteria and the cap was the suspected source, replace it as part of the remediation.
Cap Replacement Costs: A new sanitary well cap costs $50-150 depending on size and material. Installation typically takes 30-60 minutes. DIY replacement is possible if you're comfortable working around the electrical connections—just turn off the pump breaker first.
We service all major pump brands including Franklin Electric, Grundfos, Goulds (Xylem), and Sta-Rite (Pentair). Our trucks carry common parts and components for same-day repairs.
Frequently Asked Questions
How often should I inspect my well cap?
Inspect your well cap at least twice per year—in spring and fall is ideal. Also check after any severe weather (storms, flooding, earthquakes), after any work near the well, and if you notice any changes in water quality. A quick visual inspection takes just 2 minutes and can prevent serious contamination problems. Walk by your wellhead monthly as a routine check.
Can bugs or rodents really get into my well through the cap?
Absolutely. Insects, mice, snakes, and even frogs have been found in contaminated wells. They enter through damaged vent screens, gaps in the cap seal, or deteriorated gaskets. Once inside, they drown and decompose, introducing harmful bacteria into your water supply. A properly installed vermin-proof well cap with intact screens prevents this—but only if it's maintained. Even small gaps can allow insect entry.
What's the difference between a sanitary well cap and a regular cap?
A sanitary (or vermin-proof) well cap is specifically designed to prevent contamination. It features: a rubber or neoprene gasket that seals against the well casing, screened vents that allow pressure equalization while blocking insects, and overlapping design that prevents surface water entry. Regular caps may simply cover the opening without these protective features. California well codes require sanitary caps on all wells. If you have an older well with a basic cover, upgrading to a sanitary cap is highly recommended.
Get Expert Well Service
Southern California Well Service has served San Diego, Riverside, and San Bernardino counties for decades. Licensed C-57 contractor.
Call (760) 440-8520Available 24/7 for emergencies
Related Articles
Continue learning about well maintenance and troubleshooting