Frozen Well Pump Emergency: Mountain Area Freeze Response Guide
Your well system froze in cold weather—emergency thawing procedures, damage prevention, and protection strategies for mountain and cold-climate well owners.
📋 In This Guide
Need help? Call us:
(760) 440-8520Immediate Response to Frozen Well System
When you turn on a faucet during freezing weather and nothing comes out—or just a weak trickle appears—your well system has likely frozen somewhere between the wellhead and your house. The first few minutes of your response determine whether you're dealing with a minor inconvenience or a major repair bill. Here's exactly what to do.
Step 1: Turn Off the Well Pump
This is the most critical first step. Go to your electrical panel and flip the breaker labeled for your well pump (usually a 240V double breaker). Running a pump against a frozen blockage causes the motor to overheat. A submersible pump sitting at 200 feet underground relies on water flowing past it for cooling. If ice is blocking the discharge line and the pump keeps running, motor temperatures climb rapidly, burning out windings that cost $800–$2,500 to replace.
Step 2: Open All Faucets Slightly
Open every faucet in the house to a slow drip position—both hot and cold sides. This accomplishes two things: it relieves pressure building behind the ice blockage, and it gives melting water somewhere to go once thawing begins. Pressure buildup behind ice is exactly how pipes burst. A pipe rated for 150 PSI can fail when expanding ice generates forces exceeding 25,000 PSI in a closed section.
Step 3: Identify the Frozen Section
Walk the path from your wellhead to where pipes enter your house. Feel exposed pipes with your hand—frozen sections are distinctly ice-cold and may have visible frost or ice crystals on them. Common freeze points include:
- Above-ground piping near the wellhead — especially the first 2–3 feet above ground level
- Pipes running through unheated crawl spaces — even "insulated" crawl spaces can drop below freezing in sustained cold
- Where pipes penetrate exterior walls — the rim joist area is notorious for cold air infiltration
- The pressure tank and associated plumbing — if your tank sits in an unheated pump house or garage
- Pipes in uninsulated well houses — a well house without a heat source is just a windbreak, not freeze protection
Step 4: Check the Weather Forecast
If temperatures are expected to climb above 40°F within a few hours, a minor freeze in well-insulated areas may self-resolve. However, don't count on this for exposed pipes or sustained freezes below 25°F. Active thawing is almost always faster and prevents the freeze from deepening further into the system.
Safe Thawing Procedures
The way you thaw frozen pipes matters enormously. Improper thawing causes more damage than the freeze itself—we've seen homeowners crack PVC pipes with uneven heating, start structure fires with propane torches, and cause water hammer damage from sudden pressure release. Follow these methods in order of preference.
The Golden Rule: Thaw from Faucet Toward Freeze
Always start thawing at the faucet end and work back toward the frozen section. This allows melting water and steam to escape through the open faucet rather than building pressure inside the pipe. Thawing from the middle or from the frozen end traps expanding water and steam between two ice plugs—a recipe for a burst pipe.
Method 1: Hot Towel Wrapping
The safest and most accessible method. Soak bath towels in hot water (not boiling—around 130–140°F from your hot water heater), wring them lightly, and wrap them around the frozen pipe. Replace towels every 5–10 minutes as they cool. This provides gentle, even heat that won't stress pipe joints or fittings. For a typical 3-foot frozen section, expect 30–60 minutes to full flow.
Method 2: Hair Dryer or Heat Gun
Use a hair dryer on medium heat or a heat gun on the lowest setting. Keep the heat source moving constantly—never hold it in one spot. Maintain at least 6 inches of distance from the pipe. PVC begins to soften at 140°F and can warp permanently at 160°F. Copper handles higher heat but solder joints can weaken above 400°F. Move the dryer in a slow sweeping pattern along the frozen section.
Method 3: Electrical Heat Tape
Self-regulating heat tape is ideal because it adjusts output based on pipe temperature. Wrap it in a spiral pattern around the frozen section, plug it in, and let it work. Heat tape draws 3–9 watts per foot, making it efficient for both emergency thawing and ongoing freeze prevention. Once installed, leave it in place for the rest of winter.
Method 4: Portable Space Heater
In enclosed spaces like pump houses or crawl spaces, a portable electric space heater can raise ambient temperature enough to thaw pipes. Place it at least 3 feet from any combustible material. Never use fuel-burning heaters (propane, kerosene) in enclosed spaces—carbon monoxide poisoning is a real risk, and open flames near well equipment are a fire hazard.
What NEVER to Do
Never use an open flame. No propane torches, no blowtorches, no kerosene heaters pointed at pipes. Beyond the obvious fire risk, rapid uneven heating causes thermal shock—PVC shatters, copper develops stress fractures at joints, and the sudden rush of pressurized water when ice melts can blow apart weakened fittings. We respond to more freeze-damage calls from botched torch thawing than from the freeze itself.
Inspecting for Freeze Damage
Here's what most homeowners don't realize: the worst freeze damage often isn't visible until after you thaw the pipes. Ice plugs can actually seal cracks they've created. Once the ice melts, those cracks open up and water pours out. Treat every freeze event as a potential damage event and inspect thoroughly.
Systematic Post-Thaw Inspection
Once water begins flowing again, turn the pump back on at the breaker and perform this inspection within the first 30 minutes:
- Walk the entire pipe run from wellhead to house. Look for dripping, spraying, or wet spots on the ground. Even a slow drip indicates a crack that will worsen.
- Check every fitting and joint. Threaded connections, unions, elbows, and tees are the weakest points. Freeze expansion often loosens threaded fittings just enough to seep.
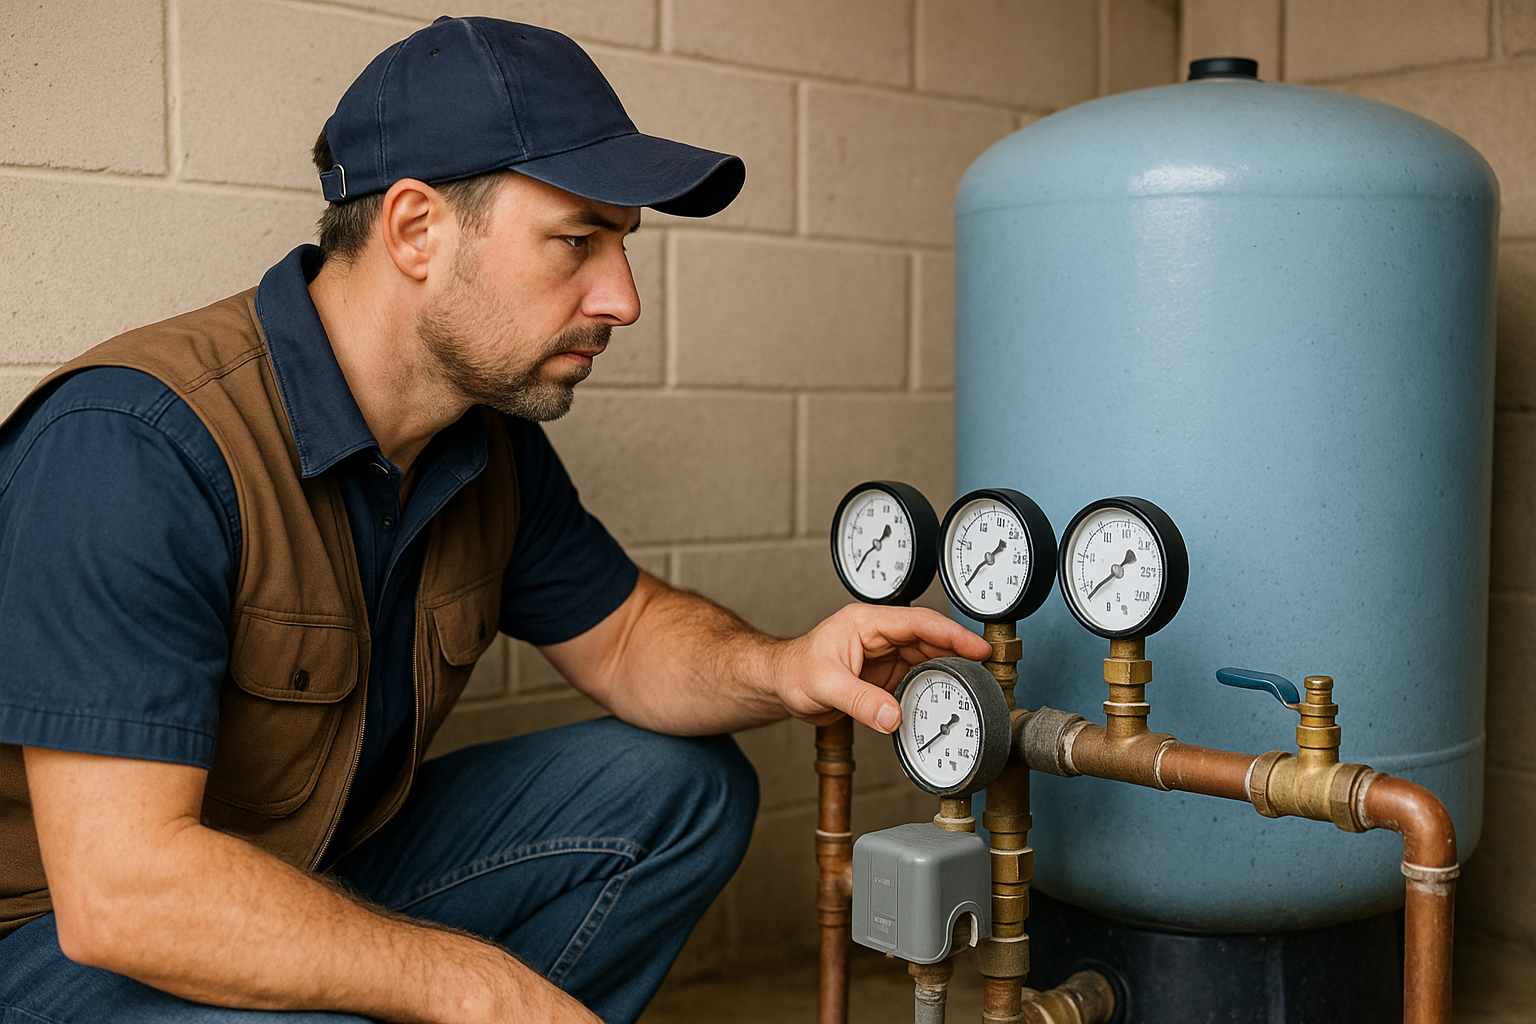
- Inspect the pressure tank. Look for bulging, denting, cracking, or moisture on the tank exterior. Feel around the base for pooling water. If the tank's internal bladder has frozen and ruptured, the tank will become waterlogged—you'll notice the pump cycling every 30–60 seconds instead of normal intervals.
- Check the wellhead seal. The sanitary seal or well cap can crack from ice expanding in the casing. A compromised wellhead lets surface water, insects, and debris enter your well—a serious contamination risk.
- Listen for hissing or spraying sounds. Pinhole leaks in copper pipes make a distinctive high-pitched hiss. In crawl spaces or behind walls, this may be the only indication of a hidden leak.
- Monitor the pressure gauge. Your system should hold steady pressure when no faucets are running. If the gauge slowly drops while everything is off, there's a leak somewhere in the system.
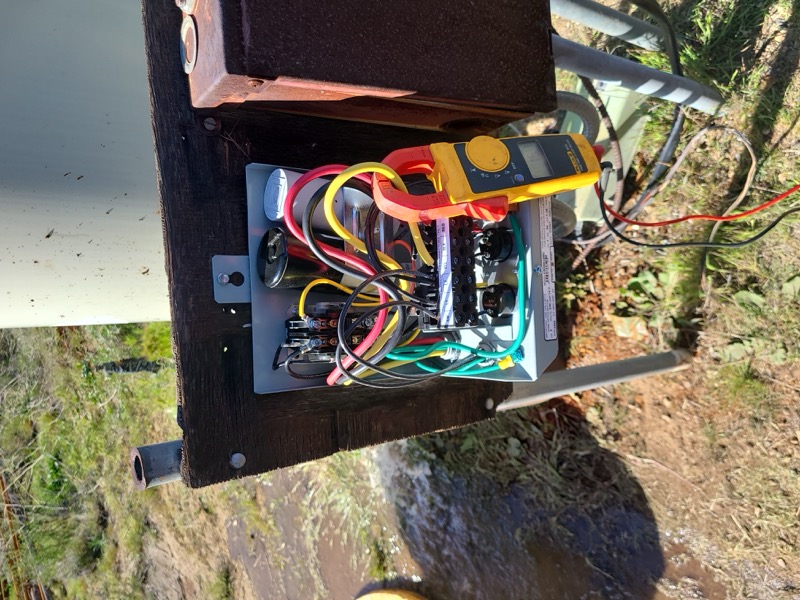
- Check your pressure switch. Freeze damage can affect the small tubing that connects to the pressure switch. If the switch isn't reading correctly, your pump won't cycle properly.
Freeze Damage to Underground Lines
Pipes buried below the frost line (typically 12–18 inches in Southern California mountain areas, though rarely below 24 inches even at elevation) are generally safe from freezing. However, the transition zone where pipes rise from underground to above ground is extremely vulnerable. Frost can travel down the pipe from an above-ground freeze, extending the ice plug below grade. If you're seeing water bubbling up from the ground near your wellhead, a buried pipe has likely cracked.
Hidden Damage That Shows Up Later
Some freeze damage is insidious. Micro-fractures in PVC may not leak immediately but fail weeks or months later under normal pressure cycling. Copper pipes stressed by ice expansion can develop pinhole leaks over time as the weakened metal corrodes. If you experienced a significant freeze event, consider having a professional pressure test your system—we pressurize the system to 100 PSI and monitor for any drop over 30 minutes, which reveals even tiny leaks.
Preventing Future Freeze Damage
If you've dealt with one frozen well system, you never want to deal with it again. Prevention costs a fraction of emergency repair—typically $200–$500 for comprehensive freeze protection versus $1,500–$5,000+ for burst pipe repairs, flood damage, and pump replacement. Here's what actually works for mountain and cold-climate well owners in Southern California.
Heat Tape Installation
Self-regulating heat tape is the single most effective freeze prevention tool. Unlike constant-wattage heat tape, self-regulating tape adjusts its heat output based on the surrounding temperature—it draws more power when pipes are coldest and reduces output as temperatures rise. Install it on all exposed piping from the wellhead to where pipes enter heated space. Key installation tips:
- Run tape straight along the bottom of horizontal pipes (heat rises and wraps around)
- Spiral-wrap vertical sections
- Always install over insulation, not under it (tape against pipe, insulation over tape)
- Use a GFCI-protected outlet—heat tape is an electrical device exposed to moisture
- Replace heat tape every 3–5 years; degraded tape is a common fire risk
Pipe Insulation
Foam pipe insulation (the split tubes from any hardware store) provides meaningful protection for moderate freezes. For serious cold, upgrade to fiberglass wrap with a weatherproof jacket. Key areas to insulate:
- All exposed piping from wellhead to house entry
- Pipes in crawl spaces, even "conditioned" ones
- The pressure tank and all associated plumbing
- The pitless adapter connection at the wellhead
Standard foam insulation alone protects to about 20°F for a few hours. Combined with heat tape, you're protected well below 0°F indefinitely.
Well House and Pump House Heating
If your pressure tank and controls sit in a dedicated pump house, that structure needs a reliable heat source. Options include:
- Thermostatically controlled electric heater — set to turn on at 35°F. A small 500-watt heater is sufficient for most pump houses.
- Heat lamp with thermostat — a 250-watt infrared heat lamp provides focused warmth for the pressure tank area.
- Insulated and sealed structure — weather-strip the door, seal any gaps in walls, and insulate the ceiling. A well-insulated pump house with a single heat lamp stays above freezing in most Southern California mountain conditions.
Drip Strategy for Extreme Cold
When temperatures drop below 15°F or during extended multi-day freezes, let a faucet drip continuously. Moving water requires significantly colder temperatures to freeze than standing water—flowing water in a ¾" pipe resists freezing down to about 20°F even without insulation. A slow drip (about 5 drips per second) is sufficient. Yes, you'll use some extra water, but the cost of a few hundred gallons is nothing compared to a $3,000 repair bill.
Low-Temperature Alarm Systems
A freeze alarm in your pump house sends an alert to your phone when temperatures approach dangerous levels. Basic models cost $30–$50 and use cellular connections to send text alerts. This gives you time to respond—turn on backup heat, start a faucet dripping, or call for service—before pipes actually freeze. For properties where you're not always present (vacation homes, rental properties), a freeze alarm is essential.
Seasonal Winterization
Before the first freeze of the season, take these preventive steps:
- Inspect all heat tape for damage and test that it's working
- Replace any deteriorating pipe insulation
- Verify your pump house heater functions
- Disconnect and drain any outdoor hoses (frozen hoses can back-pressure into your system)
- Insulate outdoor faucets with foam covers
- Know where your well pump breaker is before you need it in an emergency
- Keep our number in your phone—frozen well emergencies don't happen during business hours
Freeze Risk in Southern California Mountain Areas
Many people don't associate Southern California with freeze damage, but mountain communities routinely experience temperatures well below freezing. Julian, Palomar Mountain, Mount Laguna, Idyllwild, and Pine Valley all see winter lows in the teens and single digits. Even lower-elevation areas like Ramona, Valley Center, and Alpine can dip below freezing during cold snaps.
The challenge is that many well systems in these areas weren't originally designed with aggressive freeze protection. A system installed during a mild year might work fine for a decade, then suffer catastrophic damage during one abnormally cold night. We see the most freeze damage calls after the first hard freeze of the season—systems that were borderline protected get overwhelmed.
If your property is above 3,000 feet elevation, treat freeze protection as mandatory, not optional. Below 3,000 feet, you should still have basic protection (insulation and heat tape) on any exposed piping. The cost of prevention is always less than the cost of a middle-of-the-night emergency service call plus repairs.
When to Call a Professional
Some freeze situations are safely handled by homeowners. Others need professional equipment and expertise:
- You can't locate the frozen section — if ice has formed underground or deep in a wall cavity, you need professional pipe-locating equipment.
- Pipes have burst — shut off the pump, call immediately. Burst pipe repair often requires cutting and re-plumbing sections.
- The pressure tank is damaged — a waterlogged or cracked tank needs replacement. This involves draining and disconnecting the old tank, sizing the replacement correctly, and re-plumbing with proper fittings.
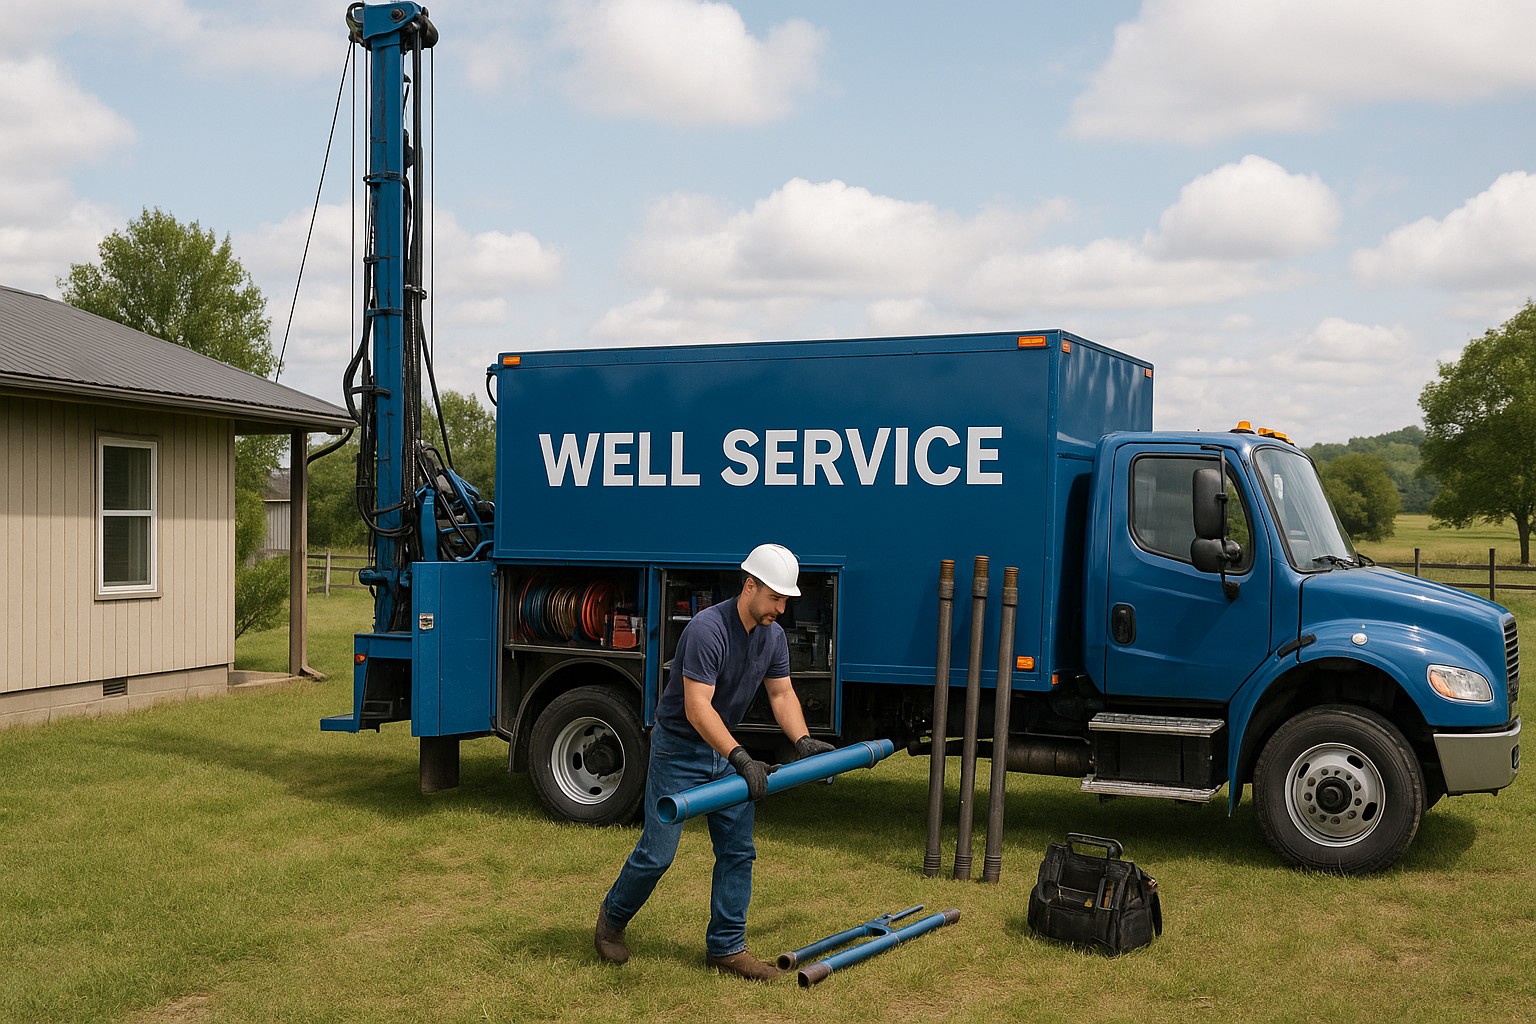
- The pump won't restart after thawing — if the motor overheated during the freeze event, it may have burned out. A well pump pull-and-replace is a professional job requiring specialized equipment.
- You suspect wellhead damage — a compromised wellhead is a contamination risk that should be repaired immediately by a licensed well contractor.
- The freeze is in the well casing — extremely rare in Southern California, but it requires professional intervention with a specialized steamer or thawing device.
We service all major pump brands including Franklin Electric, Grundfos, Goulds (Xylem), and Sta-Rite (Pentair). Our trucks carry common parts and components for same-day repairs, and we respond to freeze emergencies 24/7 across San Diego, Riverside, and San Bernardino Counties.
Frequently Asked Questions
Which parts of my well system can freeze?
Vulnerable components include: exposed pipes above ground, the pressure tank if in unheated space, piping in uninsulated crawl spaces, and even the wellhead if above the frost line. The submersible pump itself rarely freezes (it's below frost depth), but the water in pipes leading from it can.
How do I thaw frozen well pipes safely?
Never use open flame—this causes fires and can crack pipes. Safe thawing methods: wrap pipes with hot towels and replace repeatedly, use a hair dryer or heat gun on low, apply electrical heat tape, or use portable space heaters in enclosed areas. Thaw from faucet toward frozen section to allow water escape.
Can frozen pipes burst and damage my well system?
Yes. Water expands when freezing and can crack pipes, fittings, and even pressure tanks. Burst pipes often aren't visible until thawing, when water starts flooding. After any freeze event, inspect the entire system for leaks once water flows again.
Get Expert Help
Contact Southern California Well Service for professional assistance.
Call (760) 440-8520Serving San Diego, Riverside & San Bernardino Counties
🚨 Need Emergency Well Service?
We respond 24/7 across San Diego, Riverside & San Bernardino Counties.
Learn About Our Emergency Service →Related Articles
Continue learning about well maintenance and troubleshooting
No Water From Well? Emergency Troubleshooting Guide
Step-by-step guide to diagnose and fix no water emergencies

Emergency Well No Water Checklist
Quick checklist for when your well stops producing water
No Water Emergency: What to Check First
Essential first steps when facing a water emergency