How to Adjust a Well Pump Pressure Switch: Complete Guide
Your well pump's pressure switch is the brain of your water system, determining when the pump turns on and off to maintain consistent water pressure throughout your home. If you're experiencing low pressure, pressure fluctuations, or want to optimize your system's performance, adjusting the pressure switch may be the solution. This comprehensive guide will walk you through understanding, adjusting, and troubleshooting your pressure switch safely and effectively.
📋 In This Guide
- Understanding How Pressure Switches Work
- When to Adjust Your Pressure Switch
- Tools and Materials Needed
- Step-by-Step Pressure Switch Adjustment
- Troubleshooting Common Problems
- Cleaning and Maintaining the Pressure Switch
- When to Replace Instead of Adjust
- Choosing the Right Pressure Settings
- Safety Reminders
- Conclusion
- Related Articles
Understanding How Pressure Switches Work
A pressure switch monitors your water system's pressure through a small port connected to the plumbing. Inside the switch, a spring-loaded mechanism responds to pressure changes, making or breaking electrical contact to control the pump motor.
Every pressure switch has two key settings:
Cut-In Pressure (Low Setting)
This is the pressure at which the pump turns ON. When water usage causes pressure to drop to this point, the switch activates the pump. Common cut-in settings are 30 or 40 PSI.
Cut-Out Pressure (High Setting)
This is the pressure at which the pump turns OFF. Once the pump builds pressure to this level, the switch cuts power to the pump. Common cut-out settings are 50 or 60 PSI.
Standard factory settings include 30/50 PSI and 40/60 PSI configurations. The difference between cut-in and cut-out (called the differential) is typically 20 PSI but can be adjusted on many switches.
When to Adjust Your Pressure Switch
Consider adjusting your pressure switch settings in these situations:
- Low water pressure: Increasing settings can boost pressure at fixtures
- Excessive pump cycling: Widening the differential reduces on/off frequency
- Multiple stories: Higher pressure may be needed for upper floors
- Long pipe runs: Friction loss may require higher pressure at the source
- Pressure tank issues: Adjustments may be needed when replacing the tank
- New appliances: Some equipment works better with specific pressure ranges
Important Limitations
Before adjusting, understand these constraints:
- Pressure tank precharge must be 2 PSI below cut-in pressure
- Never exceed your pump's maximum pressure rating
- Higher pressures increase pump work and energy consumption
- Very high pressure (over 80 PSI) can damage fixtures and appliances
- Your well's flow rate must support the desired pressure
Tools and Materials Needed
Gather these items before starting:
- Flathead screwdriver or 3/8" nut driver
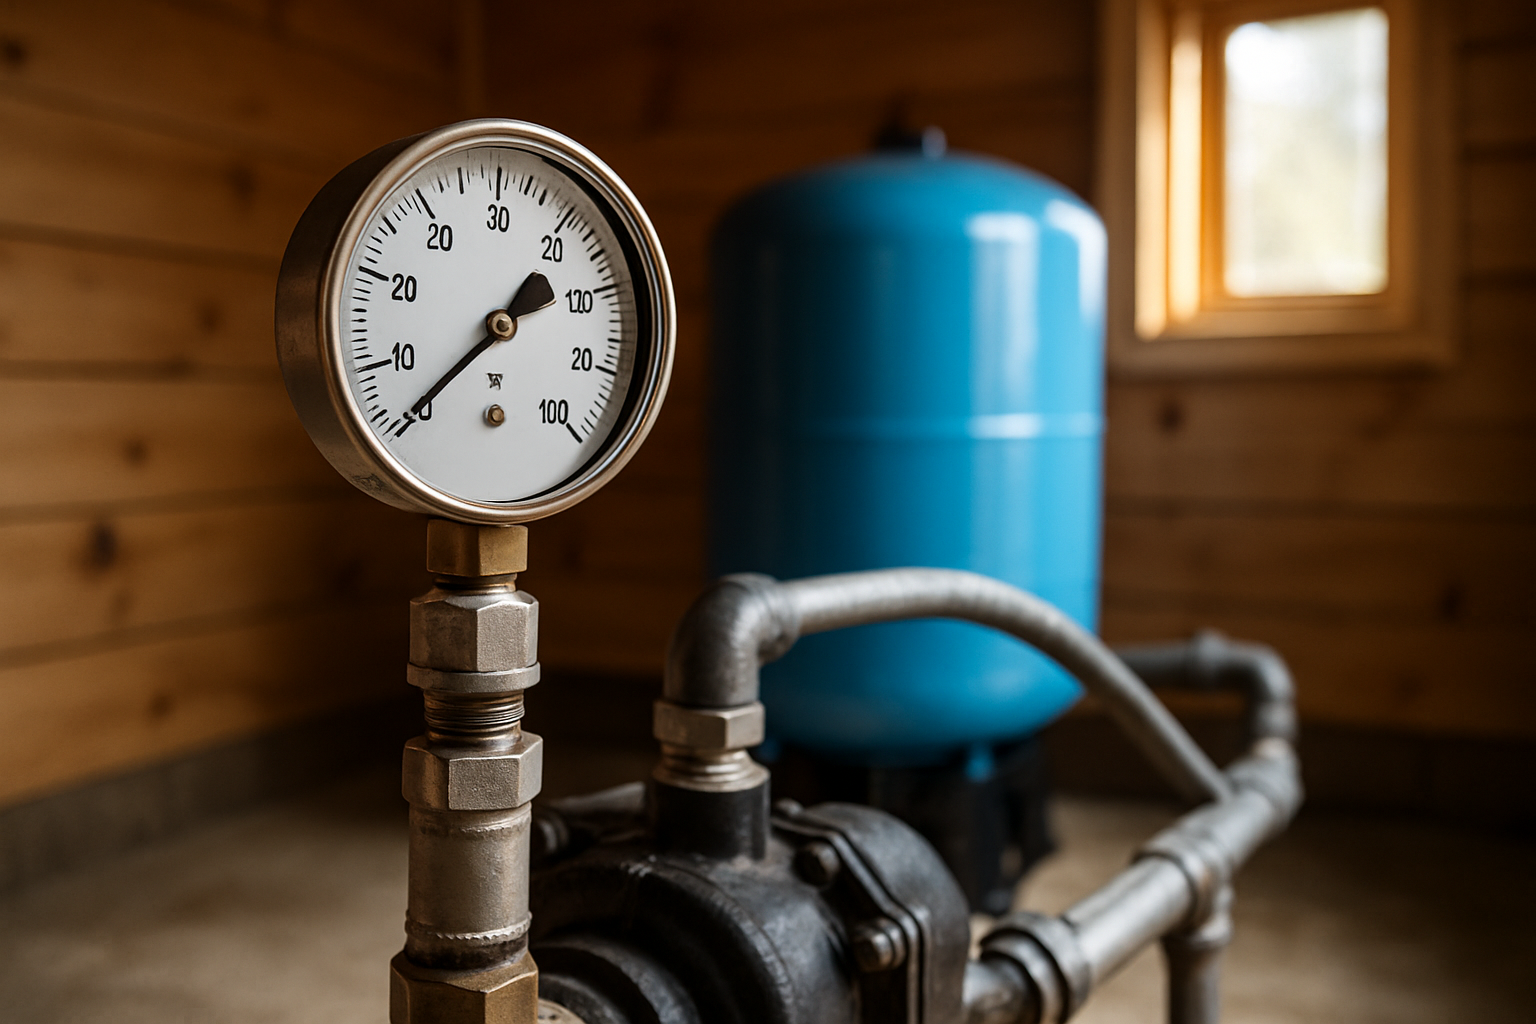
- Accurate pressure gauge (0-100 PSI)
- Adjustable wrench
- Flashlight
- Notepad to record settings
- Non-contact voltage tester (recommended)
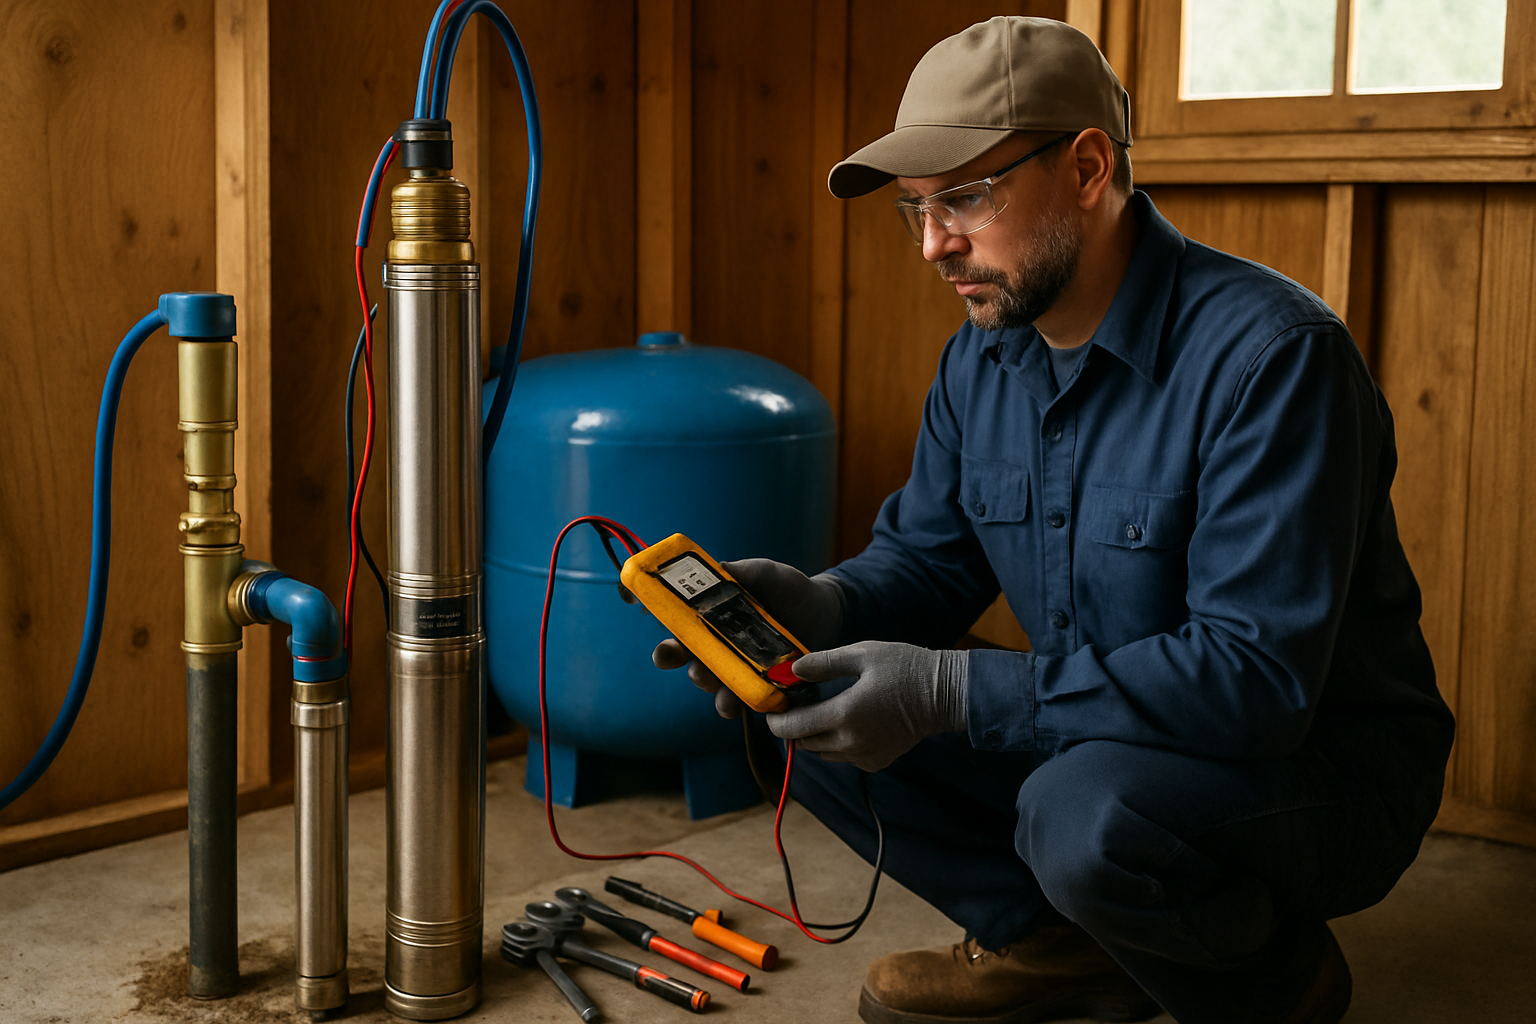
Step-by-Step Pressure Switch Adjustment
Step 1: Locate and Identify Your Pressure Switch
The pressure switch is typically mounted on a tee fitting near your pressure tank. It's a small box (usually gray or black) with electrical wires entering from the top or side and a small tube or fitting connecting it to the water pipe below.
Step 2: Record Current Settings
Before making changes, document your current settings:
- Watch the pressure gauge as you run water
- Note when the pump turns ON (cut-in pressure)
- Close all faucets and let pressure build
- Note when the pump turns OFF (cut-out pressure)
Write these numbers down so you can return to them if needed.
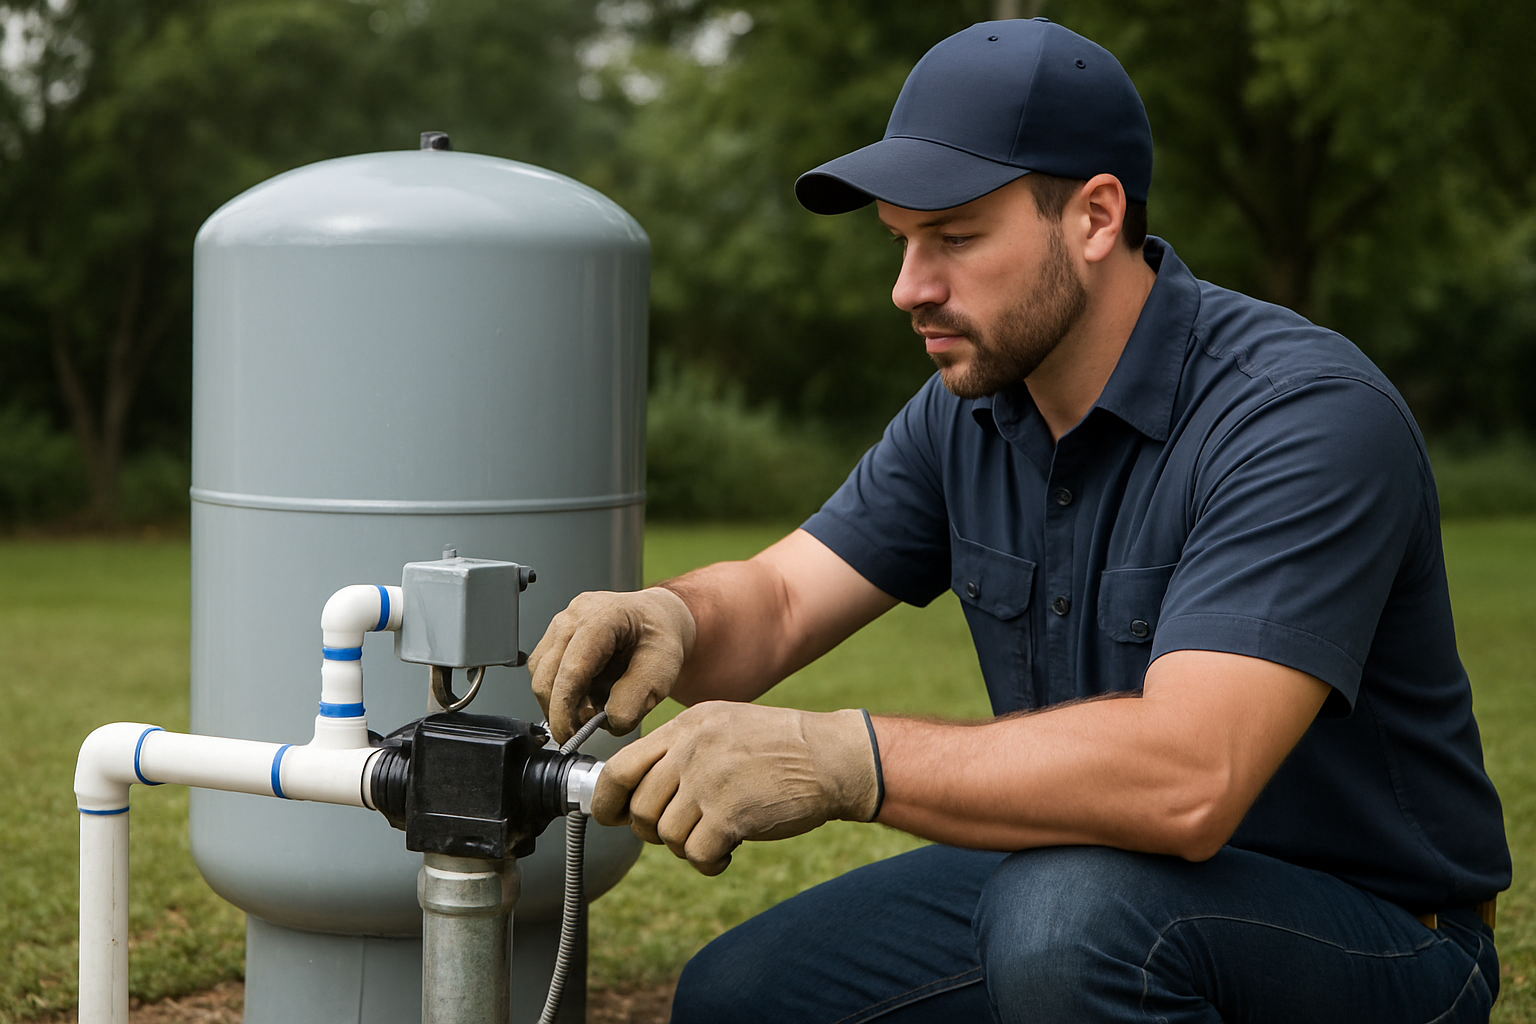
Step 3: Turn Off Power
For safety, turn off the circuit breaker for your well pump. Use a non-contact voltage tester to verify power is off before touching any components.
Step 4: Remove the Switch Cover
The cover is typically held by a single screw or simply lifts off. Set it aside carefully. You'll see the internal components including springs, contact points, and adjustment nuts.
Step 5: Identify the Adjustment Nuts
Inside the switch, you'll find one or two adjustment nuts sitting atop springs:
Larger nut/spring (Range adjustment): This adjusts both the cut-in and cut-out pressures together, maintaining the same differential. Turning clockwise increases both settings; counterclockwise decreases both.
Smaller nut/spring (Differential adjustment): This adjusts only the cut-out pressure, changing the spread between cut-in and cut-out. Turning clockwise widens the differential; counterclockwise narrows it. Not all switches have this adjustment.
Step 6: Make Adjustments
Work in small increments—one full turn changes pressure by approximately 2-3 PSI:
To increase both cut-in and cut-out:
- Turn the larger nut clockwise
- One turn typically raises both settings by 2-3 PSI
- Make small adjustments and test between changes
To decrease both cut-in and cut-out:
- Turn the larger nut counterclockwise
- Again, work in small increments
To widen the differential (increase cut-out only):
- Turn the smaller nut clockwise
- This raises the cut-out without changing cut-in
To narrow the differential (decrease cut-out only):
- Turn the smaller nut counterclockwise
- Be careful not to narrow too much or the pump will cycle rapidly
Step 7: Test Your Adjustments
- Replace the cover temporarily
- Turn the power back on
- Run water to trigger the pump
- Watch the pressure gauge as the pump cycles
- Verify the new cut-in and cut-out pressures
- Repeat adjustments if necessary
Step 8: Adjust Pressure Tank Precharge
This critical step is often overlooked. Your pressure tank's air precharge must be 2 PSI below your cut-in pressure:
- Turn off power to the pump
- Open a faucet to drain system pressure to zero
- Check the tank's air pressure at the Schrader valve (top of tank)
- Add or release air until it's 2 PSI below cut-in
- For example: 30 PSI cut-in = 28 PSI tank precharge
Step 9: Final Testing
Run the system through several complete cycles:
- Verify cut-in and cut-out pressures are correct
- Check pressure at various fixtures
- Listen for abnormal pump sounds
- Monitor for excessive cycling
Troubleshooting Common Problems
Pump Won't Turn On
- Cut-in may be set too low
- Switch contacts may be burned or dirty
- Tube connecting switch to pipe may be clogged
- Electrical connection may be loose
Pump Won't Turn Off
- Cut-out may be set higher than pump can achieve
- There may be a significant leak in the system
- Pump may be worn and unable to build pressure
- Switch contacts may be stuck or welded
Pump Cycles Rapidly
- Differential is too narrow
- Pressure tank has lost air precharge
- Tank bladder may have failed
- Small leak causing constant pressure loss
Pressure Fluctuates Widely
- Differential may be too wide
- Tank precharge may be incorrect
- Tank may be undersized for the application
Cleaning and Maintaining the Pressure Switch
Over time, pressure switches can develop problems that simple adjustment won't fix:
Cleaning Contacts
Burned or pitted contacts cause poor electrical connection. With power OFF:
- Use fine sandpaper or an emery board to clean contact surfaces
- Remove all debris from inside the switch
- Check for signs of overheating or damage
Clearing the Sensing Port
The small hole or tube connecting the switch to water pressure can clog with sediment:
- Remove the switch from the plumbing
- Clean the port with a small wire or compressed air
- Reinstall with fresh Teflon tape
Checking for Insects
Insects, especially ants, are attracted to electrical components. Check inside the switch cover and clean as needed.
When to Replace Instead of Adjust
Sometimes a pressure switch is beyond adjustment and needs replacement:
- Contacts are severely burned, pitted, or welded
- Springs are corroded or broken
- Switch body is cracked or damaged
- Electrical terminals are loose or damaged
- Switch cannot maintain settings
- Age (switches typically last 10-20 years)
Pressure switches are relatively inexpensive ($15-$40), so replacement is often more practical than extensive repair attempts.
Choosing the Right Pressure Settings
Consider these factors when deciding on your ideal pressure settings:
Household Needs
- Single-story homes: 30/50 PSI is often adequate
- Two-story homes: 40/60 PSI provides better upper-floor pressure
- Three or more stories: May need 50/70 PSI or a booster pump
Special Equipment
- Irrigation systems often work better with higher pressure
- Some tankless water heaters need minimum pressure
- Reverse osmosis systems typically require 40+ PSI
Energy Considerations
- Higher pressure = more pump work = higher electricity use
- Wider differential = fewer pump cycles = potentially longer pump life
- Balance pressure needs with efficiency
Safety Reminders
- Always turn off power before opening the switch
- Never exceed your pump's pressure rating
- Ensure tank precharge matches new settings
- Test thoroughly after any adjustment
- If unsure, consult a professional
Conclusion
Adjusting your well pump's pressure switch is a straightforward process that can significantly improve your water system's performance. By understanding how the switch works, making careful adjustments, and properly maintaining your pressure tank, you can customize your water pressure to meet your household's specific needs. Remember to work in small increments, test thoroughly, and always keep safety as your top priority.
If you encounter problems beyond basic adjustment, or if you're uncomfortable working with electrical components, don't hesitate to call in a professional. A properly adjusted pressure switch is essential for efficient pump operation and long equipment life.
Need help with your pressure switch or well system? Contact Southern California Well Service at (760) 440-8520 or visit www.scwellservice.com. Our experienced technicians can optimize your system for peak performance.