How to Maintain Your Water Well
Published January 30, 2026 | 12 min read
📋 In This Guide
Your private water well is a significant investment that can provide clean, reliable water for decades—but only with proper maintenance. Unlike municipal water where someone else handles everything, well ownership means you're responsible for keeping your system healthy. The good news? Well maintenance is straightforward, and most tasks take just minutes. This guide covers everything you need to know to keep your well running smoothly for years to come.
Annual Well Maintenance Checklist
Once a year, preferably in spring, go through this comprehensive checklist. Most items are quick visual inspections you can do yourself.
Well Head and Cap Inspection
- Inspect the well cap: Ensure it's securely in place and not cracked. The cap keeps insects, rodents, and debris out of your well.
- Check for gaps: Look around the casing for any gaps where the cap meets the casing. Seal any openings with appropriate well sealant.
- Clear the area: Remove any vegetation, debris, or items stored near the wellhead. Keep a 10-foot clearance zone.
- Check casing condition: Look for cracks, corrosion, or damage to the visible portion of the casing above ground.
- Verify the well extends above grade: The casing should extend at least 12 inches above the surrounding ground level to prevent surface water intrusion.
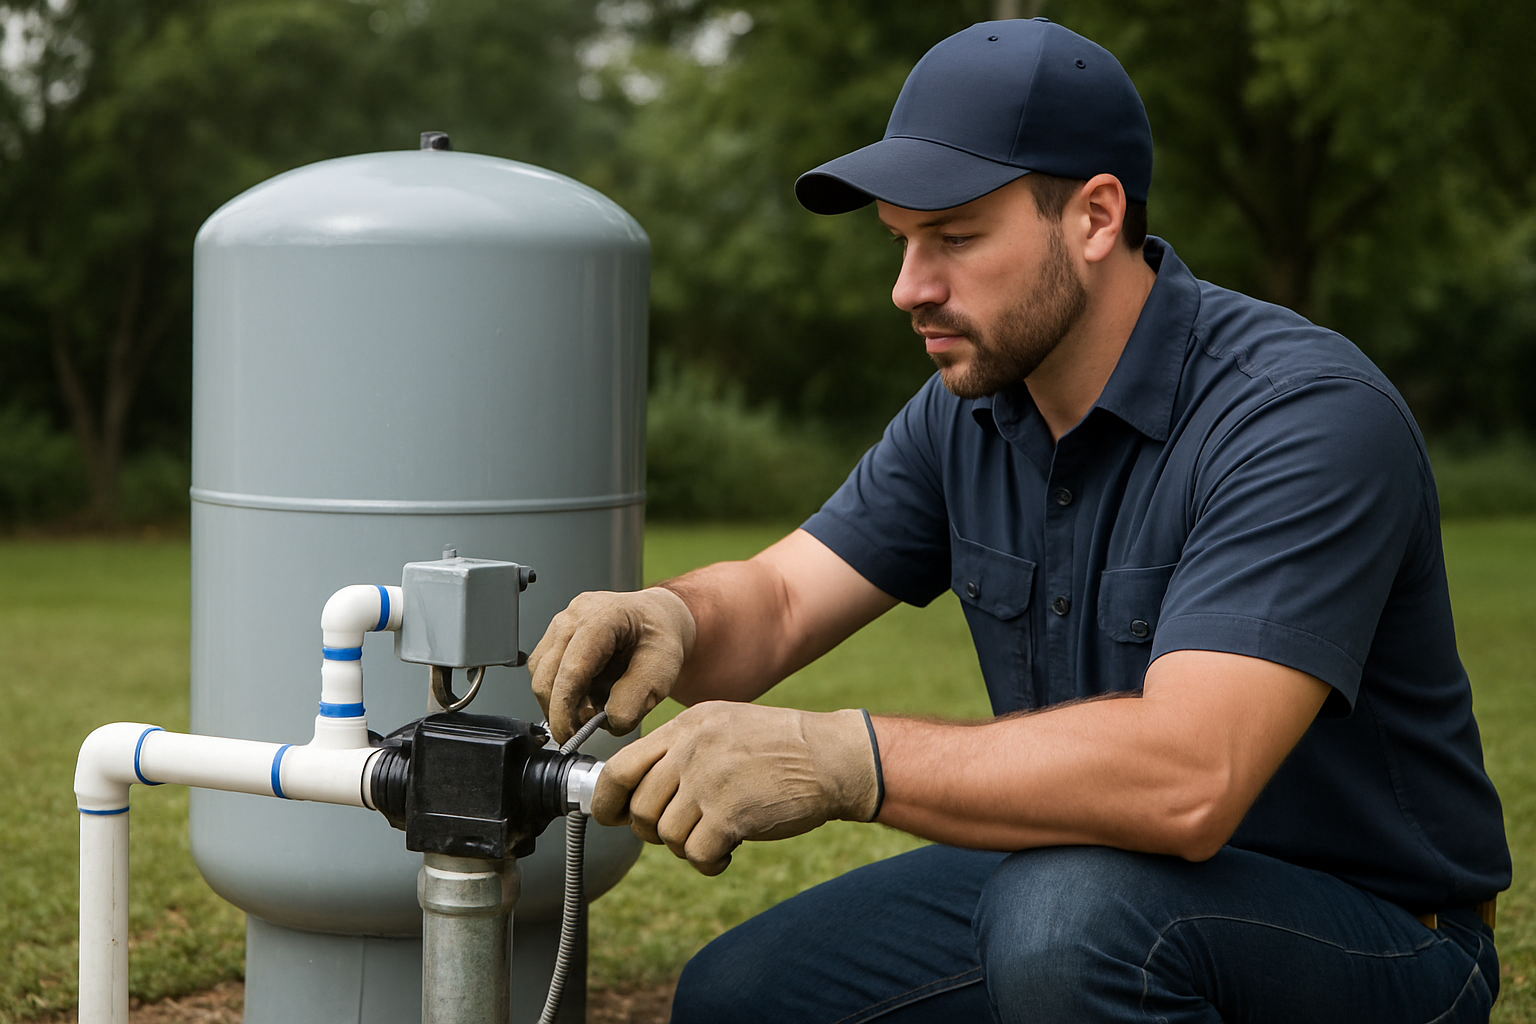
Pressure System Check
- Note your pressure gauge reading: It should be within your system's normal range (typically 40-60 PSI) and stable when no water is being used.
- Listen to pump cycling: The pump should run briefly when water is used, then shut off. Rapid on/off cycling indicates problems.
- Check the pressure tank: Tap from top to bottom—it should sound hollow at top, solid at bottom. All solid indicates a waterlogged tank.
- Inspect visible pipes: Look for leaks, corrosion, or condensation that could indicate problems.
- Check electrical connections: Look for corrosion, loose wires, or signs of overheating at the pressure switch and control box.
Pressure Tank Air Charge
This critical maintenance task is often overlooked. Your pressure tank needs the correct air charge to function properly:
- Turn off power to the well pump at the breaker
- Open a faucet and let water run until it stops (draining the tank)
- Locate the air valve on top of the pressure tank (looks like a tire valve)
- Check pressure with a tire pressure gauge
- Air pressure should be 2 PSI below your pressure switch's cut-in setting:
- 30/50 switch = 28 PSI tank pressure
- 40/60 switch = 38 PSI tank pressure
- Add or release air as needed using a bicycle pump or compressor
- Close faucet and restore power
Water Quality Check
- Visual inspection: Run water and look for cloudiness, sediment, or discoloration
- Smell test: Note any unusual odors—rotten egg (sulfur), earthy, or chemical smells
- Taste test: Any metallic, bitter, or unusual tastes warrant testing
- Staining: Check fixtures for new staining (rust, blue-green, black)
Water Testing Schedule
Regular water testing is essential for well owners. Unlike municipal water, no one else is testing your water—it's your responsibility.
Annual Testing (Required)
Test for these contaminants every year:
- Coliform bacteria: Indicates potential contamination from sewage, animal waste, or surface water. Should be absent.
- Nitrates: Can come from fertilizers, septic systems, or animal waste. Especially important if pregnant women or infants use the water.
- pH level: Affects corrosion, taste, and effectiveness of disinfection.
- Total dissolved solids (TDS): General indicator of water quality.
Every 3-5 Years
Test for these less common but important contaminants:
- Hardness: Calcium and magnesium levels affecting appliances and pipes
- Iron and manganese: Cause staining and taste issues
- Arsenic: Naturally occurring in some areas (important in parts of San Diego County)
- Lead: Usually from plumbing, not the well itself
Test Immediately If:
- Water appearance, taste, or smell changes
- Flooding occurs near the well
- Well repairs or pump replacement occurs
- Nearby land use changes (construction, new septic system, agricultural activity)
- Anyone experiences unexplained gastrointestinal illness
- You're returning after the home was vacant
Where to Get Water Tested
- State-certified labs: Find through California State Water Resources Control Board
- County health department: May offer free or low-cost basic testing
- Home test kits: Good for preliminary screening, but use certified labs for accurate results
Cost: Basic bacteria/nitrate test: $30-$75. Comprehensive panel: $100-$300.
Seasonal Maintenance Tips
Spring
Spring is the ideal time for your annual maintenance:
- Complete your full annual inspection checklist
- Test water quality after winter
- Check for winter storm damage to wellhead and equipment
- Verify pressure tank air charge
- Clear vegetation that grew over winter
- Check that the area around the well drains away properly
Summer
Higher water usage in summer can stress your system:
- Monitor for pressure drops during heavy use
- Watch for signs the well is struggling (pump running longer, reduced flow)
- Ensure irrigation systems aren't overtaxing the well
- Keep wellhead area clear of landscaping activities
- Note if water table seems lower (pump working harder)
Fall
Prepare for the wet season and potential for contamination:
- Inspect wellhead seal and cap before rains
- Verify drainage slopes away from wellhead
- Clear leaves and debris from around the well
- Check that no standing water can pool near the well
- Protect exposed pipes and equipment from early cold snaps
Winter
While San Diego winters are mild, mountain and high-desert areas need protection:
- Insulate exposed pipes in cold-prone areas (Julian, mountain communities)
- Know how to drain outdoor lines if freezing is expected
- Check pressure switch and control box are protected from moisture
- Monitor after heavy rains for any flooding near the wellhead
- Test water if flooding has occurred anywhere near the well
Common Well Problems and Solutions
Problem: Declining Water Pressure
Possible causes:
- Waterlogged pressure tank (most common)
- Failing pump or worn impellers
- Clogged pipes or fixtures
- Dropping water table
- Pressure switch needs adjustment
Action: Start by checking the pressure tank air charge. If that's correct, call a professional for diagnosis.
Problem: Air Sputtering from Faucets
Possible causes:
- Failing pump drawing air
- Leak in drop pipe
- Water level dropped below pump intake
- Cracked well casing
Action: This usually requires professional diagnosis. Don't ignore it—air in the system indicates a problem that will worsen.
See our complete guide on signs your well pump is failing for more troubleshooting information.
Problem: Dirty or Cloudy Water
Possible causes:
- Sediment disturbance in well
- Damaged well screen
- Pump set too deep (drawing sediment)
- Surface water infiltration
- Well needs redevelopment
Action: Run water for several minutes to see if it clears. If persistent, have water tested and well inspected.
Problem: Rotten Egg Smell (Hydrogen Sulfide)
Possible causes:
- Naturally occurring sulfur bacteria in aquifer
- Sulfur-reducing bacteria in well
- Reaction in water heater (if only hot water smells)
Action: If only hot water smells, the water heater anode rod may need replacement. If all water smells, treatment options include aeration, chlorination, or specialized filters.
Problem: Iron Staining
Signs: Orange/rust stains on fixtures, metallic taste
Solution: Iron is common in San Diego groundwater and isn't harmful but is annoying. Treatment options include iron filters, water softeners (for low levels), or oxidizing filters.
Problem: Hard Water Scale
Signs: White buildup on fixtures, spots on dishes, soap doesn't lather well
Solution: Water softener installation. Hard water is very common in San Diego County and, while not harmful, causes appliance wear and cleaning frustrations.
Protecting Your Well from Contamination
Prevention is easier than treating contaminated water. Follow these guidelines to protect your well:
Maintain Safe Distances
- Septic tanks: At least 50 feet from well
- Septic leach fields: At least 100 feet
- Livestock areas: At least 100 feet
- Fertilizer/pesticide storage: At least 100 feet
- Fuel tanks: At least 150 feet
Wellhead Protection
- Never remove or damage the well cap
- Slope ground away from well to prevent pooling
- Don't use pesticides or fertilizers within 100 feet
- Never pour anything down an unused well
- Properly abandon any unused wells on your property
Septic System Maintenance
If you have both a well and septic system, proper septic maintenance protects your water:
- Pump septic tank every 3-5 years
- Don't overload system with excessive water use
- Never flush harmful chemicals or medications
- Keep heavy vehicles off the leach field
- Watch for signs of septic failure (slow drains, odors, soggy areas)
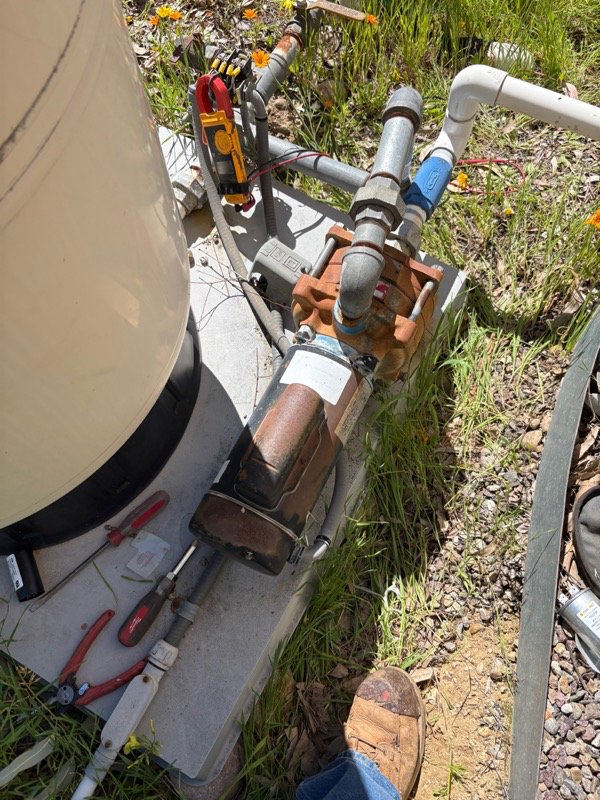
When to Call a Professional
While many maintenance tasks are DIY-friendly, call a well professional for:
- Any work inside the well casing
- Pump problems or replacement
- Electrical issues
- Water quality problems you can't identify
- Significant pressure or flow changes
- Annual professional inspection (every 3-5 years minimum)
- Before buying property with a well
- Well disinfection (shock chlorination)
Learn more about our well pump services and professional well services.
Frequently Asked Questions
How often should I test my well water?
Test your well water at least once per year for bacteria (coliform) and nitrates—the most common contaminants. Test more frequently if you notice changes in taste, smell, or appearance, after flooding or nearby construction, or if anyone in the household experiences unexplained illness. Test for additional contaminants every 3-5 years or as recommended for your area.
How do I maintain my pressure tank?
Check your pressure tank's air charge annually when the tank is empty (pump off, faucet open until water stops). The air pressure should be 2 PSI below your pressure switch's cut-in setting (typically 28 PSI for a 30/50 system or 38 PSI for a 40/60 system). Use a tire pressure gauge on the air valve at the top of the tank. Add air with a bicycle pump or compressor if needed.
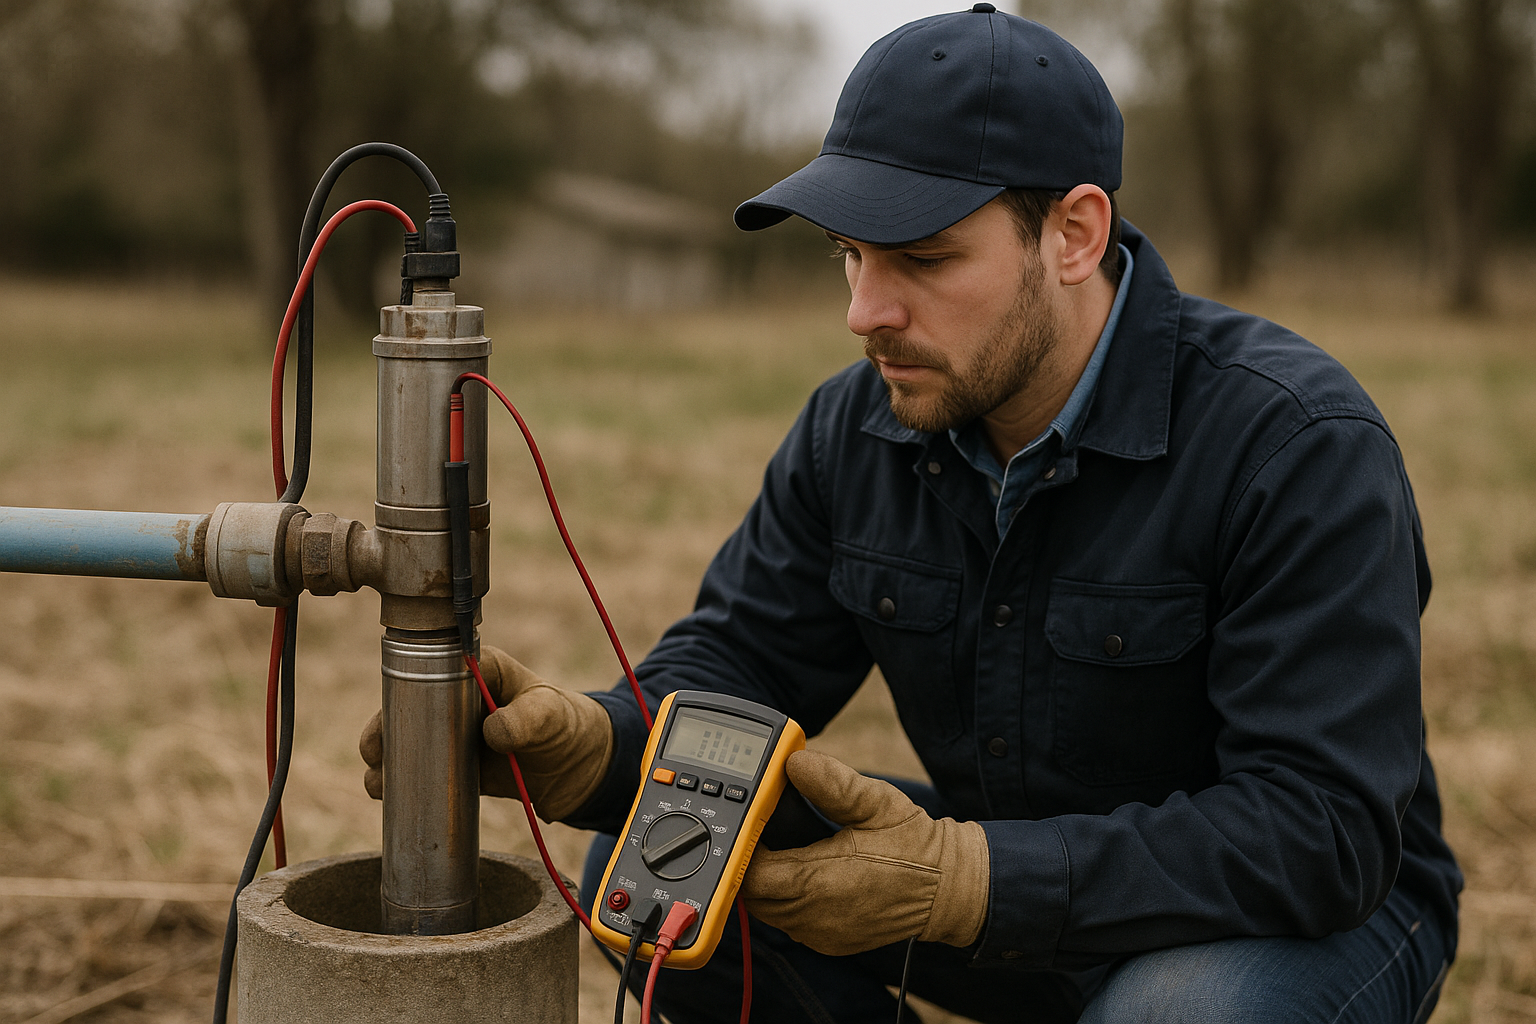
What maintenance does a well pump need?
Submersible pumps require minimal direct maintenance since they're sealed underground. Focus on the surrounding system: check electrical connections annually, listen for unusual sounds, monitor pressure and flow rate, and address problems quickly. Have a professional inspect the pump every 5-7 years or if you notice declining performance. Most pumps last 10-15 years with proper care.
How often should I have my well professionally inspected?
Have a professional well inspection at least every 3-5 years, or annually if your well is older than 15 years. Professional inspections include checking the well structure, pump performance, electrical systems, and water quality testing. Always get an inspection before buying property with a well or if you notice any performance changes.
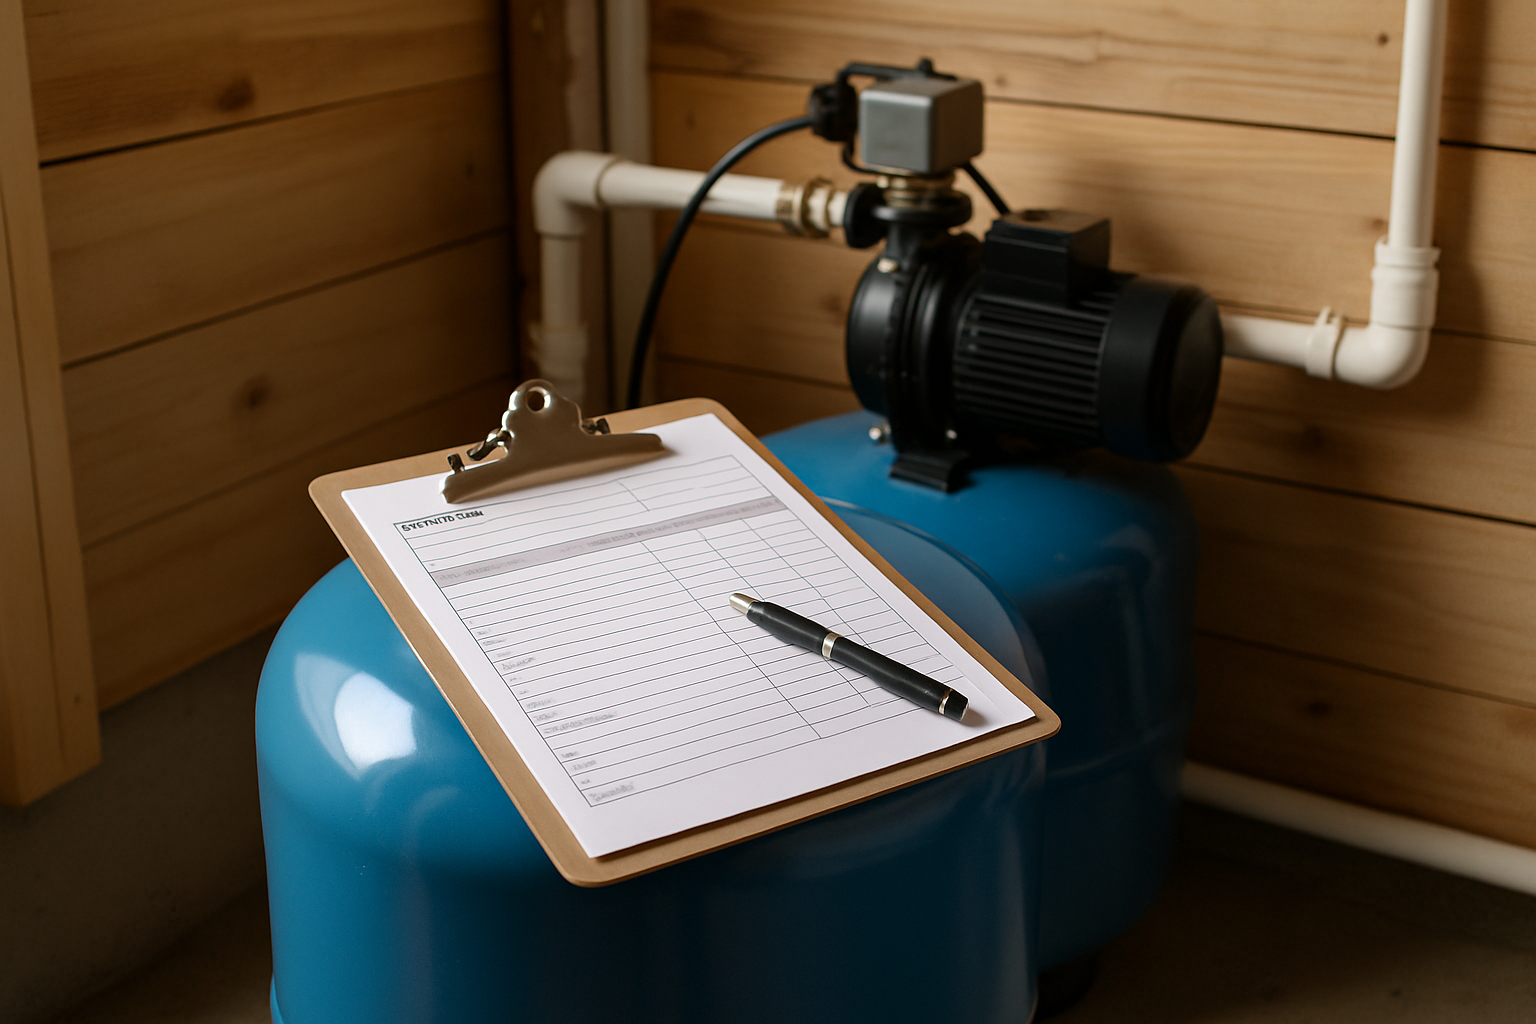
Well Maintenance Record Keeping
Keep a dedicated file for your well system records:
- Well driller's log and completion report
- Pump specifications and installation date
- All water test results (dated)
- Maintenance and repair records
- Pressure switch and tank specifications
- Any treatment system information
Good records help professionals diagnose problems and are valuable when selling your property.
Need Professional Well Service?
Whether you need a routine inspection, pump service, or have concerns about your well's performance, we're here to help. Our technicians service all well types throughout San Diego County.