How to Measure Well Depth: Complete Guide to Accurate Measurements
Knowing your well's depth and water level is essential information for every well owner. Whether you're troubleshooting pump problems, sizing a new pump, monitoring drought conditions, or simply understanding your water system better, accurate depth measurements are crucial. This comprehensive guide covers multiple methods for measuring both total well depth and static water level, from simple DIY approaches to professional techniques.
📋 In This Guide
- Understanding Well Depth Terminology
- Why Measure Your Well?
- Method 1: Weighted String or Tape (DIY Method)
- Method 2: Chalk Line Method
- Method 3: Electronic Water Level Indicator
- Method 4: Air Line Method
- Method 5: Sonic/Acoustic Water Level Meters
- Measuring Around Pump Equipment
- Recording and Monitoring
- Understanding Your Well's Capacity
- When to Call a Professional
- Locating Historical Data
- Conclusion
- Related Articles
Understanding Well Depth Terminology
Before measuring, it's important to understand the different depth measurements associated with wells:
Total Well Depth
The distance from ground level (or the top of the casing) to the bottom of the well. This is the maximum depth the well was drilled. Over time, sedimentation may reduce effective depth.
Static Water Level
The distance from the top of the casing to the water surface when the pump has not been running (typically measured after the well has rested for several hours). This represents the natural equilibrium level of groundwater in your well.
Pumping Water Level (Dynamic Level)
The water level while the pump is running. This is always lower than static level because pumping draws down the water.
Drawdown
The difference between static water level and pumping water level. Excessive drawdown can indicate well capacity issues.
Water Column
The amount of water in the well—the distance from the water surface to the bottom of the well.
Why Measure Your Well?
Accurate measurements serve several purposes:
- Pump sizing: Proper pump selection requires knowing water levels
- Monitoring well health: Changes in water level can indicate problems
- Drought awareness: Track water table changes over seasons and years
- Troubleshooting: Low water situations vs. pump problems
- Property value: Well depth is important information for sales
- Permit compliance: Some jurisdictions require regular monitoring
Method 1: Weighted String or Tape (DIY Method)
This simple method can give you reasonable estimates with materials you may already have:
What You Need
- Long measuring tape (fiberglass surveyor's tape is ideal) or strong string
- Weight (fishing sinker, small bolt, or purpose-made well weight)
- Flashlight
- Marker or chalk (for string method)
Steps to Measure Total Depth
- Turn off the pump and wait at least 30 minutes for water to stabilize
- Remove the well cap (note: if you have a pitless adapter, you may need to work through the access port)
- Attach the weight to your tape or string
- Slowly lower the weight into the well
- When you feel the weight hit bottom, mark the tape or string at the top of the casing
- Pull up and measure to your mark
- For verification, repeat the measurement
Measuring Static Water Level
- Lower the weight slowly until you feel it hit water (you may hear a splash or feel sudden reduced weight as the weight becomes buoyant)
- Mark the line at the casing top
- Pull up and measure to your mark
Accuracy Tips
- Use a weight heavy enough to keep the line taut
- Lower slowly to avoid swinging and inaccurate readings
- Listen and feel for the weight hitting water vs. hitting obstructions
- Take multiple measurements and average them
Limitations
This method can be affected by pump equipment, drop pipes, and wires in the well. It works best on wells without submersible pumps installed.
Method 2: Chalk Line Method
A variation that helps identify water level more precisely:
- Coat several feet of your weighted line with carpenter's chalk
- Lower until the weight hits bottom
- Pull up slowly and smoothly
- The chalk will be washed off where the line was submerged in water
- The boundary between chalky and clean line indicates water level
- Measure from the casing top to this boundary for static water level
- Measure the total line length lowered for total depth
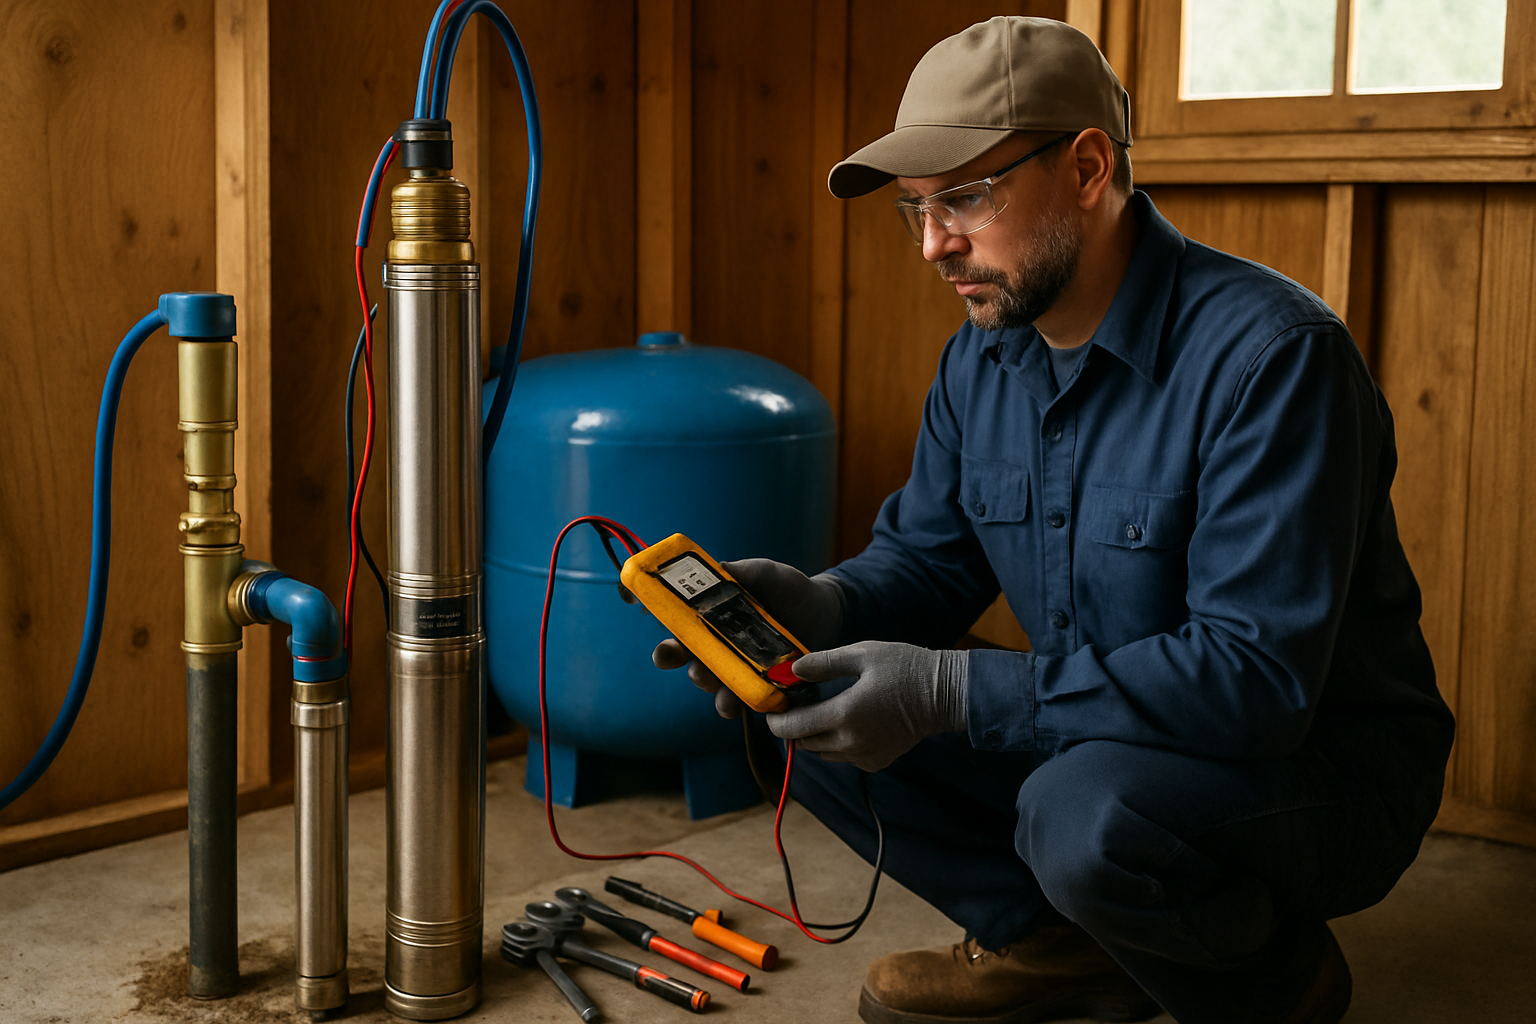
Method 3: Electronic Water Level Indicator
Professional-grade instruments provide precise measurements:
How They Work
Electronic water level indicators use a probe on a marked cable. When the probe contacts water, it completes an electrical circuit, triggering a light and/or buzzer. The cable is marked in precise increments for easy reading.
Using an Electronic Indicator
- Turn on the unit and verify battery function
- Lower the probe slowly into the well
- When the light/buzzer activates, water has been reached
- Read the depth from the cable markings at the casing top
- For total depth, continue lowering until the probe hits bottom (you'll feel slack)
Advantages
- Very precise readings (typically to 1/100th foot)
- Clear indication of water contact
- Professional documentation quality
- Works around pump equipment
Considerations
- Costs $150-$500+ depending on length and features
- Requires batteries and occasional calibration
- May be worth renting for occasional use
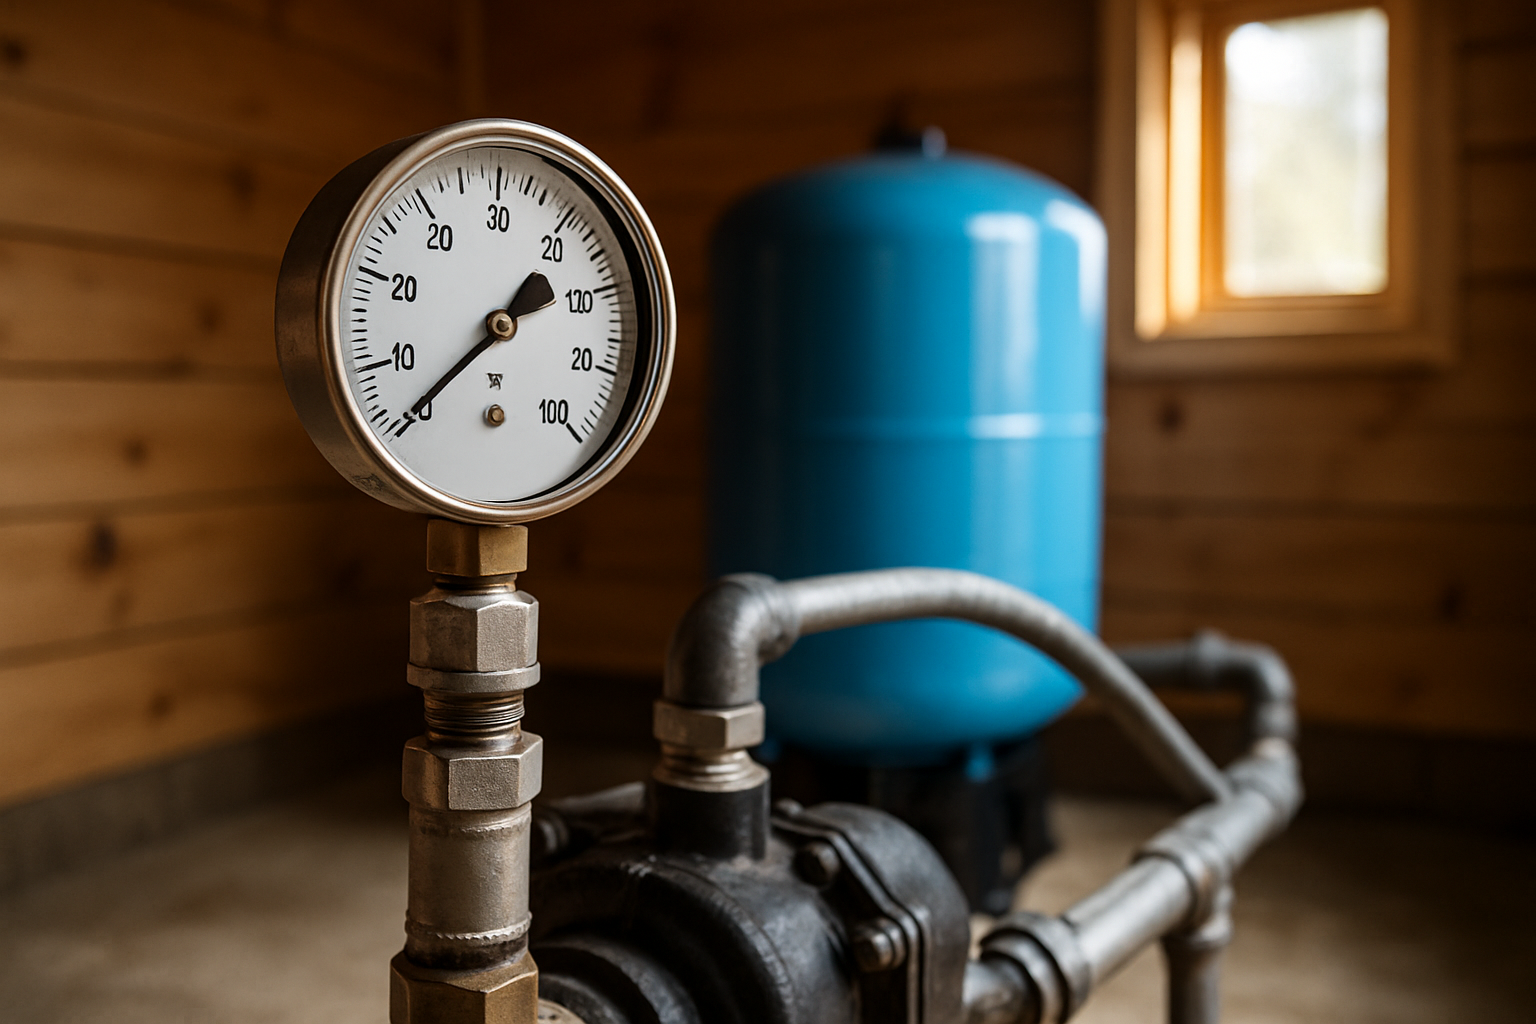
Method 4: Air Line Method
This traditional method measures the water column (depth of water in the well) using air pressure:
How It Works
A small tube extends to the bottom of the well. When air is pumped into the tube, it displaces water until air bubbles out the bottom. The pressure required to do this equals the pressure of the water column, which can be converted to feet of water.
Setup Requirements
- Air line tube installed to known depth
- Pressure gauge (0-100 PSI recommended)
- Air pump or compressor with valve
- Snifter valve or check valve
Calculating Depth
Water exerts approximately 0.433 PSI per foot of depth. So:
- Feet of water = PSI reading ÷ 0.433
- Example: 43.3 PSI = 100 feet of water above the air line outlet
If you know the air line depth, subtract the water column from it to get static water level.
Advantages
- Can be permanently installed for regular monitoring
- Doesn't require removing well cap
- Works with pump equipment in place
Method 5: Sonic/Acoustic Water Level Meters
Advanced technology for professional applications:
How They Work
These devices send a sound pulse down the well casing and measure the time for the echo to return from the water surface. Using the speed of sound, they calculate the distance to water.
Advantages
- Quick readings without lowering equipment
- No contact with water required
- Can measure through small openings
- Digital readout and data logging capabilities
Limitations
- Expensive ($1,000+)
- Can be affected by cascading water or noise
- Requires proper calibration
- Generally a professional tool
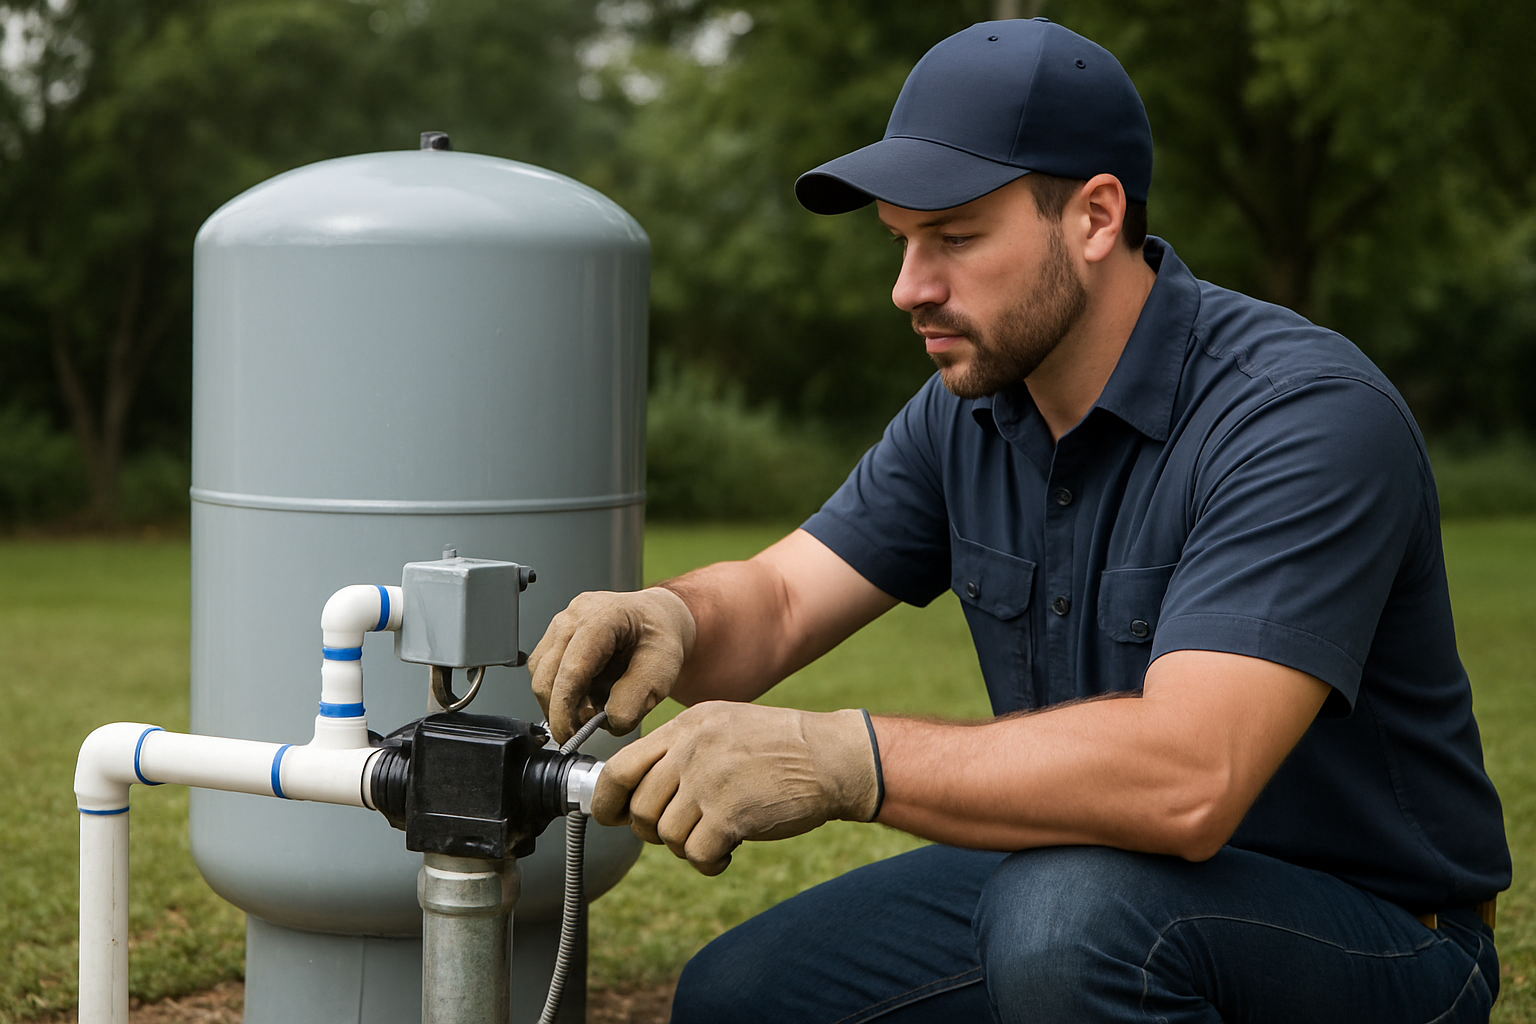
Measuring Around Pump Equipment
Most residential wells have submersible pumps installed, which complicates measurements:
Challenges
- Drop pipe and pump take up space in the casing
- Electrical wires can snag measurement devices
- Pump position blocks access to well bottom
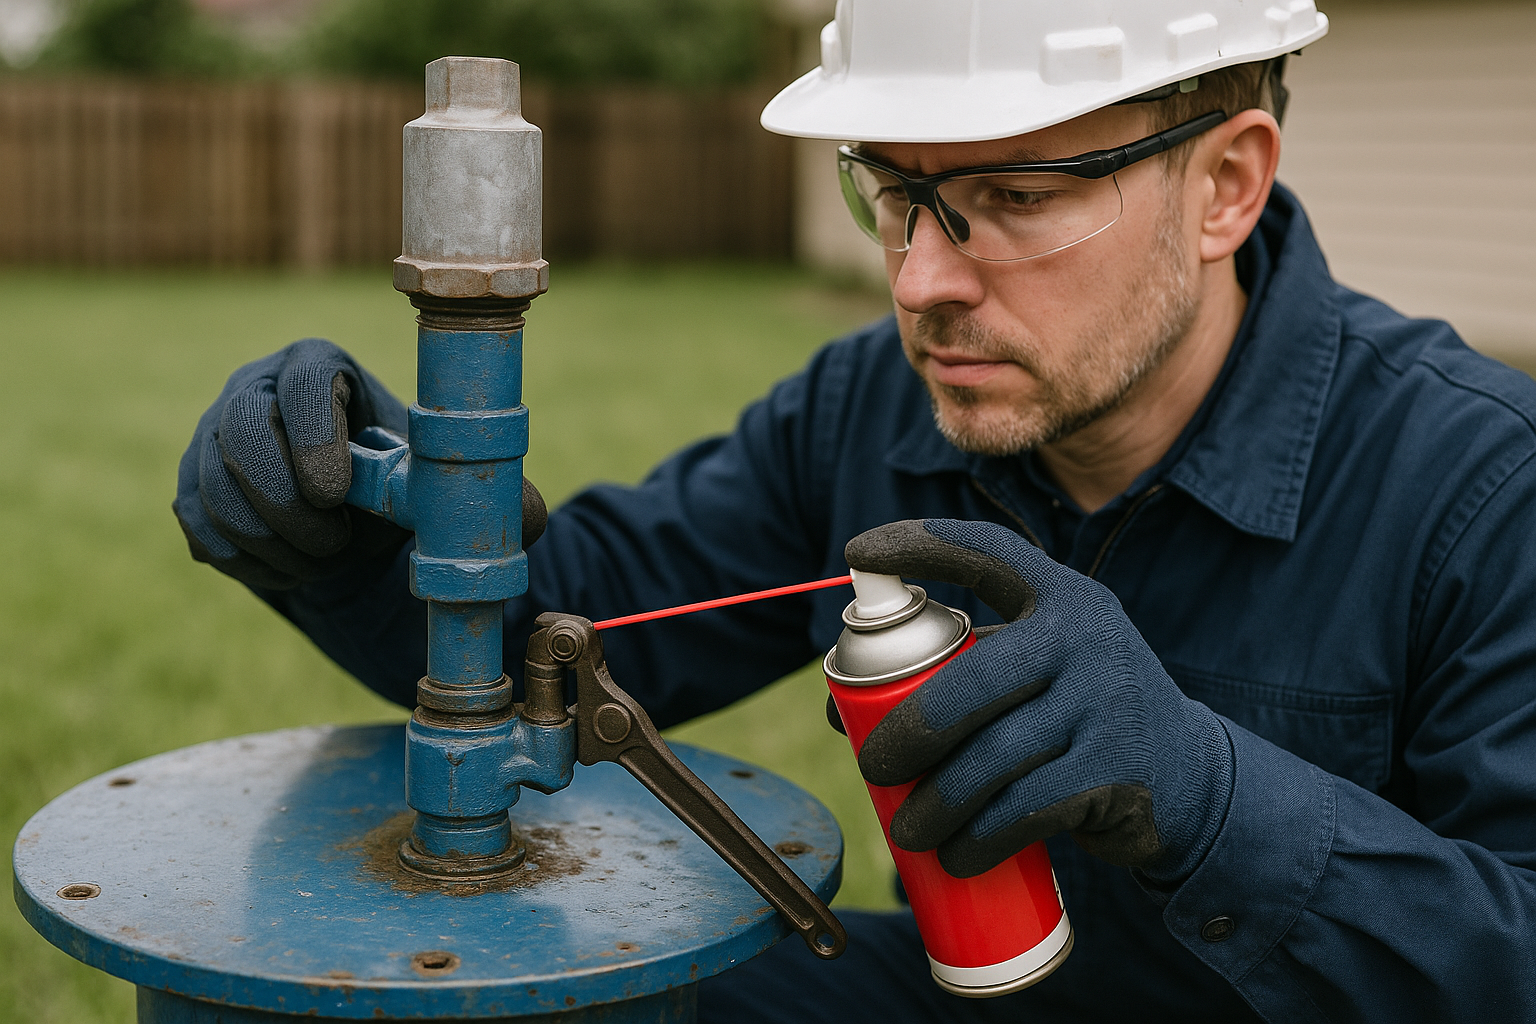
Solutions
- Use a thin, flexible measuring tape or cable
- Lower devices slowly to avoid tangling
- Note that "bottom" measurements may stop at the pump, not the true well bottom
- For precise measurements, consider having the pump pulled during service
- Use air line or sonic methods that work around equipment
Recording and Monitoring
Establish a monitoring routine to track changes:
What to Record
- Date and time of measurement
- Static water level
- Time since pump last ran
- Weather conditions/recent rainfall
- Any unusual observations
Monitoring Schedule
- Baseline: Measure at installation or purchase
- Seasonal: Quarterly measurements show natural fluctuations
- After events: Following droughts, heavy pumping, or nearby drilling
- Troubleshooting: When problems arise
What Changes Mean
- Seasonal drops: Normal in dry seasons
- Year-over-year decline: May indicate aquifer depletion or increased demand
- Sudden changes: Could indicate well problems or regional pumping effects
- Reduced recovery: May indicate well deterioration
Understanding Your Well's Capacity
Beyond depth, understanding yield is important:
Recovery Rate Test
- Measure static water level
- Run the pump for a set time (30-60 minutes)
- Turn off pump and immediately measure water level (this is pumping level)
- Measure water level every few minutes as it recovers
- Record time to return to static level
A healthy well should recover relatively quickly. Slow recovery may indicate reduced well capacity.
When to Call a Professional
Consider professional measurement services when:
- You need certified documentation
- DIY methods aren't giving consistent results
- The well is very deep (over 200 feet)
- You suspect problems and need accurate diagnostics
- Purchasing or selling property
- Sizing a new pump system
Professional well services have specialized equipment and experience to provide accurate measurements even in challenging situations.
Locating Historical Data
You may be able to find your well's original specifications:
- Well driller's log filed with state/county agencies
- Original property documents
- Previous pump installation records
- State geological survey databases
Compare current measurements to historical data to understand how your well has changed over time.
Conclusion
Measuring your well's depth and water level is a fundamental skill for well owners. From simple weighted tape methods to sophisticated electronic instruments, there's an approach suitable for every situation and budget. Regular monitoring helps you understand your water supply, catch problems early, and make informed decisions about pump selection and water usage.
Start with the DIY methods if you're simply curious about your well. Invest in better equipment or professional services when accuracy matters for equipment selection or troubleshooting. Either way, knowing your numbers puts you in control of your water supply.
Need professional well measurements or pump sizing? Southern California Well Service provides accurate depth measurements and complete well assessments. Contact us at (760) 440-8520 or visit www.scwellservice.com for expert assistance.