How to Prime a Well Pump: When You Need to & How It's Done
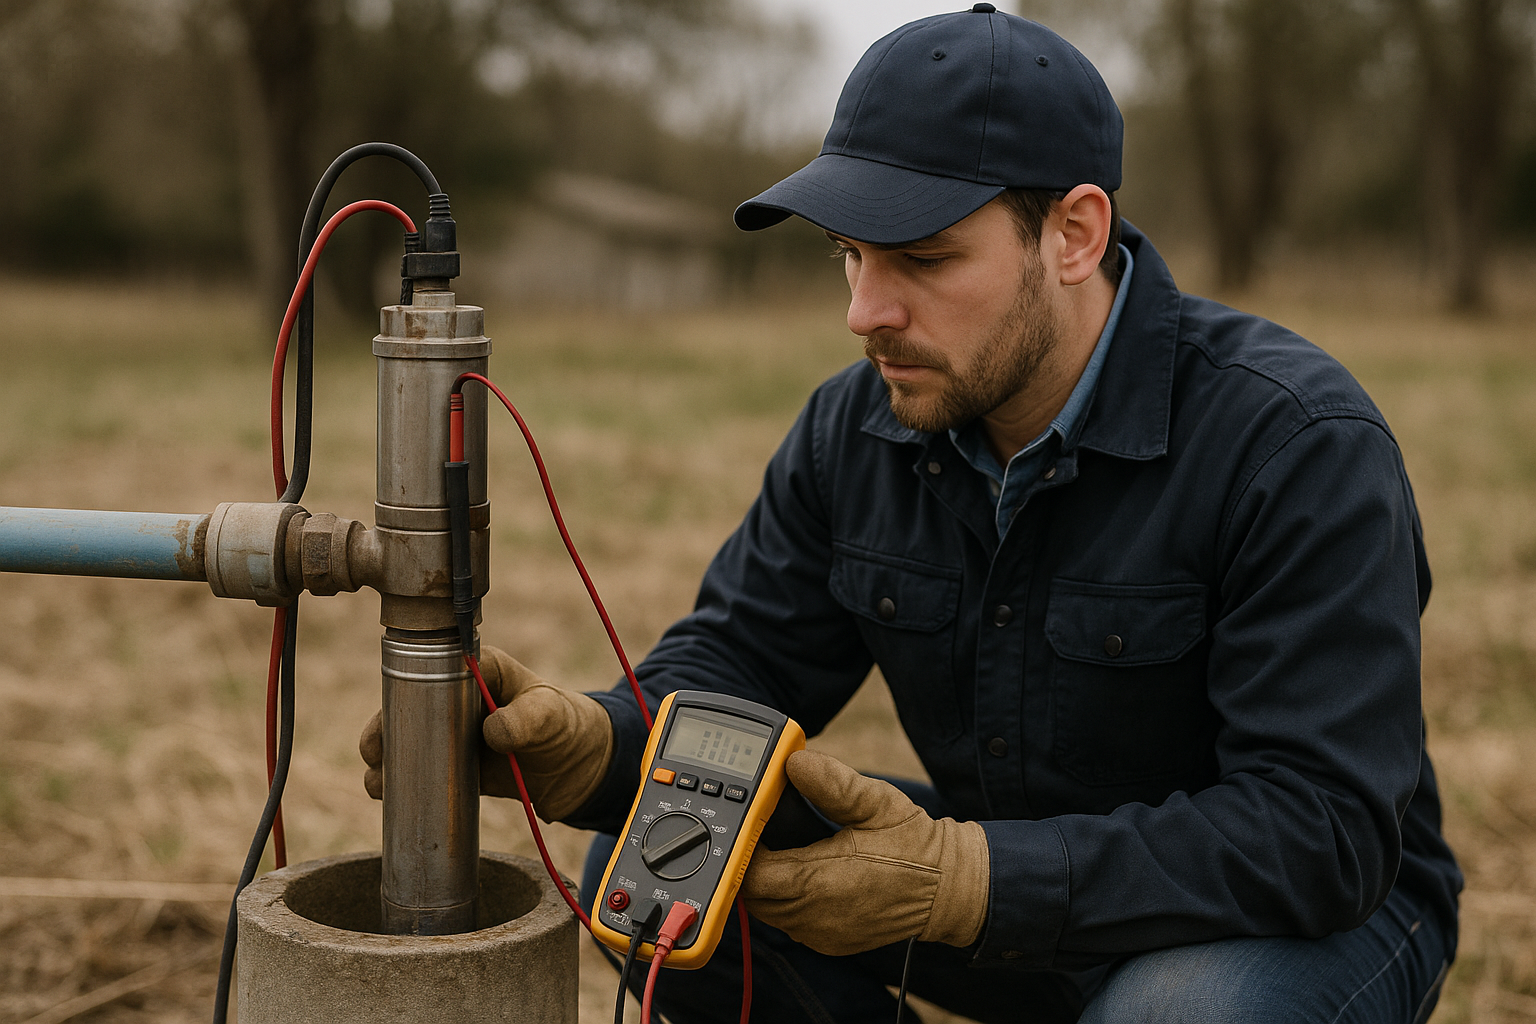
Let's clear up the biggest misconception about well pump priming: if you have a submersible pump (which 95%+ of San Diego County homes do), you do not need to prime it. Submersible pumps sit underwater inside the well — they're always primed by nature. If you're Googling "how to prime a well pump," the first question is: what type of pump do you actually have?
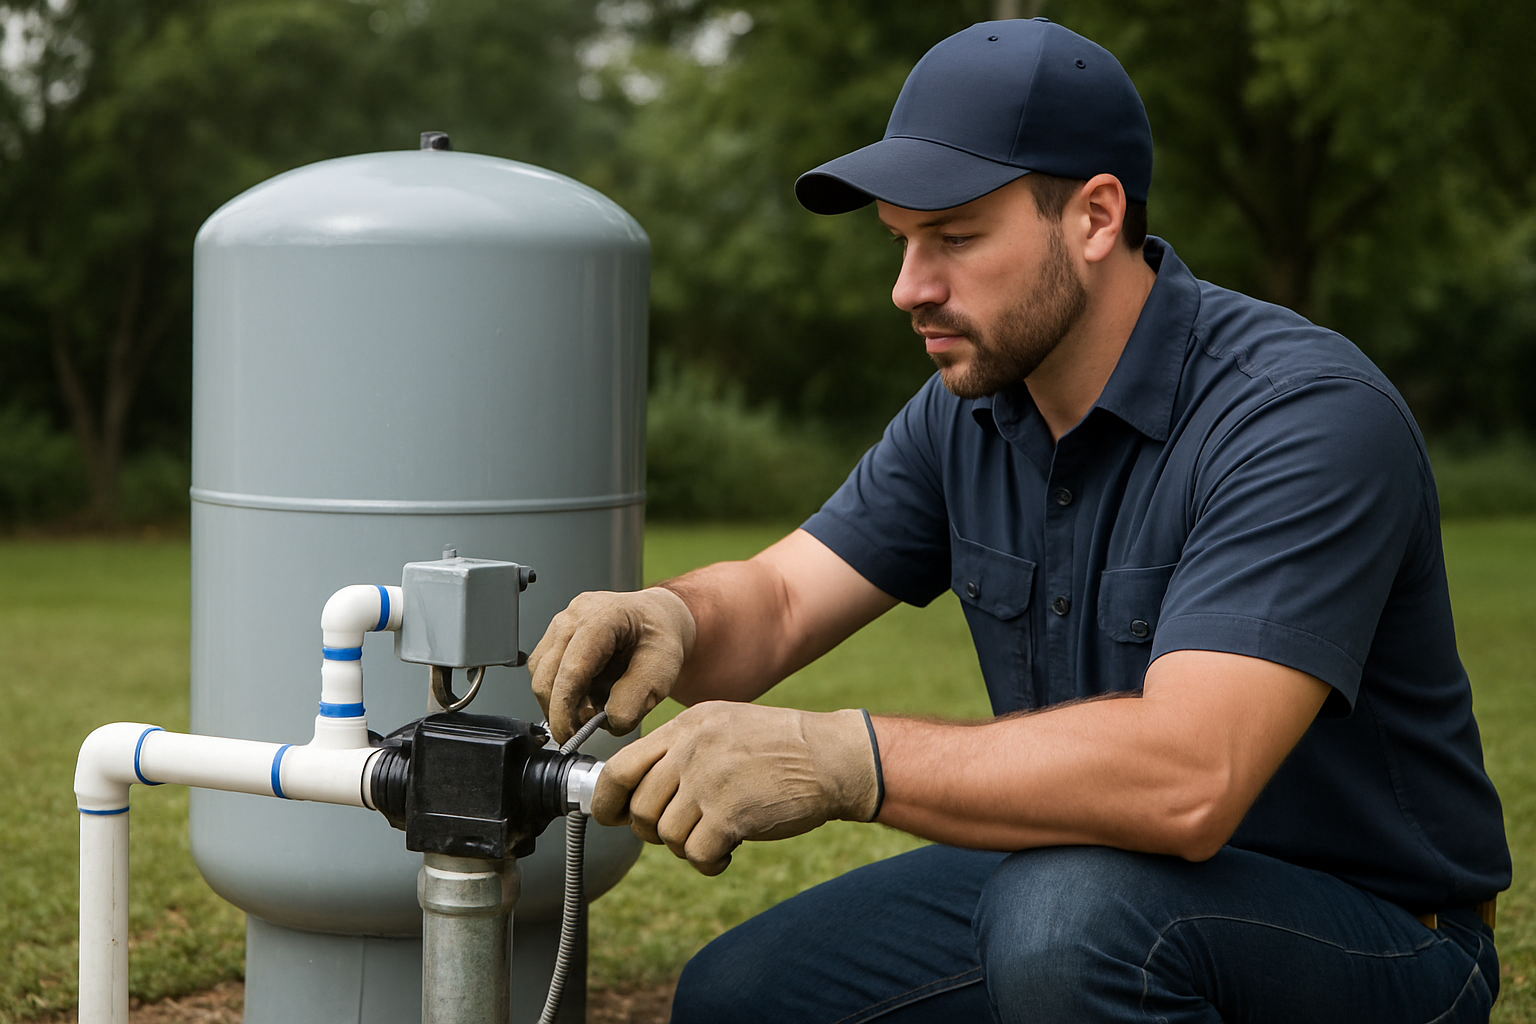
Priming is only relevant for jet pumps — above-ground pumps used on shallow wells. These pumps must be filled with water before they can create suction. If a jet pump loses its prime, it runs but produces no water. Here's how to diagnose the problem, reprime the pump, and prevent it from happening again.
Which Pump Do You Have?
| Feature | Jet Pump (Needs Priming) | Submersible Pump (No Priming) |
|---|---|---|
| Location | Above ground, near pressure tank | Inside the well, underwater |
| Visible? | Yes — you can see and hear it | No — only the wellhead and wiring visible |
| Noise | Loud when running | Silent (runs underwater) |
| Well depth | Shallow: under 25' (single-line) or 70' (two-line) | Any depth, typically 100-600'+ |
| Common in SD County? | Rare — maybe 5% of wells | Standard — 95%+ of wells |
If you have a submersible pump and no water: The problem isn't priming. Common causes are a tripped breaker, failed pressure switch, burned-out pump motor, or low well water level. See our signs your well pump is failing guide. Call a professional — the pump is 100-600+ feet underground and requires specialized equipment to service.
Why Jet Pumps Lose Their Prime
A jet pump works by creating a vacuum that pulls water up from the well. For this vacuum to work, the pump housing and suction pipe must be completely filled with water — no air gaps. When air gets in, the pump "loses prime" and spins without pulling water. Causes include:
- Power outage: When power returns, the pump may have lost its water seal and needs repriming. This is the most common reason.
- Leaking suction pipe: Even a tiny crack or loose fitting in the pipe between the pump and well allows air to enter. The pump runs fine initially but slowly loses prime as air seeps in.
- Failed foot valve: The foot valve sits at the bottom of the suction pipe inside the well. It's a one-way check valve that prevents water from draining back down the pipe when the pump stops. When it fails, water drains out and air replaces it.
- Low well water level: If the water level drops below the suction pipe intake, the pump draws air instead of water.
- Worn pump seals/impeller: Internal wear allows the pump to lose its vacuum capability. It can't maintain prime even with everything else working.
- Priming plug leak: The priming plug on top of the pump housing can develop a slow leak, allowing air in and water out.
Need Professional Help?
Southern California Well Service provides expert pump repair across San Diego, Riverside, and San Bernardino Counties. Licensed C-57 contractor with 4.9★ rating.
Learn about our pump repair services → | Call (760) 440-8520
How to Prime a Jet Pump: Step by Step
What You Need
- 2-5 gallons of clean water (keep a supply in your pump house for this purpose)
- Pipe wrench or large adjustable wrench
- Funnel (optional but helpful)
- Teflon tape (in case you need to reseal the priming plug)
Step-by-Step Procedure
- Turn off the pump. Switch off the breaker or disconnect. Never prime a running pump.
- Locate the priming plug. It's on top of the pump housing — usually a large hex-head plug (3/4" to 1"). Some pumps have a dedicated priming port with a screw cap.
- Remove the priming plug. Use a wrench. Water may drain out — that's normal. If the pump is completely empty, nothing will come out.
- Pour water into the pump. Slowly fill the pump housing through the priming port. Use a funnel if needed. Fill until water reaches the top of the opening and stays there without dropping. This can take 1-5 gallons depending on the length of your suction pipe.
- Wait for air bubbles to stop. As water fills the pump and suction line, trapped air bubbles up out through the priming port. Keep adding water as the level drops. When the water level holds steady with no bubbles — you're primed.
- Replace the priming plug. Wrap threads with Teflon tape and tighten firmly (don't over-tighten — the plug threads into a cast iron housing that can crack).
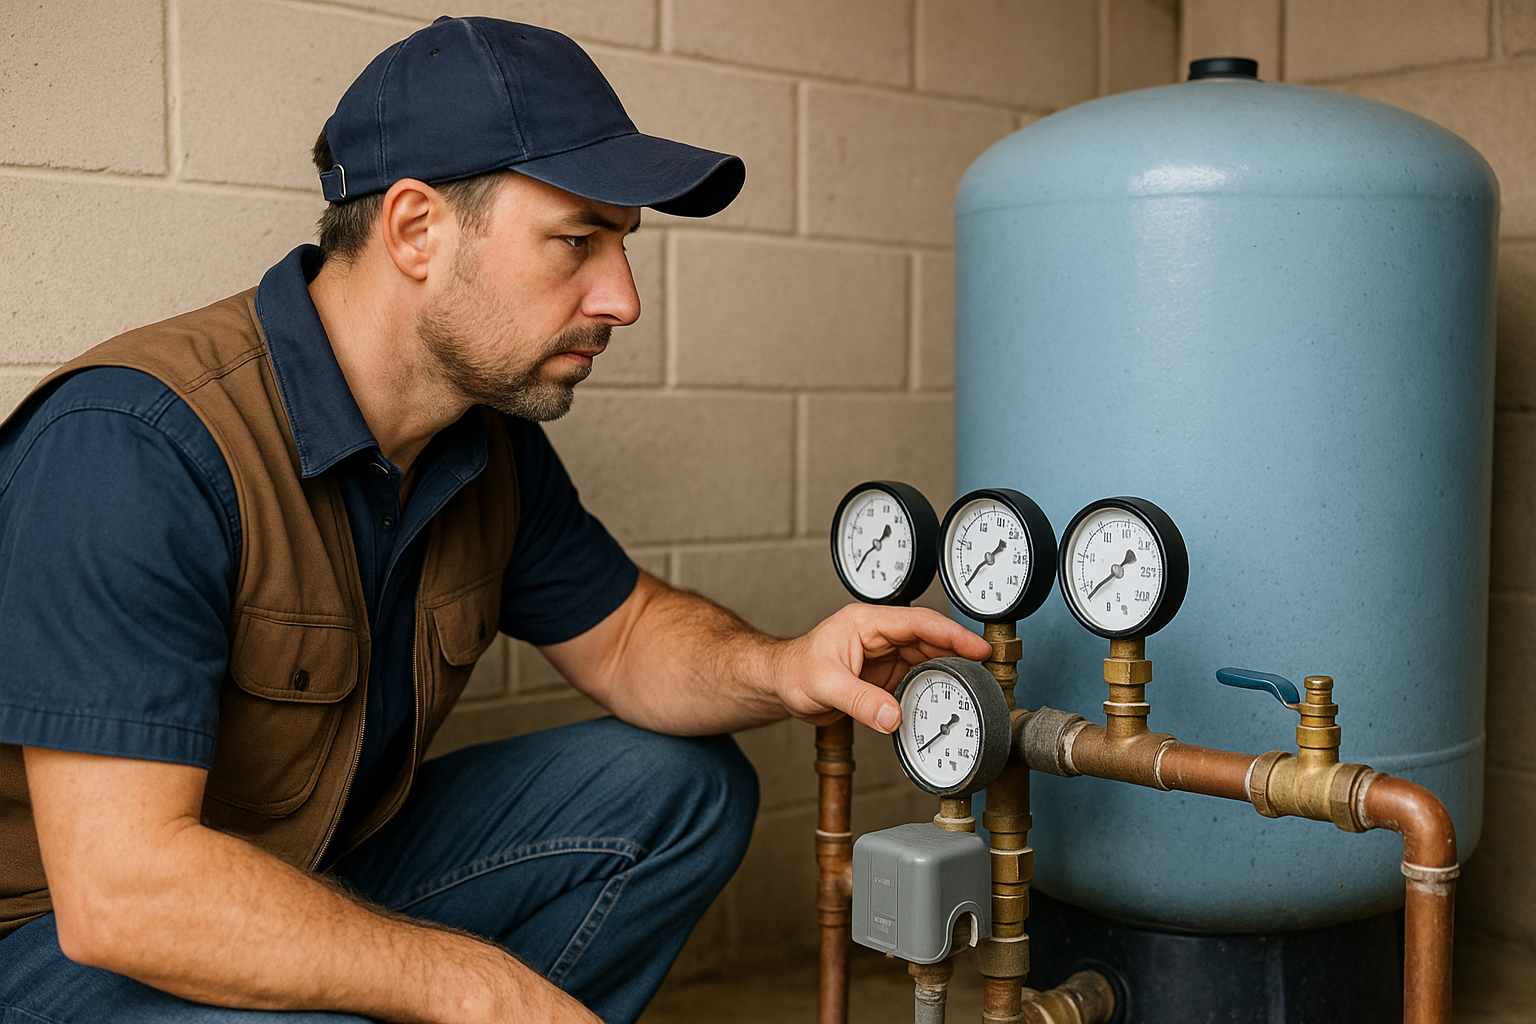
- Turn on the pump. The pump should start and build pressure within 30-60 seconds. Watch the pressure gauge — it should climb steadily to the cut-out pressure.
- If it doesn't catch: Turn off the pump immediately (don't let it run dry for more than 60 seconds — it'll overheat). Repeat the priming process. You may need to pour water faster while simultaneously turning on the pump to "catch" the prime.
Warning: Do not run a jet pump dry for more than 60 seconds. The mechanical seal between the impeller shaft and pump housing is lubricated by water. Running dry causes the seal to overheat, warp, and fail — turning a $0 priming job into a $300-$800 pump repair or replacement.
It Won't Hold Prime — Now What?
If the pump loses prime again within hours or days, priming is a symptom, not the problem. Work through this checklist:
- Check the foot valve. With the pump off, disconnect the suction line at the pump and look down the pipe. If you can blow air down through it easily, the foot valve is stuck open and needs replacement. A working foot valve holds water in the pipe when the pump is off. Replacement: $50-$150 for the valve, but the suction pipe must be pulled from the well to access it.
- Inspect suction line fittings. Check every joint, coupling, and connection between the pump and well for leaks. Even a hairline crack lets in air. Submerge fittings in water if possible — look for bubbles when the pump creates suction.
- Check the priming plug. Apply Teflon tape and tighten. A weeping priming plug slowly drains the pump.
- Test the check valve. If your system has a check valve between the pump and pressure tank, make sure it's not allowing backflow that drains the pump housing.
- Evaluate pump condition. A worn impeller or damaged shaft seal can prevent the pump from maintaining suction. If the pump is 10+ years old and won't hold prime despite a good foot valve and tight fittings, the pump itself is likely the problem.
Should You Switch to a Submersible Pump?
If your jet pump is giving you chronic priming problems, consider replacing it with a submersible system. The advantages are significant:
- No priming ever. The pump sits underwater — it's always primed.
- Higher efficiency. Submersibles push water up; jet pumps pull water up. Pushing is inherently more efficient.
- Quieter. The pump is 100+ feet underground. You hear nothing.
- Longer life. Submersible pumps typically last 8-15 years vs. 5-10 for jet pumps.
- Better pressure. Submersibles maintain more consistent pressure at higher flow rates.
The conversion costs $2,000-$4,000 depending on well depth and involves installing the submersible pump, drop pipe, and wiring inside the well. If your well is deeper than 25 feet (and in San Diego County, it almost certainly is), a submersible is the better long-term investment.
Emergency: No Water and Can't Prime?
If you've tried priming multiple times and the pump won't catch, or you can't hold prime for more than a few minutes: stop trying. Repeated dry-running damages the pump. Call a professional. We carry jet pump parts on our trucks and can diagnose the root cause — foot valve, suction leak, worn pump — on the same visit.
Pump Won't Prime? We'll Fix It or Upgrade It.
From jet pump repair to submersible conversions, we handle it all. Serving San Diego, Riverside, and San Bernardino counties for over 30 years.
Call (760) 440-8520