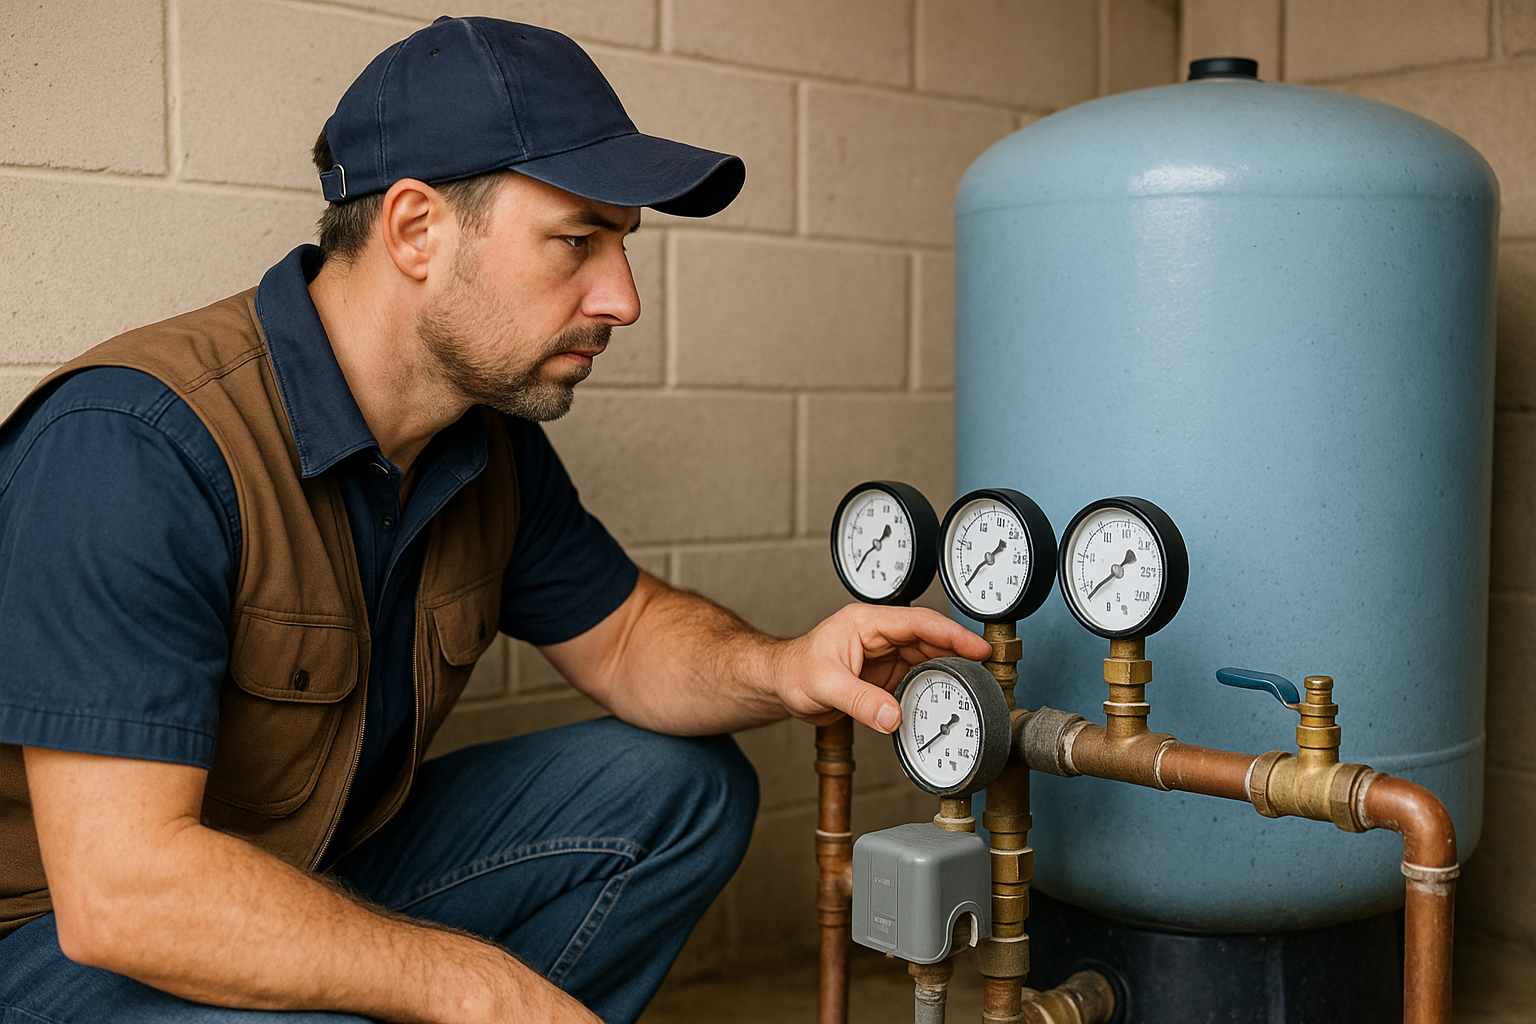
How to Read a Well Pump Pressure Gauge
Your pressure tank is the heart of your well water system—it stores pressurized water so your pump doesn't have to run every time you open a faucet. When something goes wrong with the pressure system, you'll know it immediately. Here's everything you need to know.
How Your Well Pressure System Works
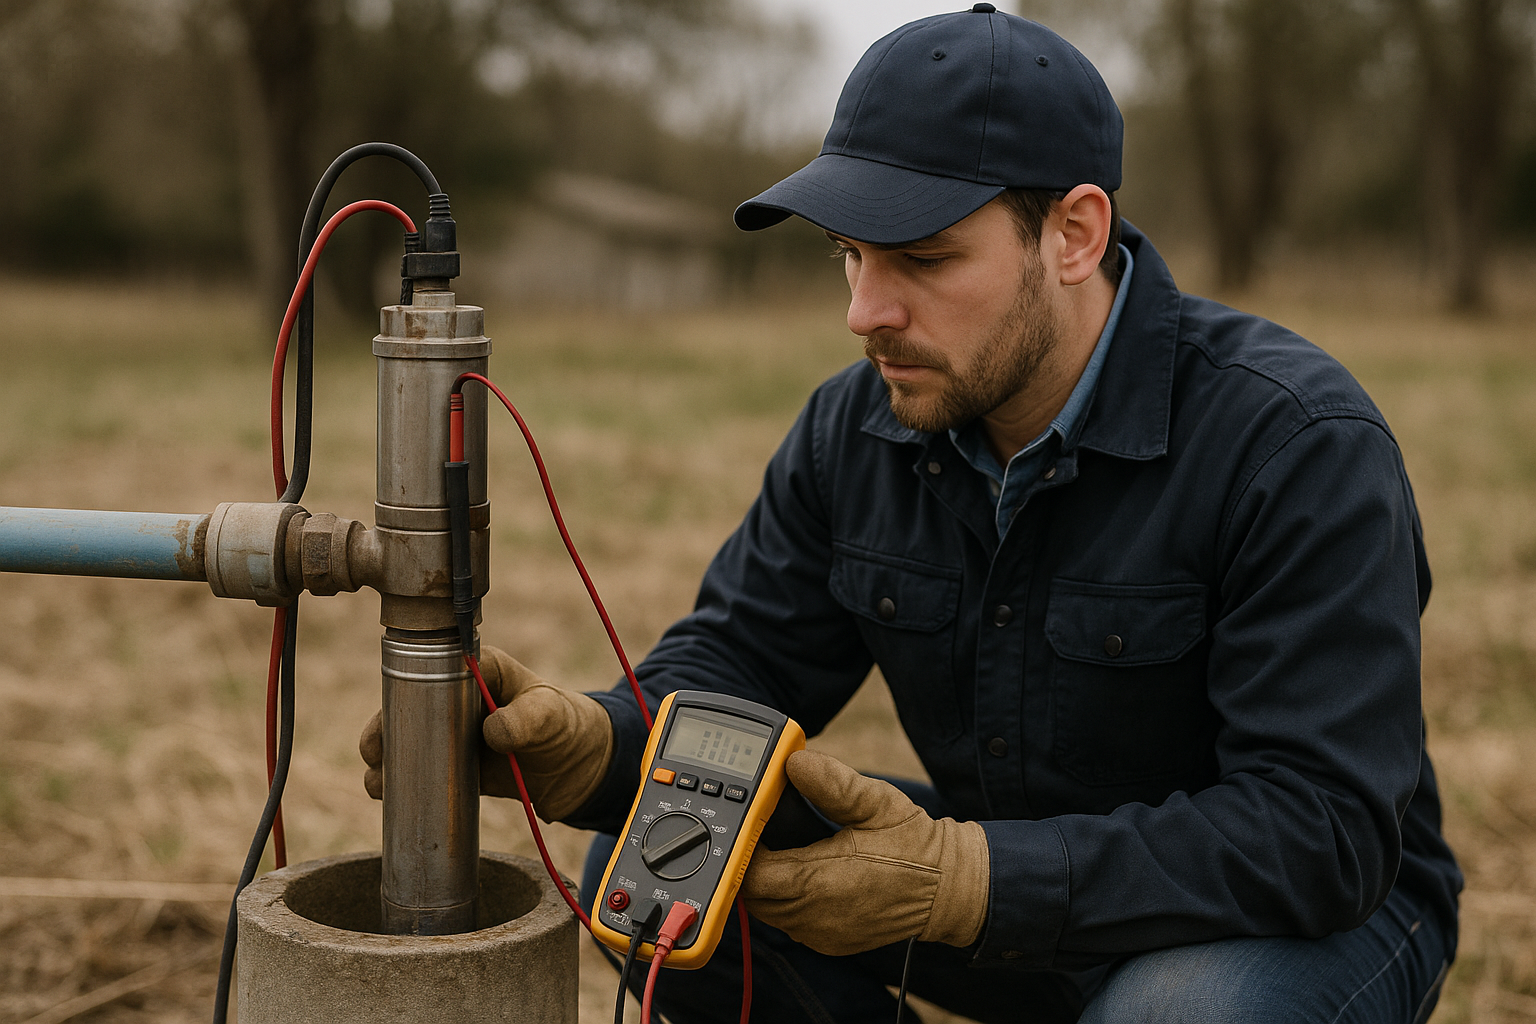
A typical residential well system in San Diego County uses a submersible pump, a pressure tank, and a pressure switch working together:
- The pressure switch monitors water pressure and turns the pump on/off (typically 30/50 PSI or 40/60 PSI)
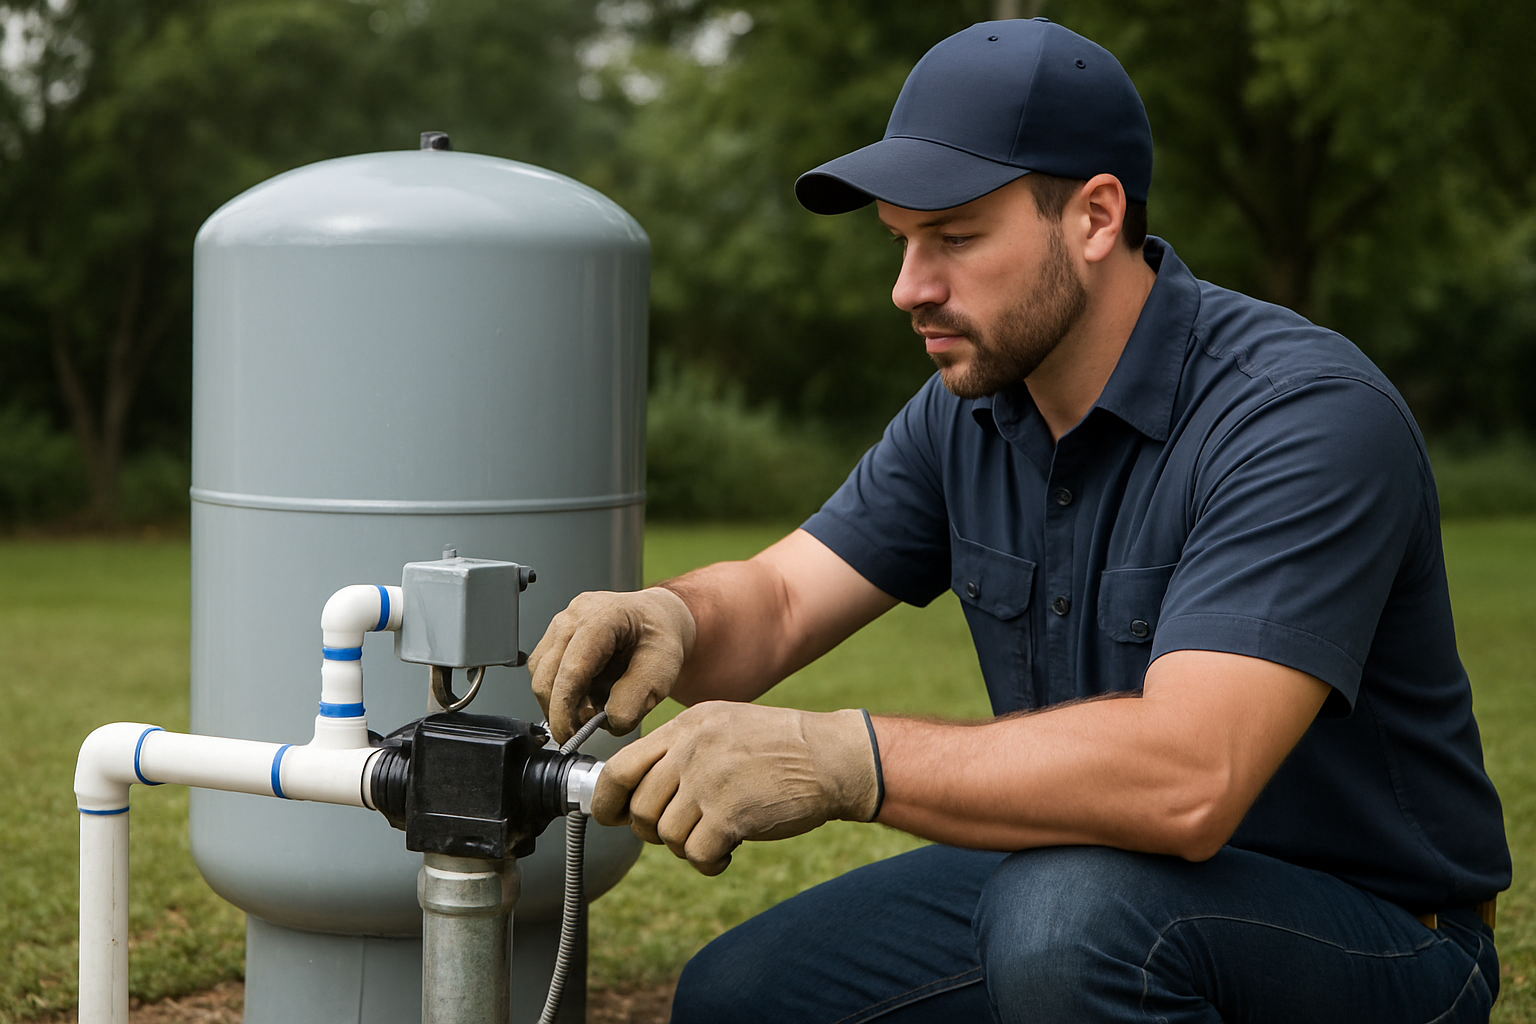
- The pressure tank stores water under pressure using a rubber bladder and air charge
- When you open a faucet, water flows from the tank. When pressure drops to the cut-in point, the pump kicks on
- The pump runs until the tank reaches the cut-out pressure, then shuts off
Common Pressure Tank Problems
- Waterlogged tank (failed bladder): The #1 pressure tank problem. When the internal bladder ruptures, the tank fills with water and loses its air cushion. Signs: pump cycles rapidly (every few seconds), pressure spikes and drops, and the tank feels heavy/full when tapped. This kills pumps fast—a $800 tank replacement prevents a $3,000+ pump replacement.
- Lost air charge: Even with a good bladder, tanks can slowly lose air pressure through the Schrader valve. Check the air charge every 6 months—it should be 2 PSI below your cut-in pressure (28 PSI for a 30/50 system).
- Incorrect sizing: A tank that's too small for your household demand will cause the pump to cycle excessively. Rule of thumb: minimum 1 gallon of drawdown capacity per GPM of pump flow rate.
- Condensation/sweating: Normal in humid conditions. If excessive, insulate the tank or improve ventilation in the pump house.
Pressure Switch Issues
- Burnt contacts: Pressure switch contacts wear out over time (3–7 years typical). Signs: pump won't start, or starts intermittently. Cost to replace: $150–$300 installed.
- Clogged sensing port: Mineral buildup can block the small port that senses pressure. The switch reads wrong pressure and cycles erratically.
- Incorrect settings: Settings that are too close together cause short cycling. Settings too far apart cause pressure extremes. Standard settings work for most homes.
Pressure Tank Sizing Guide
For San Diego County homes, we typically recommend:
- 1–2 bathroom home: 20–32 gallon tank
- 3–4 bathroom home: 44–86 gallon tank
- Large home or irrigation use: 86–119 gallon tank, or multiple tanks
- Horse property or ranch: Often two tanks or a large commercial tank
Replacement Costs in San Diego
- 20-gallon tank: $300–$500 installed
- 44-gallon tank: $500–$800 installed
- 86-gallon tank: $800–$1,200 installed
- Pressure switch: $150–$300 installed
- Pressure gauge: $50–$100 installed
Maintenance Tips
Simple maintenance extends the life of your pressure system significantly:
- Check air charge every 6 months (pump must be off and tank drained)
- Listen for rapid cycling—it's the #1 sign of a waterlogged tank
- Inspect the pressure switch annually for corrosion or burnt contacts
- Keep the area around your pressure tank clean and accessible
- Note your normal operating pressure so you can spot changes early
Need Professional Help?
SCWS has 30+ years of experience serving San Diego, Riverside, and San Bernardino counties. Licensed C-57 contractor (CSLB #1086994).
Call (760) 440-8520