How to Shock Chlorinate a Well: Step-by-Step Guide
Shock chlorination is the standard procedure for disinfecting a private water well. It floods the entire system — well, pipes, pressure tank, water heater — with a strong chlorine solution that kills coliform bacteria, E. coli, iron bacteria, sulfur-reducing bacteria, and other microorganisms. We perform dozens of shock chlorinations per month across San Diego County. Here's exactly how it's done, when you need it, and the mistakes that cause it to fail.
When You Need to Shock Chlorinate
- Positive bacteria test: Total coliform or E. coli detected in your water sample. This is the most common reason.
- After any well work: Pump replacement, well rehabilitation, deepening, or video inspection. Any time the well is opened, bacteria can be introduced.
- After flooding: If surface water reached your wellhead during heavy rains or flooding. Common in low-lying areas after San Diego County's intense winter storms.
- New well: All newly drilled wells must be disinfected before use.
- Sulfur or iron bacteria: Rotten egg smell or orange/black slime in fixtures indicates bacterial colonization in the well.
- Extended non-use: If the well sat idle for months (vacation home, seasonal property). Stagnant water breeds bacteria.
- Property sale: California's AB 2222 requires well testing at sale. If bacteria is detected, shock chlorination is the standard remedy.
What You Need
| Item | Amount | Notes |
|---|---|---|
| Unscented household bleach (8.25% sodium hypochlorite) | 1-3 gallons | Clorox Regular or equivalent. NOT splashless, scented, or "ultra" |
| 5-gallon bucket | 1-2 | For mixing chlorine solution |
| Garden hose | Long enough to reach well | For recirculating water back into well |
| Rubber gloves & eye protection | — | Concentrated bleach is caustic |
| Pipe wrench or well cap tool | — | To remove the well cap or sanitary seal |
| Chlorine test strips (optional) | 1 pack | To verify chlorine has reached all fixtures |
How Much Bleach? The Dosing Calculation
The target is a chlorine concentration of 200 ppm (mg/L) throughout the well and plumbing system. The amount of bleach depends on your well's depth, diameter, and water level:
Quick reference for standard 6" diameter wells (using 8.25% bleach):
- 100 feet of water: ~1/2 gallon bleach
- 200 feet of water: ~1 gallon bleach
- 300 feet of water: ~1.5 gallons bleach
- 400 feet of water: ~2 gallons bleach
- 500+ feet of water: ~2.5-3 gallons bleach
For 8" diameter wells, multiply by 1.8. These are approximations — slightly more is better than not enough.
Don't know your well depth or water level? Check your well completion report (filed with the county), or measure by lowering a weighted string into the well. If you can't determine it, 2 gallons of bleach for a typical 6" residential well is a reasonable default.
Step-by-Step Procedure
Step 1: Prepare (30 minutes)
- Bypass any water treatment equipment (softener, iron filter, UV, RO). Chlorine damages softener resin, UV sleeves, and RO membranes.
- Turn off the water heater (electric: breaker off; gas: pilot off). You don't want to heat chlorinated water — it accelerates corrosion and produces fumes.
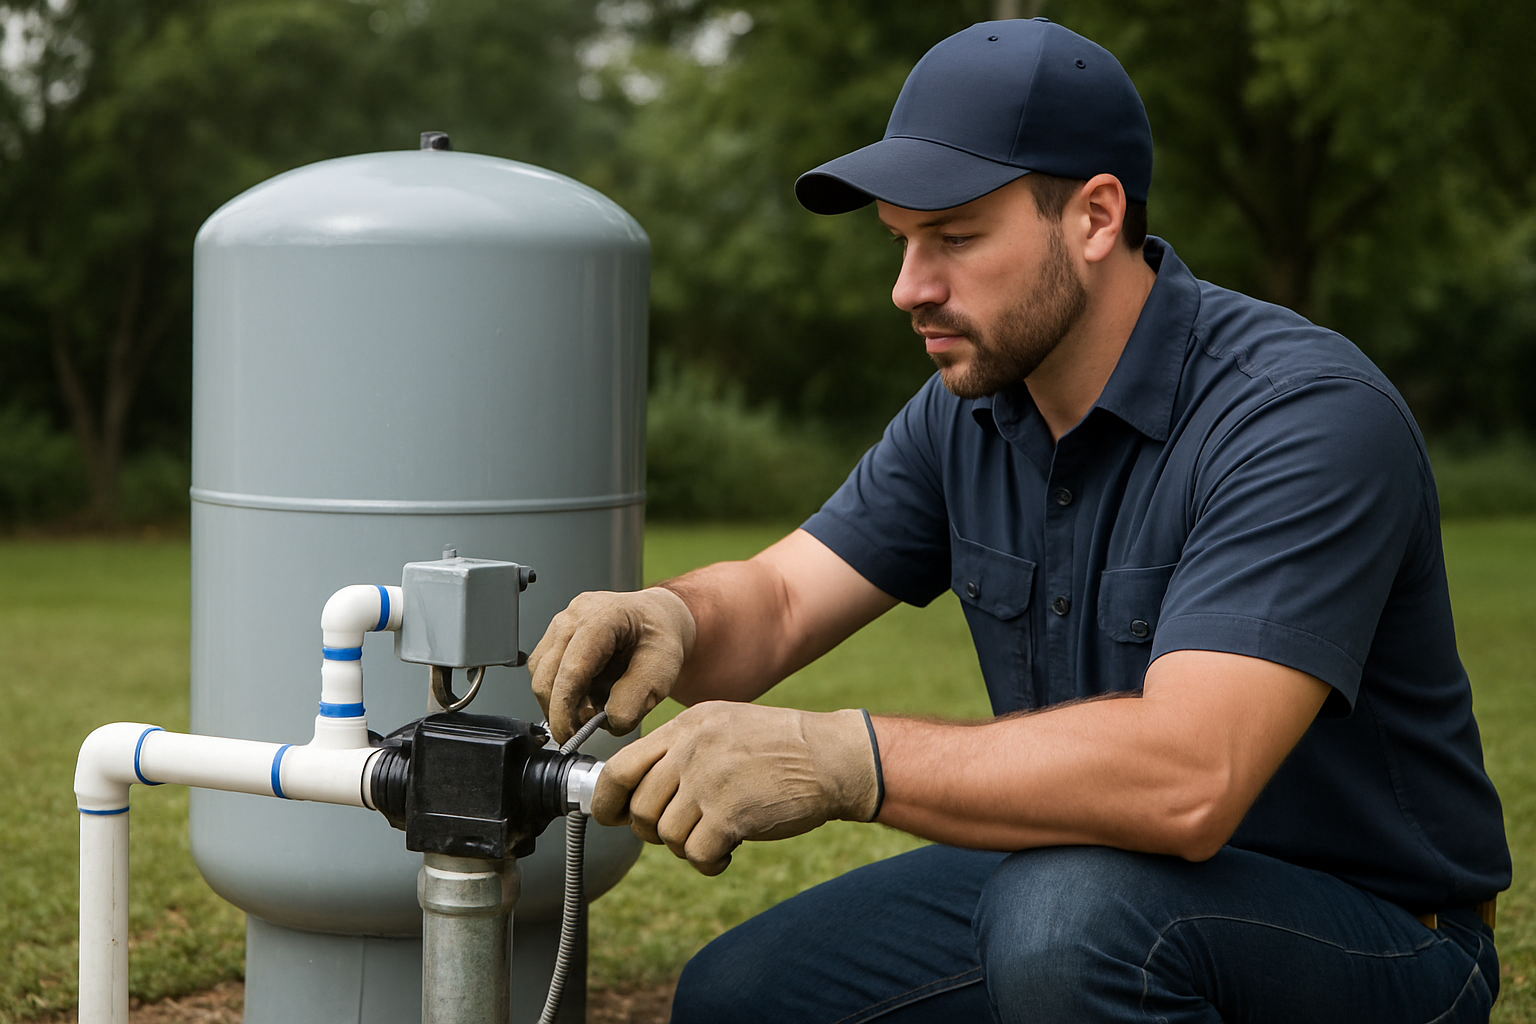
- Remove the well cap or sanitary seal. Inspect the wellhead area — note any cracks, gaps, or damage while you have access.
- Mix the bleach with 5 gallons of water in a bucket. Never pour undiluted bleach directly into the well — it sinks to the bottom without mixing and can damage the pump.
Step 2: Introduce Chlorine (15 minutes)
- Pour the diluted chlorine solution into the well casing through the opening
- Connect a garden hose from an outdoor faucet and run it back into the well opening
- Turn on the pump and recirculate for 15-30 minutes. This mixes the chlorine throughout the well water column and rinses down the inside of the casing
- You should smell strong chlorine coming from the hose. If not, add more bleach.
Step 3: Distribute Through Plumbing (30-45 minutes)
- Turn off the recirculating hose and replace the well cap
- Go inside and open every hot and cold faucet, one at a time: kitchen, bathrooms, laundry, shower, tub, outdoor hose bibs
- Run each fixture until you smell chlorine, then shut it off
- Don't forget: toilet tanks (flush each toilet and let the tank refill with chlorinated water), dishwasher (run a short cycle), washing machine (run a short cycle), refrigerator ice/water line
- Use chlorine test strips to verify at least 50 ppm at the last fixture in the house
Step 4: Wait (12-24 Hours)
Do not use any water for at least 12 hours. 24 hours is better. The chlorine needs contact time to kill bacteria, especially biofilm bacteria that cling to surfaces inside the well casing and pipes. During this time:
- Don't flush toilets, run faucets, do laundry, or use the dishwasher
- Don't let water through treatment equipment
- Plan ahead: fill containers with bottled water for drinking, cooking, and basic needs
Step 5: Flush the System (1-3 Hours)
- Flush the well first: Connect a hose to an outdoor faucet and run it away from landscaping, septic systems, and storm drains. Run until chlorine smell is gone (1-3 hours depending on well volume). Chlorinated water kills grass and plants.
- Then flush indoor fixtures: Open every faucet (cold then hot) and run until chlorine is gone. Flush each toilet twice.
- Reconnect treatment equipment: Put your softener, filters, UV, etc. back in service
- Relight water heater: Turn the breaker or pilot back on
Important: Do NOT drain large amounts of chlorinated water into your septic system. The chlorine kills the beneficial bacteria that make your septic system work. Always flush through an outdoor hose that drains to a non-sensitive area, away from the septic drain field.
Step 6: Retest (2 Weeks Later)
Wait at least 14 days after flushing before retesting for bacteria. Testing too soon can produce false negatives — residual chlorine kills bacteria in the sample container, not in the well. The 2-week wait allows any surviving bacteria to recolonize to detectable levels. If the retest is clear, you're done. If bacteria returns, the contamination source hasn't been eliminated and needs further investigation.
Why Shock Chlorination Fails: The 5 Most Common Mistakes
- Not enough chlorine. The water must reach 200+ ppm. Using one cup of bleach in a 400-foot well does basically nothing. Use the dosing chart above.
- Not enough contact time. Minimum 12 hours, 24 is better. Biofilm bacteria are protected by their slime layer and need extended contact to be killed.
- Not recirculating. If you just pour bleach into the well without recirculating, it sinks to the bottom and never contacts the upper portion of the casing where biofilm is thickest.
- Missing the plumbing. The chlorine needs to reach every pipe, valve, and fixture. One unchlorinated dead leg of plumbing can recontaminate the entire system.
- Not fixing the source. If bacteria is entering through a cracked well seal, damaged casing, or nearby septic system, chlorination is a temporary fix. The bacteria will return. You must find and eliminate the contamination pathway.
When to DIY vs. Hire a Professional
DIY is reasonable if:
- You can safely access and remove the well cap
- You know (approximately) your well depth and diameter
- It's a routine disinfection after a borderline bacteria test
- You're comfortable working with concentrated bleach solutions
Hire a professional if:
- E. coli was detected (not just total coliform) — this indicates a serious contamination source
- Bacteria keeps returning after previous chlorination
- You suspect well structural damage (cracked casing, failed seal)
- The well is deep (300+ feet) or has complicated plumbing
- You're treating iron bacteria or sulfur bacteria (may require stronger solutions or well brushing)
Professional Shock Chlorination: What We Do Differently
When SCWS performs a shock chlorination, we go beyond the basic procedure:
- Wellhead inspection: We check the sanitary seal, casing condition, and wellhead for contamination pathways before chlorinating
- Professional-grade chlorine: We use calcium hypochlorite granules (pool shock) at 65-73% concentration — far more effective per pound than household bleach, and doesn't degrade on the shelf
- Agitation: For iron bacteria and biofilm, we may use a well brush or surge the well to physically disrupt the biofilm before chlorinating
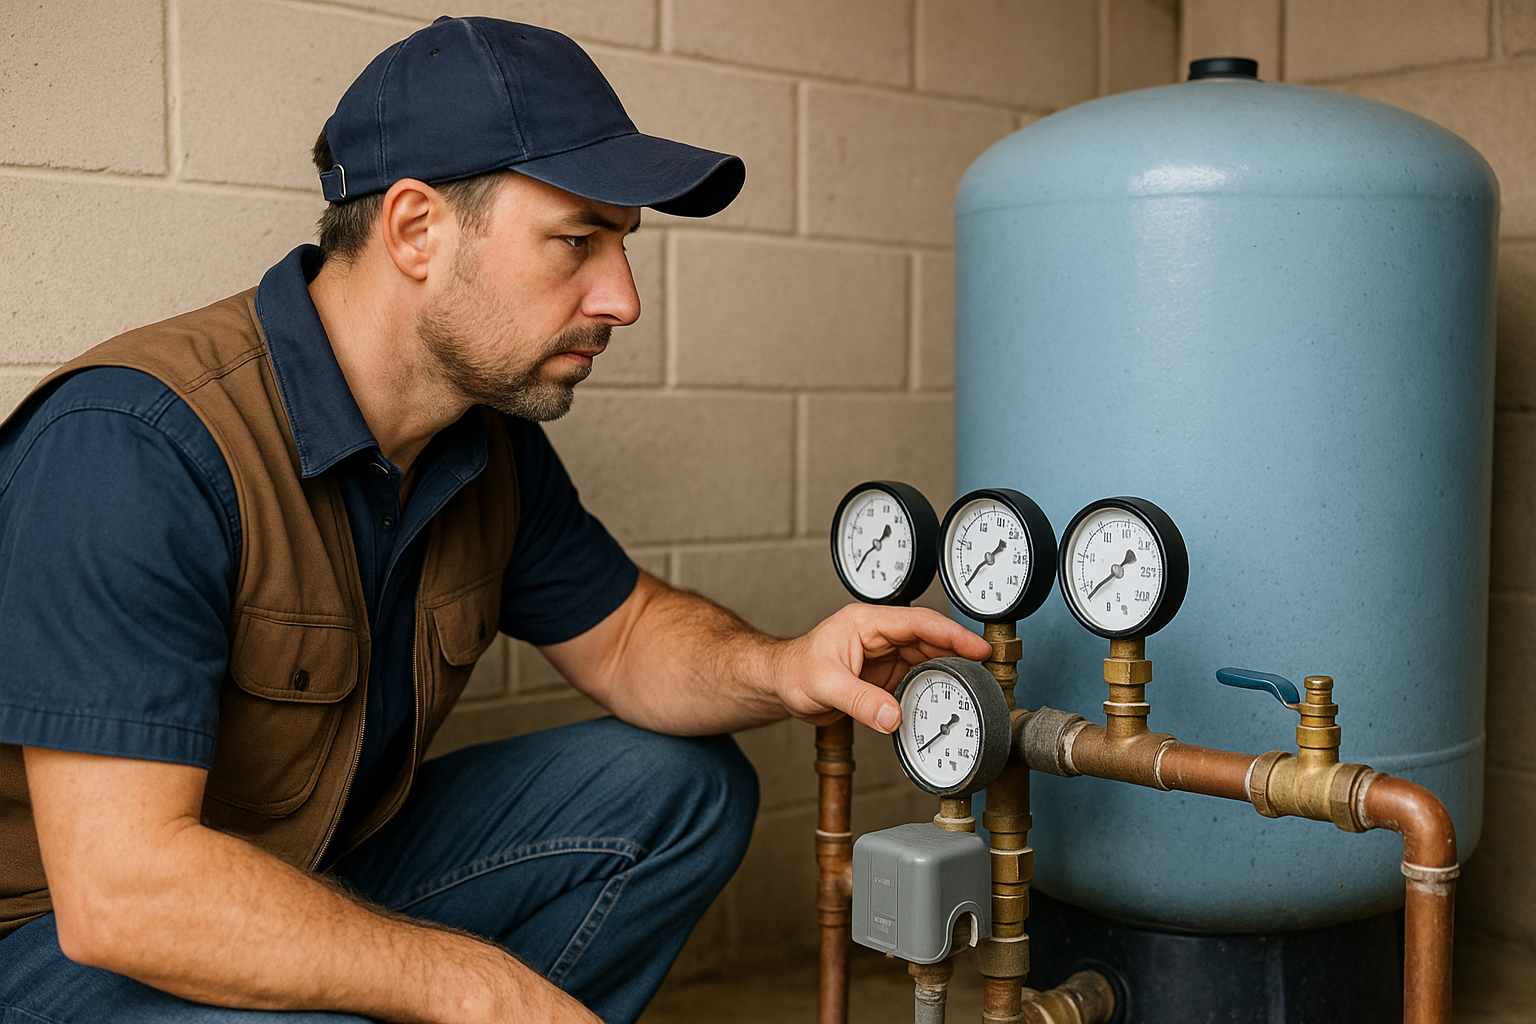
- Verification: We test chlorine residual at multiple points to confirm thorough distribution
- Follow-up: We coordinate the retest and interpret results
Cost: $200-$500 depending on well depth and complexity. For recurring bacteria problems, we'll also investigate the contamination source — that diagnostic work is where the real value lies.
Bacteria in Your Well Water?
We'll shock chlorinate your well, find the contamination source, and make sure it doesn't come back. Serving all of San Diego, Riverside, and San Bernardino counties.
Call (760) 440-8520