How to Install a Well Pressure Tank: Step-by-Step Guide
Updated February 2026 | 12 min read
📋 In This Guide
- What You'll Need
- Step 1: Choose the Right Tank Size
- Step 2: Turn Off Power and Drain System
- Step 3: Set Tank Precharge (CRITICAL)
- Step 4: Position and Connect Tank
- Step 5: Wire the Pressure Switch
- Step 6: Test the System
- Troubleshooting Common Problems
- When to Call a Professional
- Frequently Asked Questions
- Related Pressure Tank Guides
Your well pressure tank is the heart of your water delivery system. It stores water under pressure so your pump doesn't run every time you turn on a faucet. When it fails—or when you're installing a new well system—proper installation is critical. This guide walks you through the complete process, whether you're a DIYer or just want to understand what your plumber should be doing.
⚠️ Safety Warning
Pressure tank installation involves electrical work and pressurized water systems. If you're not comfortable with both plumbing and electrical basics, hire a professional. Improper installation can damage your pump, flood your home, or create electrical hazards.
What You'll Need
Tools
- Pipe wrenches (2)
- Adjustable wrench
- Screwdrivers (flathead and Phillips)
- Pressure gauge
- Air compressor or bicycle pump with gauge
- Teflon tape (yellow for gas, white for water)
- Bucket and rags
- Voltage tester
Materials
- New pressure tank (sized for your system)
- Pressure switch (if replacing)
- Tee fitting
- Nipples and unions as needed
- Check valve (if not already present)
- Pressure gauge (if not integrated)
Step 1: Choose the Right Tank Size
Before installation, ensure you have the correct tank size:
| Pump GPM | Minimum Tank Size | Recommended |
|---|---|---|
| 5-10 GPM | 20 gallon | 30-40 gallon |
| 10-16 GPM | 30 gallon | 44-52 gallon |
| 16-25 GPM | 44 gallon | 62-86 gallon |
| 25+ GPM | 62 gallon | 86-119 gallon |
Why size matters: An undersized tank causes short-cycling—the pump turns on and off frequently, wearing it out prematurely. A larger tank reduces cycling and provides more water during peak demand.
Step 2: Turn Off Power and Drain System
- Turn off the circuit breaker to the well pump. Verify power is off with a voltage tester at the pressure switch.
- Close the main shutoff valve (if present) between the well and house.
- Open faucets at the lowest point in the house to drain the system.
- Open the drain on the old tank (if present) or disconnect at the lowest point.
- Wait for complete drainage before disconnecting plumbing.
💡 Pro Tip
Have towels and a bucket ready. Even "drained" systems hold water in low points that will spill when you disconnect fittings.
Step 3: Set Tank Precharge (CRITICAL)
This step must be done BEFORE adding water to the tank. The air precharge is what allows the tank to function properly.
- Find the air valve on top of the tank (looks like a tire valve).
- Check factory precharge with a tire pressure gauge. Most tanks ship at 38 PSI.
- Determine correct precharge: It should be 2 PSI below your cut-in pressure.
- 30/50 switch → 28 PSI precharge
- 40/60 switch → 38 PSI precharge
- 20/40 switch → 18 PSI precharge
- Adjust as needed using a bicycle pump (to add air) or by pressing the valve core (to release air).
❌ Common Mistake
Never check or adjust precharge with water in the tank. You'll get a false reading. The tank must be completely drained to accurately measure air pressure.
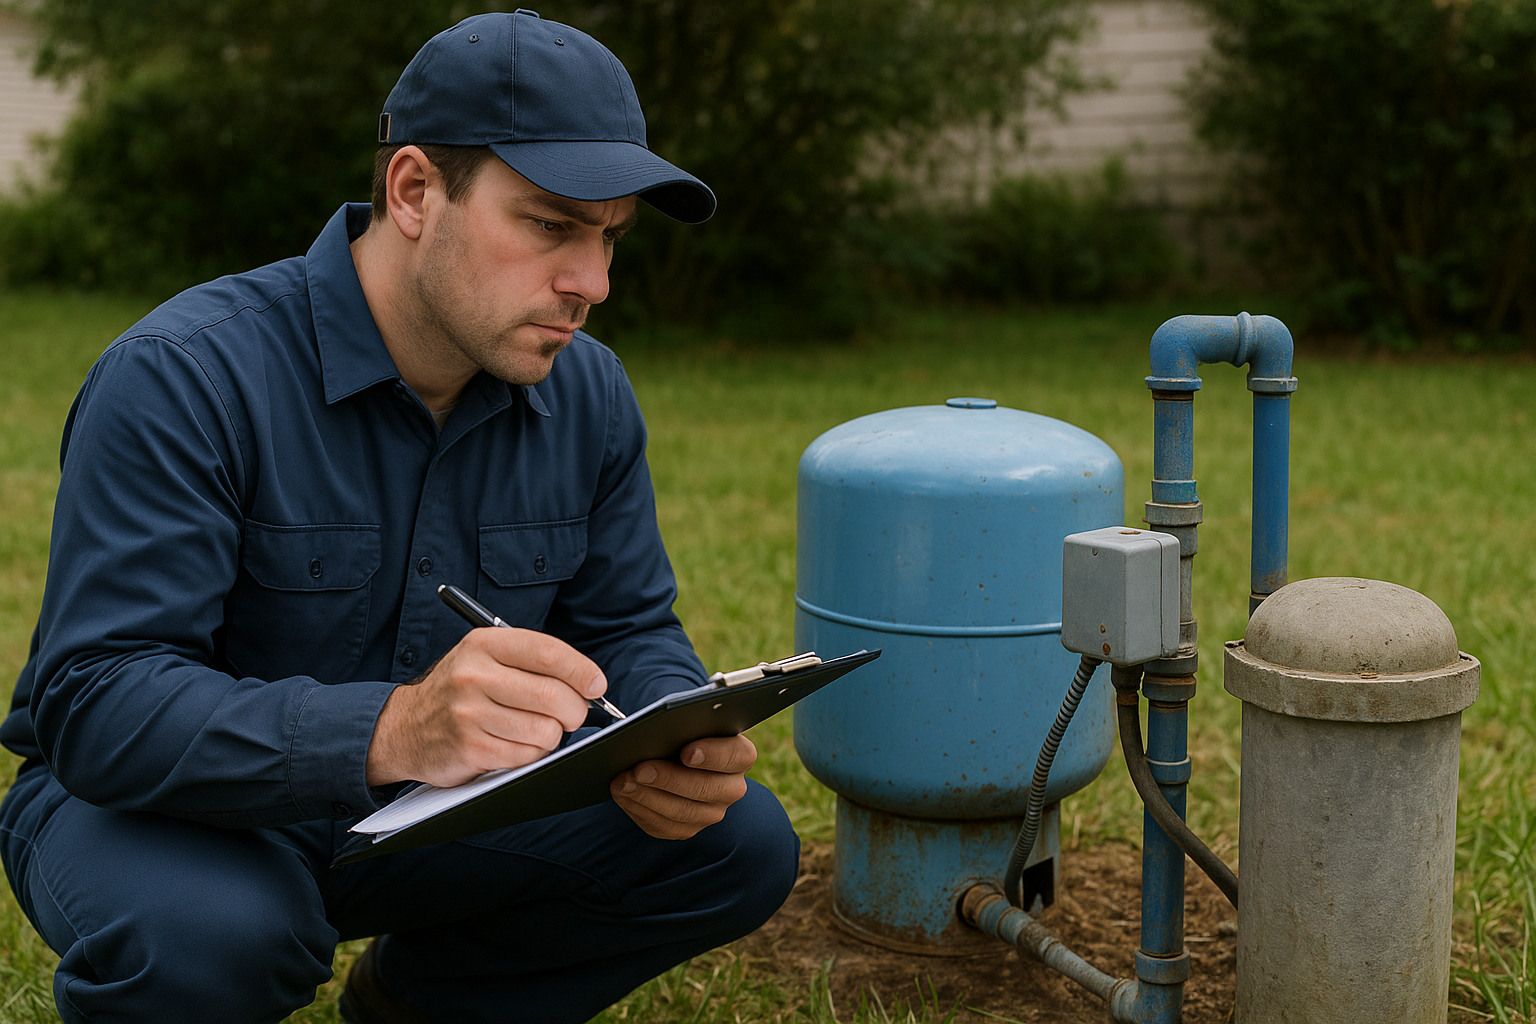
Step 4: Position and Connect Tank
- Position the tank on a level surface. Allow space for maintenance access.
- Wrap all male threads with Teflon tape (3-4 wraps clockwise).
- Connect the tee fitting to the tank inlet (usually bottom or side).
- Install components in order:
- Check valve (arrow pointing toward tank)
- Pressure gauge
- Pressure switch
- Union fitting (for future service access)
- Connect inlet plumbing from the well/pump.
- Connect outlet plumbing to the house.
- Hand-tighten first, then use wrenches for 1-2 additional turns. Don't over-tighten.
Step 5: Wire the Pressure Switch
Warning: If you're not comfortable with electrical work, stop here and call a professional.
- Verify power is OFF at the breaker and test with a voltage tester.
- Connect line (power in) wires to the L1 and L2 terminals.
- Connect load (pump) wires to the T1 and T2 terminals.
- Connect ground wire to the grounding terminal.
- Ensure all connections are tight and no bare wire is exposed outside terminals.
- Replace the pressure switch cover.
Step 6: Test the System
- Close all faucets that were opened for draining.
- Turn on the circuit breaker.
- Listen for the pump to start. It should run until reaching cut-out pressure.
- Check for leaks at every connection while pressurized.
- Open a faucet and watch the pressure gauge:
- Pressure should drop slowly
- Pump should kick on at cut-in pressure
- Pump should shut off at cut-out pressure
- Time the pump cycle. A proper installation should run at least 1 minute between cycles.
✅ Success Indicators
- • No leaks at any connection
- • Pump cycles properly at correct pressures
- • At least 1 minute run time per cycle
- • Good water pressure at fixtures
Troubleshooting Common Problems
Pump Short-Cycles (Runs Frequently)
- Cause: Incorrect precharge or failed bladder
- Fix: Drain tank completely, check/adjust precharge. If bladder has failed (water comes from air valve), replace tank.
Low Pressure at Fixtures
- Cause: Precharge too high, clogged pipes, or undersized tank
- Fix: Check precharge (should be 2 PSI below cut-in). Inspect for obstructions.
Pump Won't Turn On
- Cause: Pressure switch wiring, bad switch, or no power
- Fix: Check electrical connections, test switch contacts, verify power at breaker.
Pump Won't Shut Off
- Cause: Pressure switch set too high, leak in system, or pump can't build enough pressure
- Fix: Adjust pressure switch, check for leaks, verify pump is working properly.
When to Call a Professional
Consider professional installation if:
- You're not comfortable with electrical work
- Plumbing modifications are needed beyond simple connections
- You're upgrading to a significantly larger tank
- Your system has unusual configuration
- You want warranty protection on the work
Need Professional Installation?
Southern California Well Service installs and replaces pressure tanks throughout San Diego, Riverside, and San Bernardino Counties. We ensure proper sizing, correct precharge, and leak-free connections—with a warranty on our work.
We install Well-X-Trol (Amtrol) and Flexcon pressure tanks — industry-leading bladder tanks that outlast standard diaphragm models. Proper sizing with a quality tank can double your pump's lifespan.
Frequently Asked Questions
How long does it take to install a pressure tank?
A typical pressure tank replacement takes 1-2 hours for a professional. DIY installation may take 2-4 hours depending on experience and whether any plumbing modifications are needed.
What size pressure tank do I need?
Most residential wells use 20-80 gallon tanks. The correct size depends on pump flow rate (GPM). A common guideline: tank gallons should be at least 1 gallon per GPM of pump flow. A 10 GPM pump typically pairs with a 30-50 gallon tank.
Can I install a pressure tank myself?
Technically yes, if you're comfortable with plumbing and basic electrical work. However, professional installation ensures proper sizing, correct precharge, and leak-free connections. Mistakes can cause short-cycling (damaging your pump) or water damage.
What is the correct air pressure for a pressure tank?
The air precharge should be set to 2 PSI below the cut-in pressure. If your pressure switch is set to 30/50 (cuts in at 30, cuts out at 50), the tank precharge should be 28 PSI. This must be checked with no water in the tank.