Spring Well Maintenance Checklist
Regular maintenance is the difference between a well that lasts 50+ years and one that becomes an expensive headache. Most well problems we see could have been prevented with basic annual maintenance. Here's your complete guide.
Annual Well Maintenance Checklist
These items should be checked at least once a year—ideally in spring before the hot, high-demand summer months:
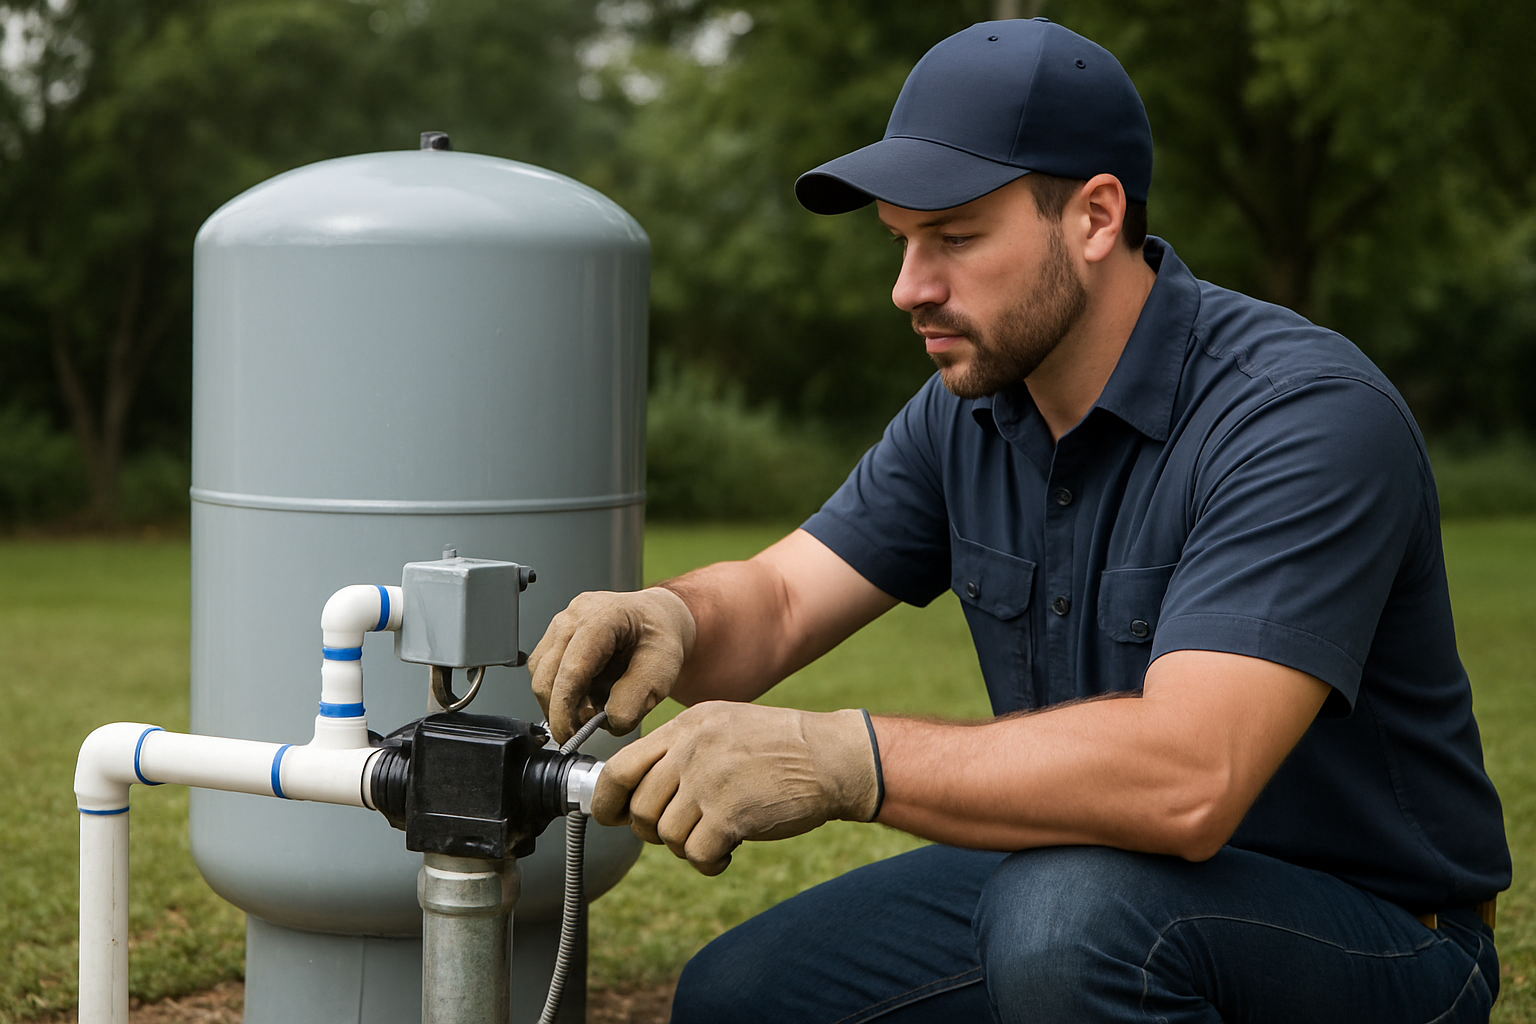
- Inspect the wellhead. Look for cracks in the well cap, damaged sanitary seal, standing water around the casing, or signs of pest entry. The well cap should be securely fastened and the area graded to drain water away.
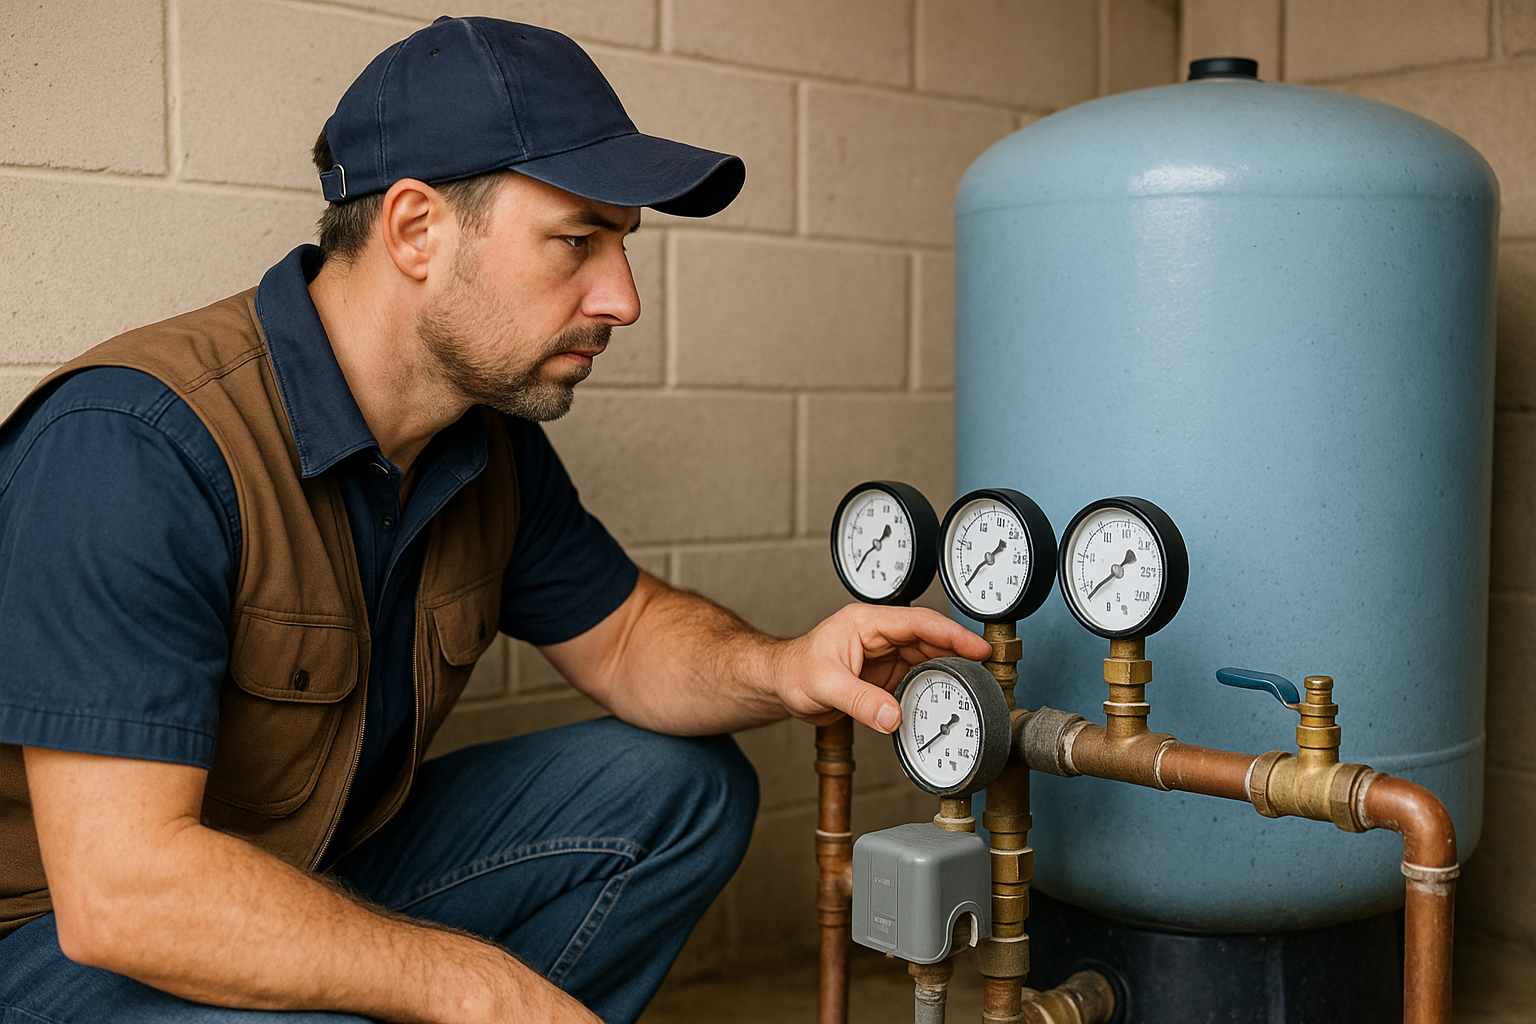
- Check the pressure tank air charge. Turn off the pump, drain the tank, and check the Schrader valve with a tire gauge. It should read 2 PSI below your cut-in pressure (28 PSI for a 30/50 system). Top off with a bicycle pump if low.
- Test water quality. At minimum, test for coliform bacteria and nitrates annually. California recommends this for all private wells. Cost: $30–$100 through your county health department or a certified lab.
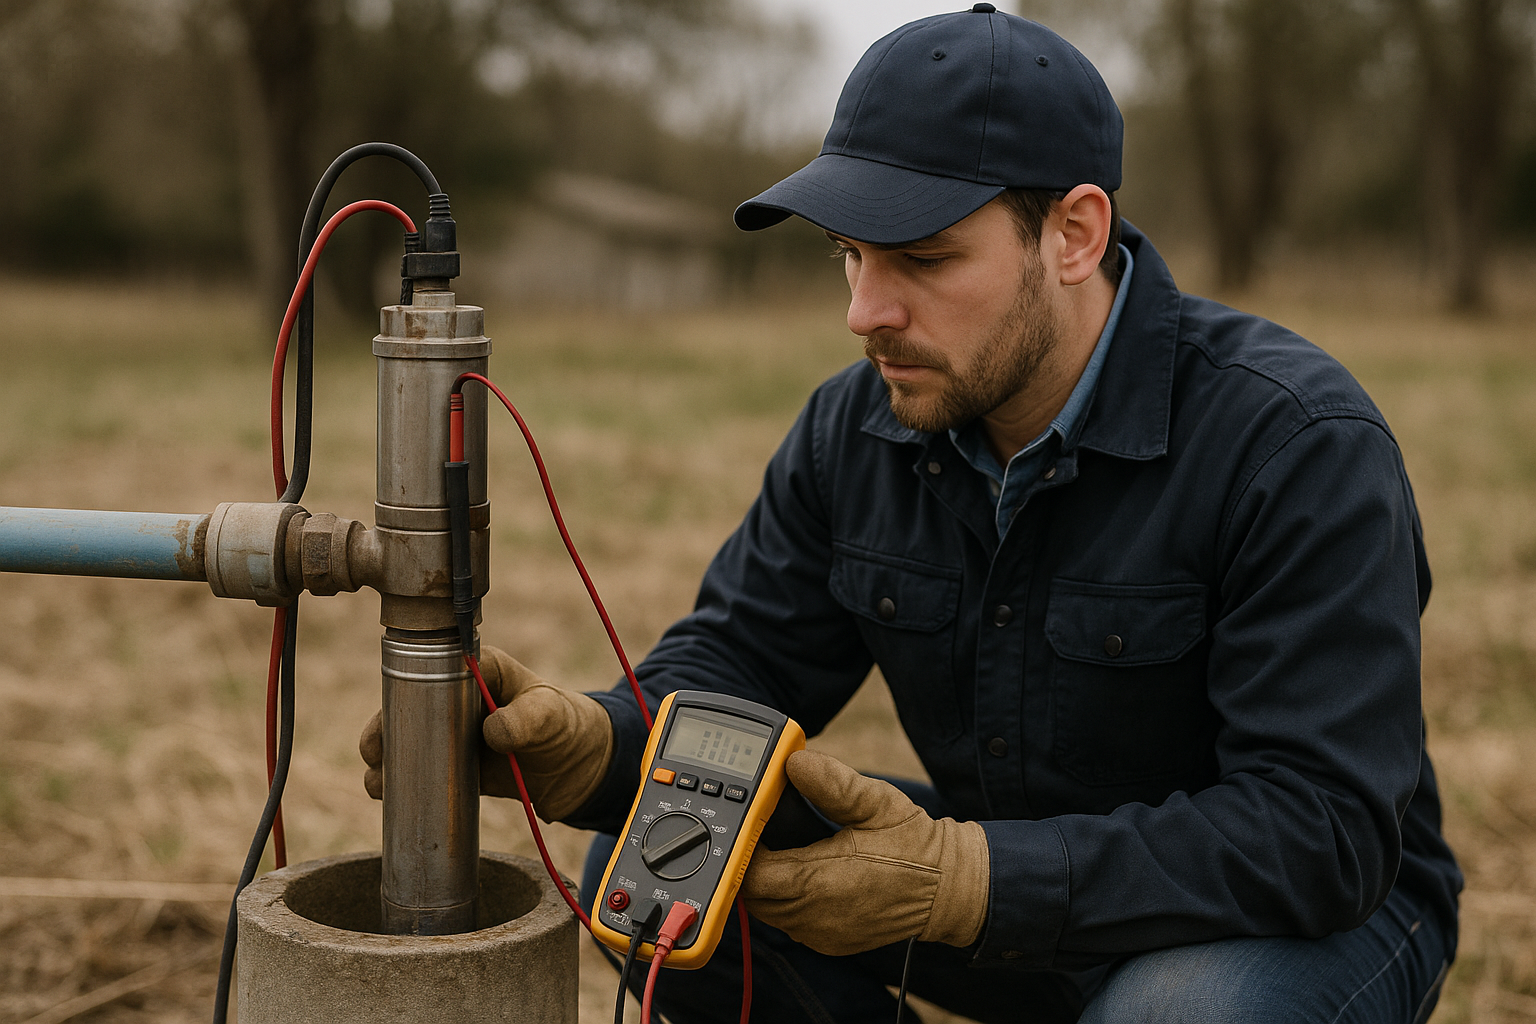
- Check electrical connections. Look for corrosion, loose wires, or burn marks at the pressure switch and control box. Tighten connections and clean contacts if needed. Turn off power first!
- Note the pump's performance. Record the pressure gauge readings during a normal cycle. Changes from year to year can indicate developing problems before they become emergencies.
- Inspect exposed piping. Look for leaks, corrosion, or frost damage on all visible pipes and fittings.
Seasonal Considerations for SoCal
Spring
- Best time for annual inspection and water testing
- Check irrigation system connections before turning on for the season
- Clear any debris from around the wellhead
Summer
- Monitor for low water signs (air in lines, reduced pressure during peak use)
- Stagger irrigation schedules to avoid overtaxing the well
- Check control box for overheating in direct sun (add a shade structure if needed)
Fall
- Clean up leaves and debris around wellhead before winter rains
- Ensure grading still directs water away from the well
- Reduce irrigation as plants go dormant
Winter
- In mountain areas (Julian, Palomar, Pine Valley): insulate exposed pipes and the pressure tank
- Keep a trickle of water flowing during hard freezes to prevent pipe bursts
- Check for storm damage to wellhead and electrical components
How to Prime a Well Pump
If you've lost prime (air in the system after power outage or maintenance), here's the basic process for a jet pump:
- Turn off power to the pump
- Remove the priming plug on the pump housing
- Pour water into the pump until it's full
- Replace the plug
- Turn on power and let the pump build pressure
- May need to repeat 2–3 times if air is in the lines
Note: Submersible pumps are self-priming and shouldn't lose prime unless there's a leak in the drop pipe or a failed check valve.
When to Call a Professional
DIY maintenance is great for basic inspections and monitoring, but call a licensed contractor for:
- Any electrical work beyond visual inspection
- Positive bacteria tests (shock chlorination should be done by a pro)
- Declining well yield or water level changes
- Pump replacement or well work of any kind
- Annual comprehensive inspection (peace of mind for a few hundred dollars)
Need Professional Help?
SCWS has 30+ years of experience serving San Diego, Riverside, and San Bernardino counties. Licensed C-57 contractor (CSLB #1086994).
Call (760) 440-8520