Well Shock Chlorination
Well water treatment is about matching the right solution to your specific water chemistry. Unlike municipal water that's already treated, private well water reflects the raw geology of your area—which in Southern California means dealing with hardness, iron, manganese, and sometimes more serious contaminants.
Start With Testing
Before buying any treatment equipment, get your water tested. A comprehensive well water test ($100–$300 from a certified lab) tells you exactly what you're dealing with:
- Basic test (annually): Coliform bacteria, nitrates, pH, total dissolved solids (TDS)
- Comprehensive test (every 3–5 years): Adds iron, manganese, hardness, arsenic, lead, fluoride, sulfate, chloride
- Specialty tests (as needed): Pesticides, VOCs, PFAS, radiological
Common Treatment Systems
Water Softeners
San Diego County well water is notoriously hard (15–50+ grains per gallon in many areas). Water softeners use ion exchange to remove calcium and magnesium.
- Cost: $1,000–$3,000 installed
- Maintenance: Salt refills every 4–8 weeks ($5–$10/bag)
- Benefits: Protects plumbing, improves soap efficiency, eliminates scale
Iron and Manganese Filters
Common in areas with granite geology (Ramona, Julian, Alpine). These systems oxidize dissolved metals and filter them out.
- Cost: $800–$2,500 installed
- Types: Birm, Greensand Plus, air injection oxidation
- Benefits: Eliminates staining, metallic taste, orange/brown discoloration
UV Disinfection
Kills bacteria and viruses using ultraviolet light—no chemicals added to your water.
- Cost: $500–$1,500 installed
- Maintenance: Lamp replacement annually (~$100), sleeve cleaning
- Best for: Ongoing bacteria concerns, or as insurance after a positive coliform test
Reverse Osmosis (Point-of-Use)
Installed under the kitchen sink for drinking/cooking water. Removes virtually everything including TDS, arsenic, nitrates, and fluoride.
- Cost: $200–$600 installed
- Maintenance: Filter changes 1–2 times per year ($50–$100)
- Note: Wastes 2–4 gallons for every gallon produced
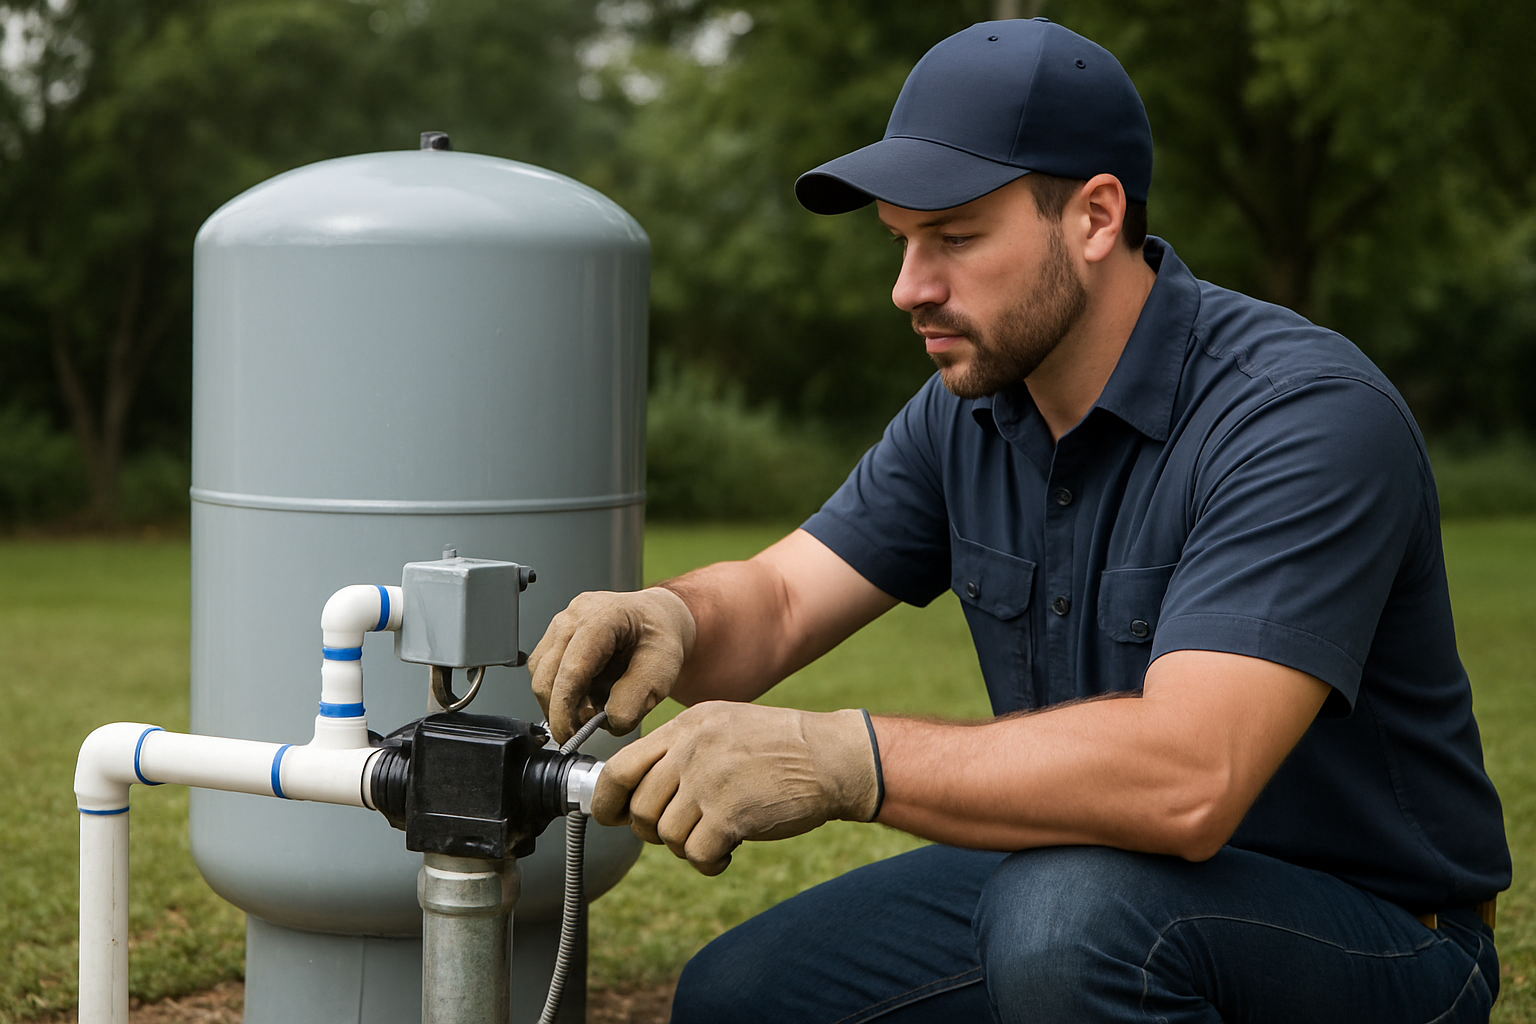
Shock Chlorination
A one-time treatment that flushes the entire well and plumbing system with chlorine to kill bacteria. Required after well work, positive bacteria tests, or flooding.
- Cost: $200–$500 (professional service)
- Process: Pour chlorine solution into well, circulate through all fixtures, let sit 12–24 hours, flush until chlorine-free
- Retest 2 weeks after for bacteria
Choosing the Right System
The right treatment depends entirely on what's in your water. We see homeowners waste thousands on equipment they don't need because they bought based on a salesperson's recommendation instead of test results. Get tested first, then buy what you actually need.
SCWS can help you interpret your water test results and recommend appropriate treatment. We're not a water treatment equipment company—we're well service professionals who want your entire system working right.
Need Professional Help?
SCWS has 30+ years of experience serving San Diego, Riverside, and San Bernardino counties. Licensed C-57 contractor (CSLB #1086994).
Call (760) 440-8520