How to Adjust Well Pressure Switch: Step-by-Step Guide
📋 In This Guide
Understanding Pressure Settings
Cut-In and Cut-Off
- Cut-in pressure: When pump turns ON (e.g., 30 PSI)
- Cut-off pressure: When pump turns OFF (e.g., 50 PSI)
- Differential: The range between them (20 PSI in this example)
Common Settings
| Setting | Cut-In | Cut-Off | Best For |
|---|---|---|---|
| 20/40 | 20 PSI | 40 PSI | Basic systems |
| 30/50 | 30 PSI | 50 PSI | Most common |
| 40/60 | 40 PSI | 60 PSI | Higher pressure needs |
| 50/70 | 50 PSI | 70 PSI | Multi-story, sprinklers |
The Two Adjustment Nuts
- Large nut (range nut): Adjusts BOTH cut-in and cut-off equally
- Small nut (differential nut): Adjusts ONLY the cut-off (changes the range)
When to Adjust Pressure
Reasons to Increase Pressure
- Weak water flow at fixtures
- Poor shower pressure
- Sprinklers not reaching properly
- Multi-story home needs more pressure upstairs
Reasons to Decrease Pressure
- Pump can't reach current cut-off setting
- Excessive pressure causing leaks or pipe stress
- Water heater relief valve releasing
Don't Adjust If
- Not comfortable working with electrical components
- System has other problems (leaks, worn pump)
- Unsure of pump's maximum pressure capability
Step-by-Step Adjustment
Tools Needed
- Flathead screwdriver or 7/16" wrench
- Pressure gauge (to verify results)
Step 1: Turn Off Power
- Go to circuit breaker panel
- Turn off breaker for well pump
- Verify power is off (pump won't run)
⚠️ Never work on the switch with power on!
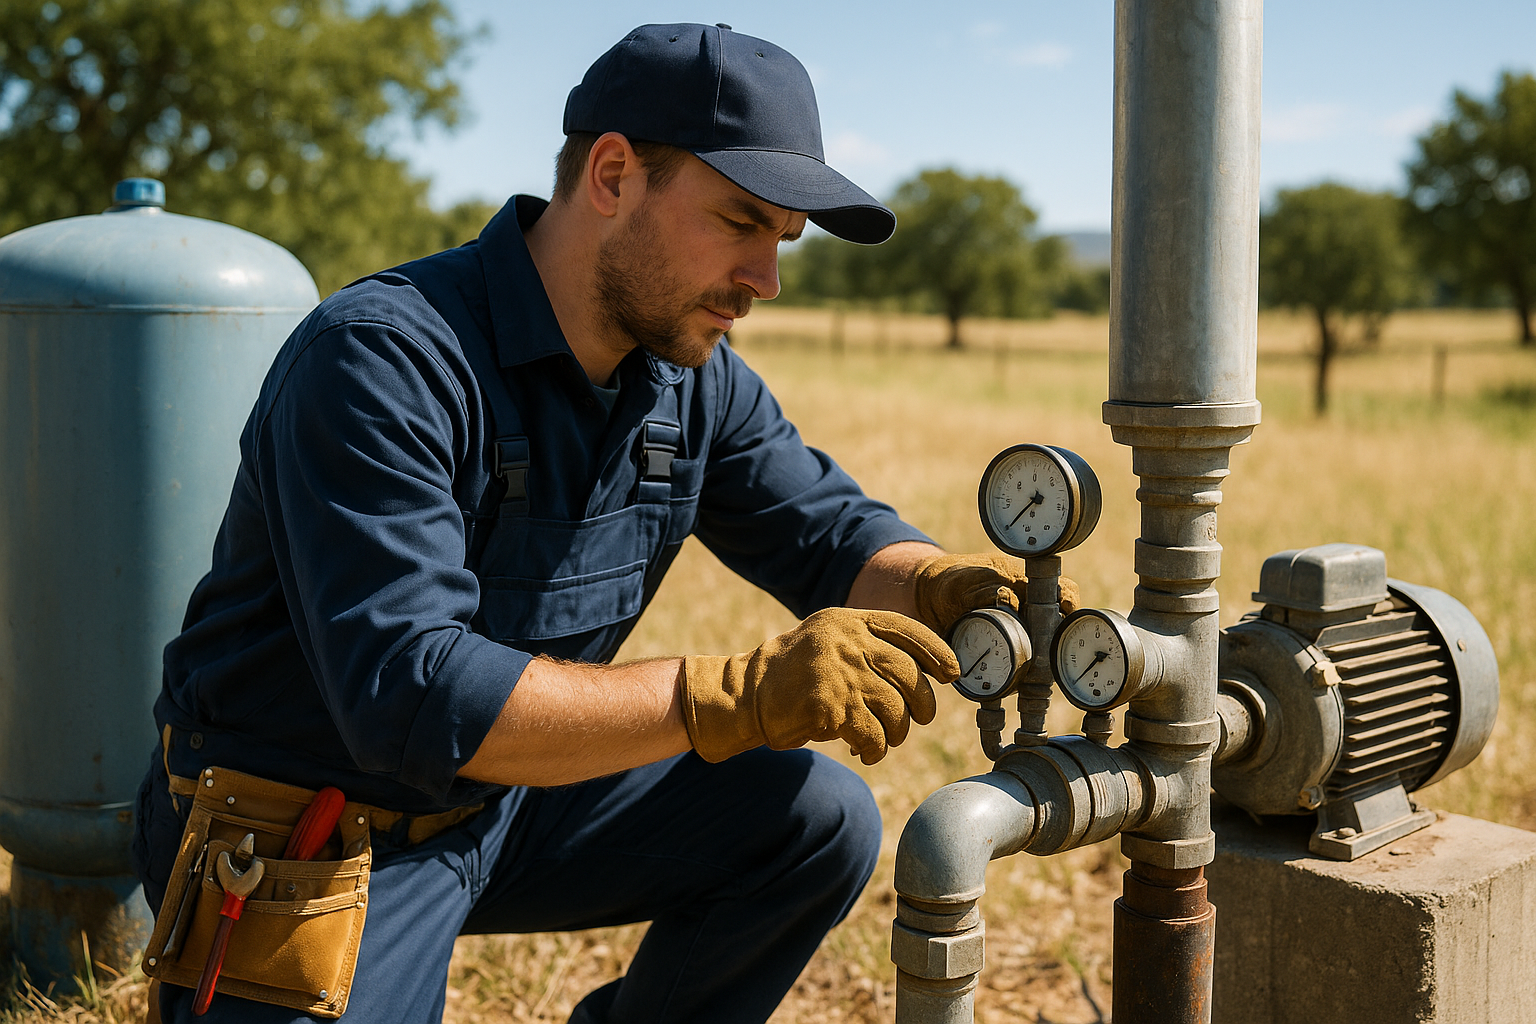
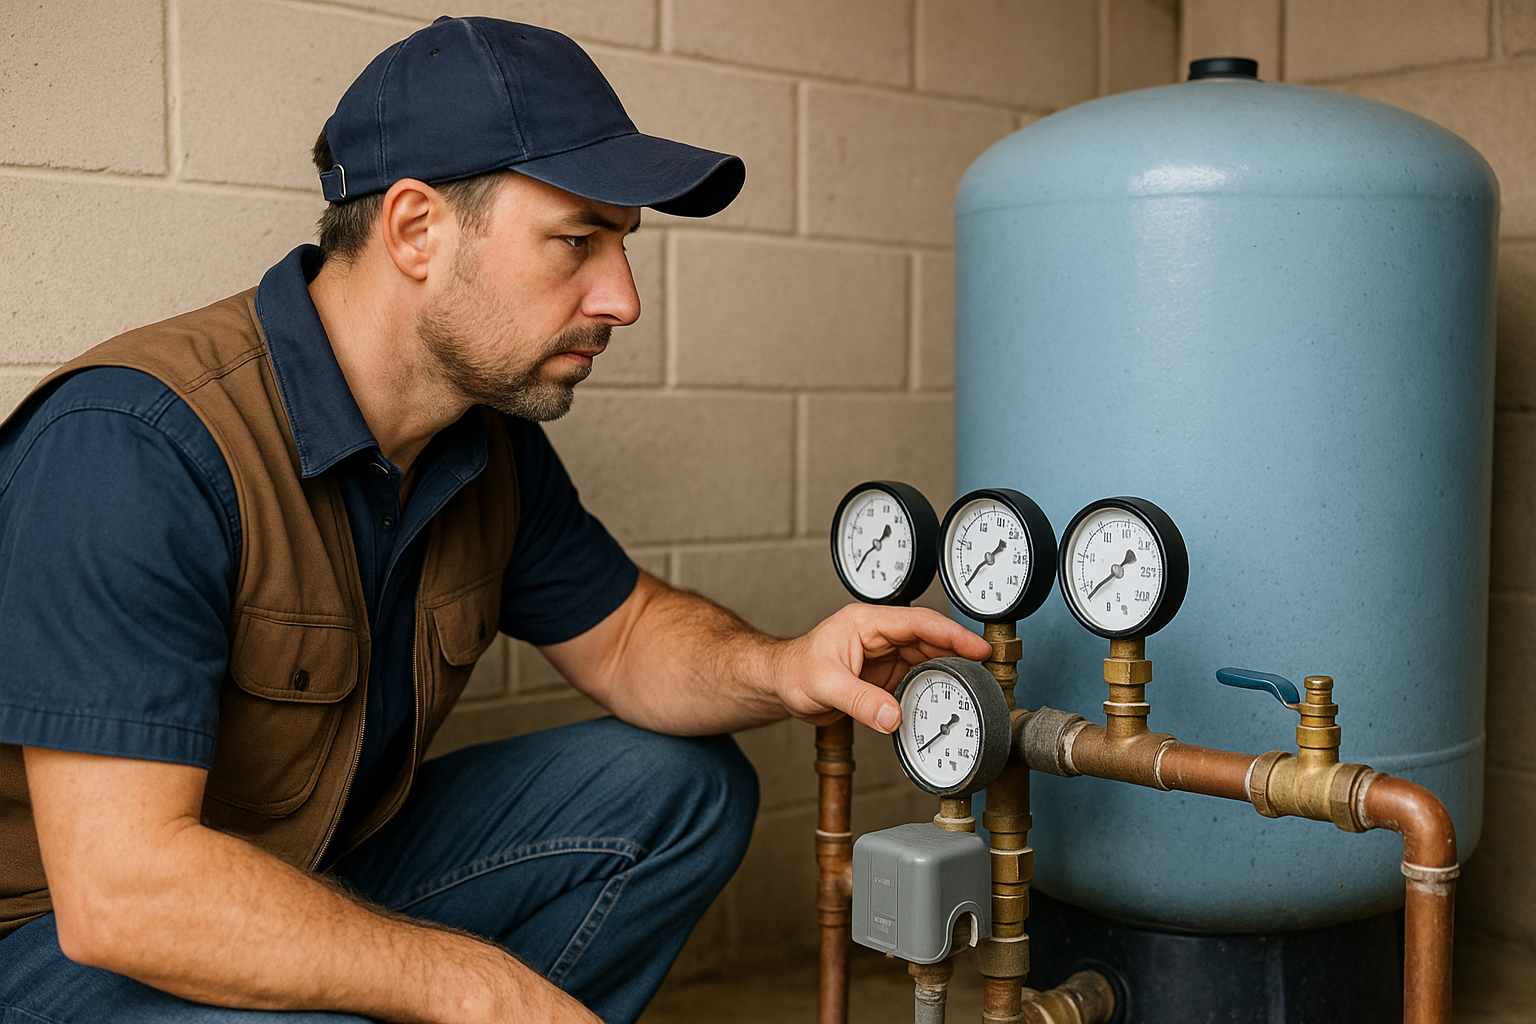
Step 2: Remove Switch Cover
- Locate pressure switch (near pressure tank)
- Remove plastic cover (usually snaps off or has small screw)
- Expose internal springs and adjustment nuts
Step 3: Identify Adjustment Nuts
- Large nut: On top of the taller spring
- Small nut: On top of the shorter spring
Step 4: Make Adjustment
To Increase Both Cut-In and Cut-Off:
- Turn LARGE nut CLOCKWISE
- 1/4 turn = approximately 2-3 PSI increase
To Decrease Both:
- Turn LARGE nut COUNTERCLOCKWISE
To Change Only Cut-Off (Differential):
- Turn SMALL nut clockwise = higher cut-off (wider range)
- Turn SMALL nut counterclockwise = lower cut-off (narrower range)
Step 5: Adjust Tank Air Pressure
Important: Tank air pressure should be 2 PSI below cut-in pressure.
- If you change cut-in from 30 to 40 PSI
- Adjust tank air from 28 to 38 PSI
Step 6: Test
- Replace cover
- Restore power
- Open faucet to drop pressure and start pump
- Watch gauge to verify new settings
- Adjust further if needed
Safety Precautions
Electrical Safety
- Always turn off power before opening switch
- Don't touch wires or contacts
- If wiring looks damaged, call professional
Pressure Limits
- Don't exceed pump's maximum pressure rating
- Don't exceed pressure tank rating (usually 100+ PSI)
- Don't set higher than plumbing can handle (typically 80 PSI max)
Warning Signs
- Pump runs but can't reach new cut-off = too high
- Relief valves releasing = too high
- Leaks developing = too high
Troubleshooting
Pump Runs But Won't Reach Cut-Off
- Cut-off set too high for pump capacity
- Pump is worn (can't produce that pressure anymore)
- Leak in system
- Solution: Lower cut-off setting or address underlying issue
Pump Short Cycles (Rapid On/Off)
- Pressure tank waterlogged
- Differential too narrow
- Solution: Recharge tank air, widen differential
Pressure Fluctuates Wildly
- Tank air pressure wrong
- Failed bladder in tank
- Solution: Check/adjust tank air, may need new tank
We service all major pump brands including Franklin Electric, Grundfos, Goulds (Xylem), and Sta-Rite (Pentair). Our trucks carry common parts and components for same-day repairs.
Frequently Asked Questions
How do I increase water pressure on my well?
Turn off power, remove switch cover, turn the large nut clockwise (1/4 turn at a time). Also adjust tank air pressure to 2 PSI below the new cut-in setting.
What is a normal pressure switch setting?
30/50 is most common (pump on at 30, off at 50). 40/60 is better for higher pressure needs.
Can I adjust the pressure switch myself?
Yes, if you're comfortable with basic electrical safety. Always turn off power first. Make small adjustments.
How high can I set my pressure?
Don't exceed your pump's maximum rating or your plumbing's limits (usually 80 PSI max). If pump can't reach the setting, it will run continuously.
Why won't my pressure go above a certain point?
Either the pump is at its maximum capacity, the pump is worn, or there's a leak. Setting the switch higher won't help.
Need Help with Pressure Adjustment?
If you're not comfortable doing this yourself, we can adjust your system properly.
Related Articles
Continue learning about well maintenance and troubleshooting
Low Water Pressure From Well: Complete Fix Guide
Diagnose and solve low pressure problems
Well Pressure Switch: Settings, Adjustment & Replacement
Everything about pressure switches
Pressure Tank Maintenance: Complete Guide
Keep your pressure tank working properly