How to Chlorinate a Well Yourself: Complete Shock Treatment Guide
Shock chlorination, also called well disinfection, is a crucial maintenance procedure that every well owner should understand. This treatment eliminates bacteria, removes slime-forming organisms, and addresses many water quality issues. Whether you've just had well work done, tested positive for coliform bacteria, or are conducting routine maintenance, knowing how to properly chlorinate your well is an essential skill. This comprehensive guide walks you through the entire process safely and effectively.
📋 In This Guide
- When to Chlorinate Your Well
- Understanding Chlorine and Concentrations
- Calculating Chlorine Quantity
- Materials and Safety Equipment
- Step-by-Step Shock Chlorination Process
- Treating Severe Contamination
- Protecting Septic Systems
- Troubleshooting Common Issues
- Safety Precautions
- When to Call a Professional
- Conclusion
- Related Articles
When to Chlorinate Your Well
Shock chlorination is recommended in several situations:
Required After:
- New well construction or drilling
- Pump repair or replacement
- Any work involving entry into the well
- Positive bacteria test results
- Flooding or suspected surface water contamination
- Well casing repair
Recommended For:
- Annual preventive maintenance
- Persistent odor problems (sulfur/rotten egg smell)
- Iron bacteria or slime buildup
- After extended periods of non-use
- When reopening seasonal properties
When NOT to Chlorinate:
- If you don't know your well's depth and water level
- If you have sensitive plants/fish that can't be protected
- Without proper supplies and safety equipment
- If contamination source hasn't been addressed
Understanding Chlorine and Concentrations
Effective disinfection requires achieving the right chlorine concentration:
Target Concentration
Shock chlorination aims for 100-200 parts per million (ppm) of chlorine throughout the well and plumbing system. This is much higher than the 1-2 ppm used in municipal water.
Chlorine Sources
- Household bleach (sodium hypochlorite): 5.25-8.25% concentration; most accessible option
- Pool chlorine (calcium hypochlorite): 65-70% concentration; more powerful, requires careful handling
- Chlorine pellets: Convenient but can leave residue
Important: Use Unscented Bleach
Only use regular, unscented household bleach without additives like "splashless" formulas, fragrances, or thickeners. These additives can contaminate your well.
Calculating Chlorine Quantity
The amount of chlorine needed depends on your well's depth and diameter. Here's a general guide using regular household bleach (5.25%):
For 4-inch diameter wells:
- Per 100 feet of water depth: 1 gallon of bleach
For 6-inch diameter wells:
- Per 100 feet of water depth: 2 gallons of bleach
For 8-inch diameter wells:
- Per 100 feet of water depth: 4 gallons of bleach
Calculation Formula
For precise calculations:
Volume of water (gallons) = 0.0408 × diameter² × water column depth (all in inches/feet)
Use approximately 3 cups of 5.25% bleach per 100 gallons of water for 100 ppm.
When in doubt, use slightly more than calculated—you want to ensure adequate disinfection throughout the system.
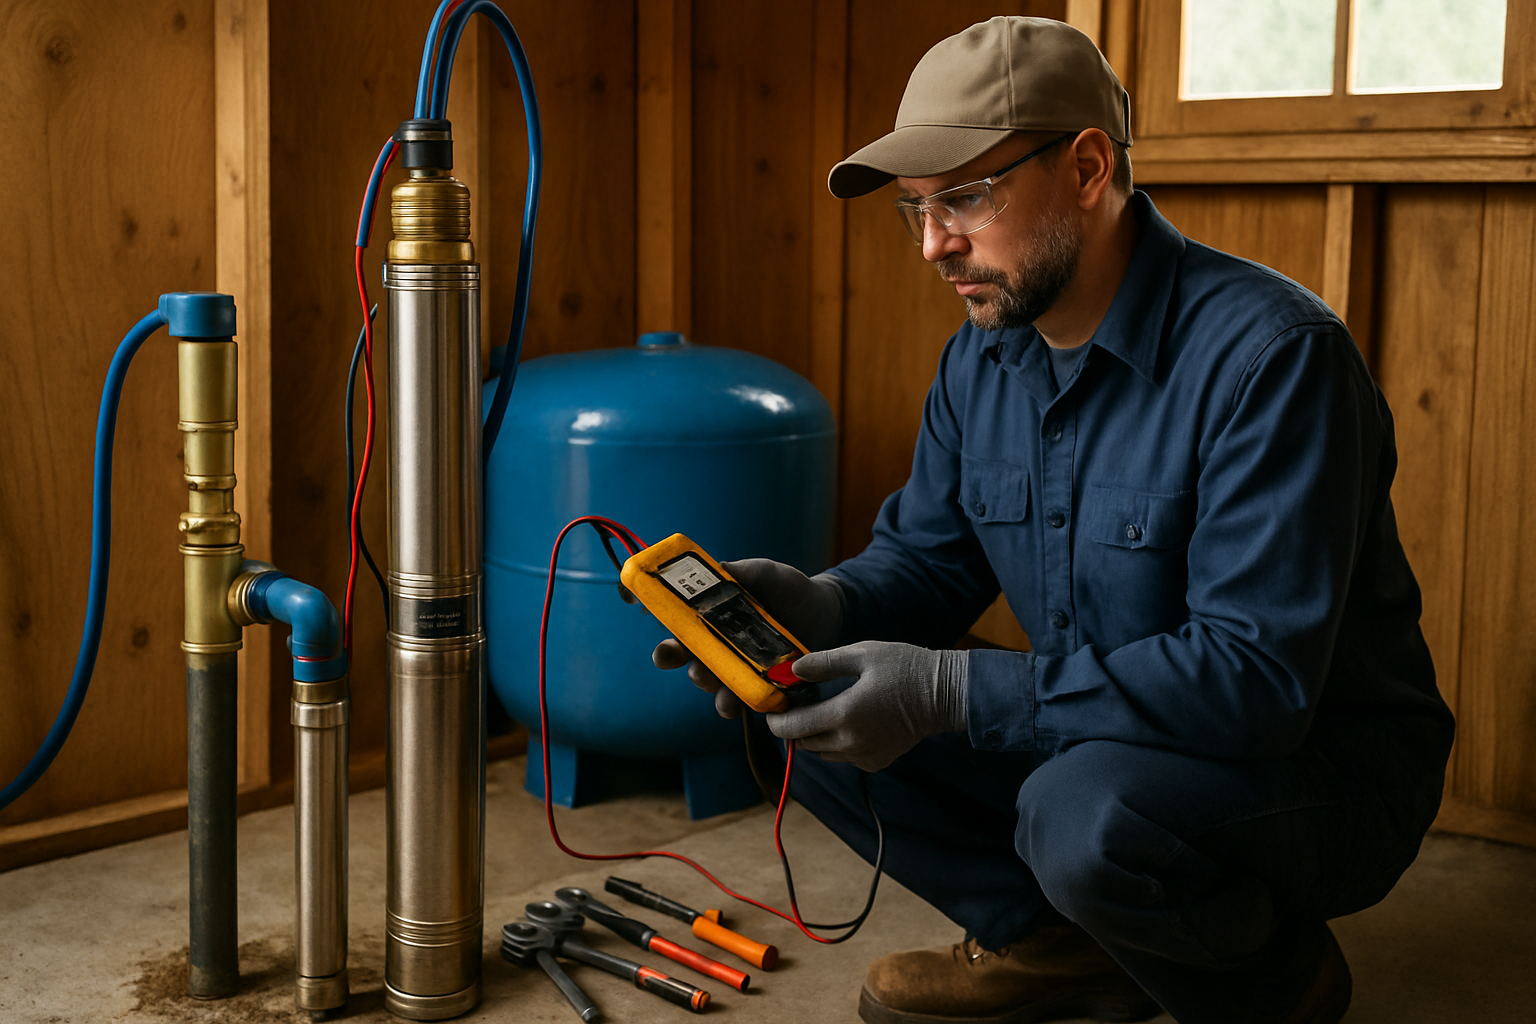
Materials and Safety Equipment
Gather these supplies before starting:
Materials
- Chlorine bleach (calculated amount)
- Clean 5-gallon buckets
- Garden hose that reaches the well
- Funnel (optional but helpful)
- Chlorine test strips or kit
- Clean water for mixing
Safety Equipment
- Chemical-resistant gloves
- Safety glasses or goggles
- Old clothes you don't mind bleaching
- Good ventilation when working with chlorine
Tools
- Screwdriver or wrench for well cap
- Flashlight
- Wire brush (for cleaning well cap)
Step-by-Step Shock Chlorination Process
Step 1: Prepare the Area
- Notify household members that water will be unusable for 12-24 hours
- Store drinking water for the treatment period
- Remove any water treatment equipment that chlorine could damage (carbon filters, softener resin)
- Bypass or turn off water heater to avoid filling it with chlorinated water (optional but recommended)
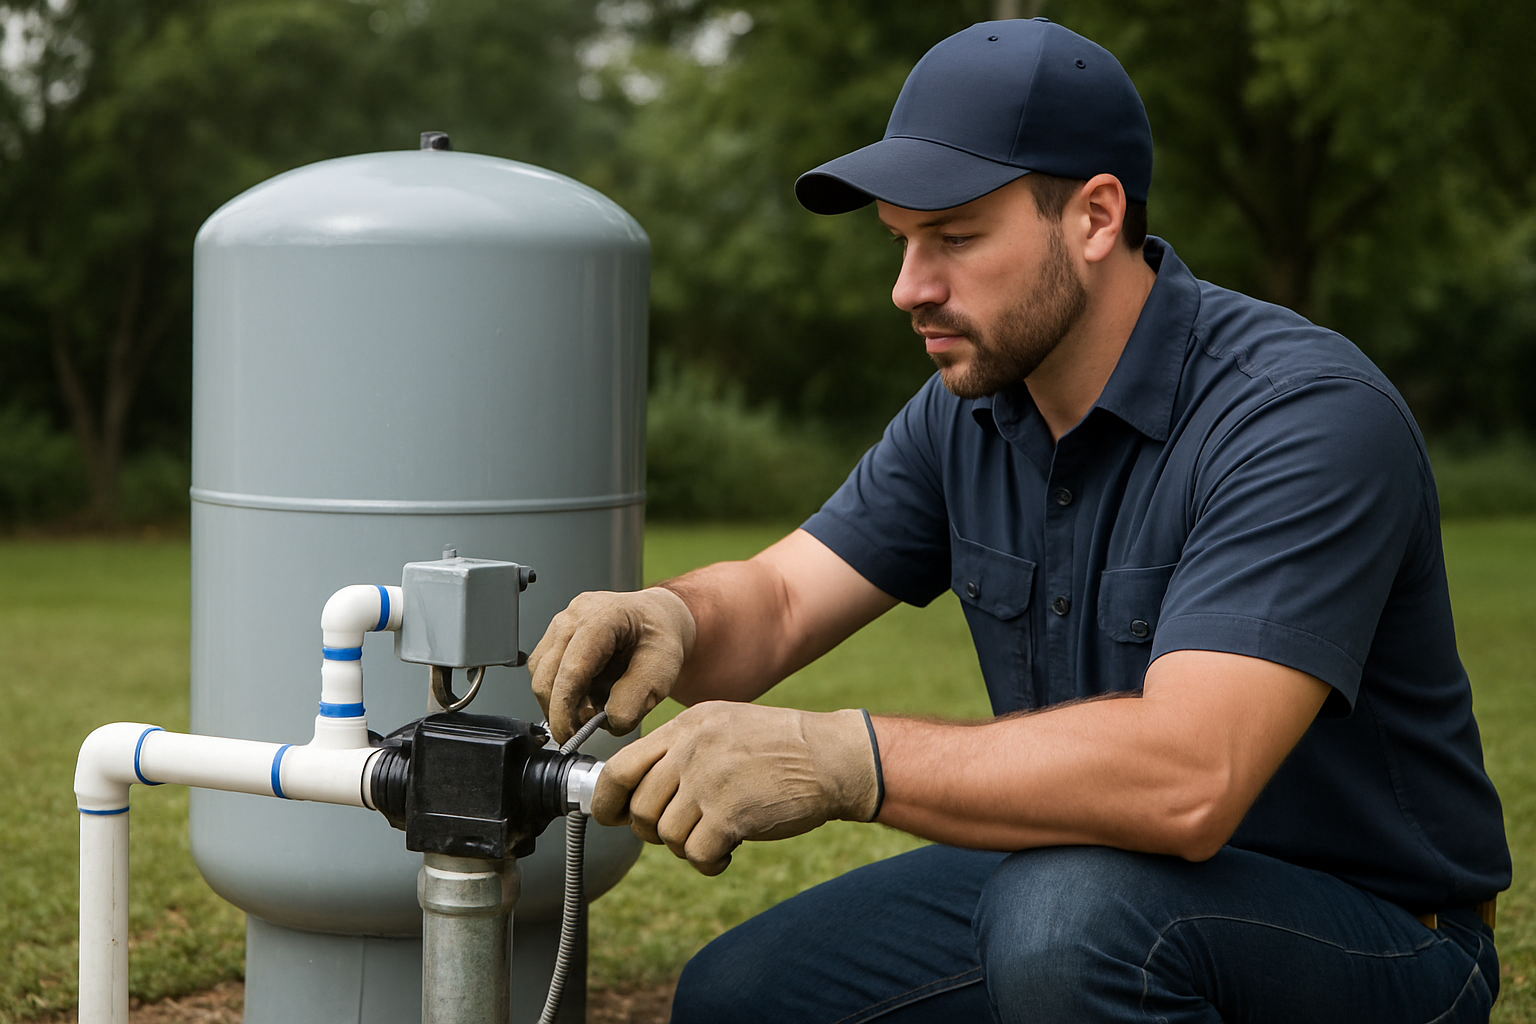
Step 2: Access the Well
- Turn off power to the well pump
- Remove the well cap (typically held by bolts or screws)
- Inspect the opening and clean any debris
- Note the location of wires and pipes
Step 3: Prepare the Chlorine Solution
- Mix the chlorine with clean water in a bucket
- Never pour undiluted bleach directly into the well
- Mix in well-ventilated area
- Dilution ratio: approximately 1 part bleach to 10 parts water for initial mix
Step 4: Add Chlorine to the Well
- Carefully pour the chlorine solution into the well
- Use a funnel if the opening is small
- Avoid splashing chlorine on wiring or connections
- Try to distribute the solution around the casing walls
Step 5: Circulate Chlorinated Water
- Connect a garden hose to an outside faucet
- Place the hose end into the well opening
- Turn on the pump and run water back into the well
- Continue circulating for 15-30 minutes
- This washes chlorine down the well casing and mixes throughout
- Move the hose around to wash all interior surfaces
Step 6: Distribute Through the House
- Turn off the recirculating hose
- Go through the house and open each faucet (hot and cold)
- Run until you smell chlorine, then turn off
- Include showers, tubs, laundry connections, outdoor faucets
- Flush toilets to get chlorinated water into tanks
- Run water into the water heater if not bypassed
Step 7: Let it Work
- Replace the well cap securely
- Allow the system to sit for 12-24 hours
- 24 hours is ideal; 12 hours minimum
- Don't use any water during this period
- The chlorine needs contact time to kill organisms
Step 8: Flush the System
- Connect a hose to an outside faucet
- Direct the water away from septic systems, gardens, streams, and storm drains
- Run water until chlorine smell disappears (may take several hours)
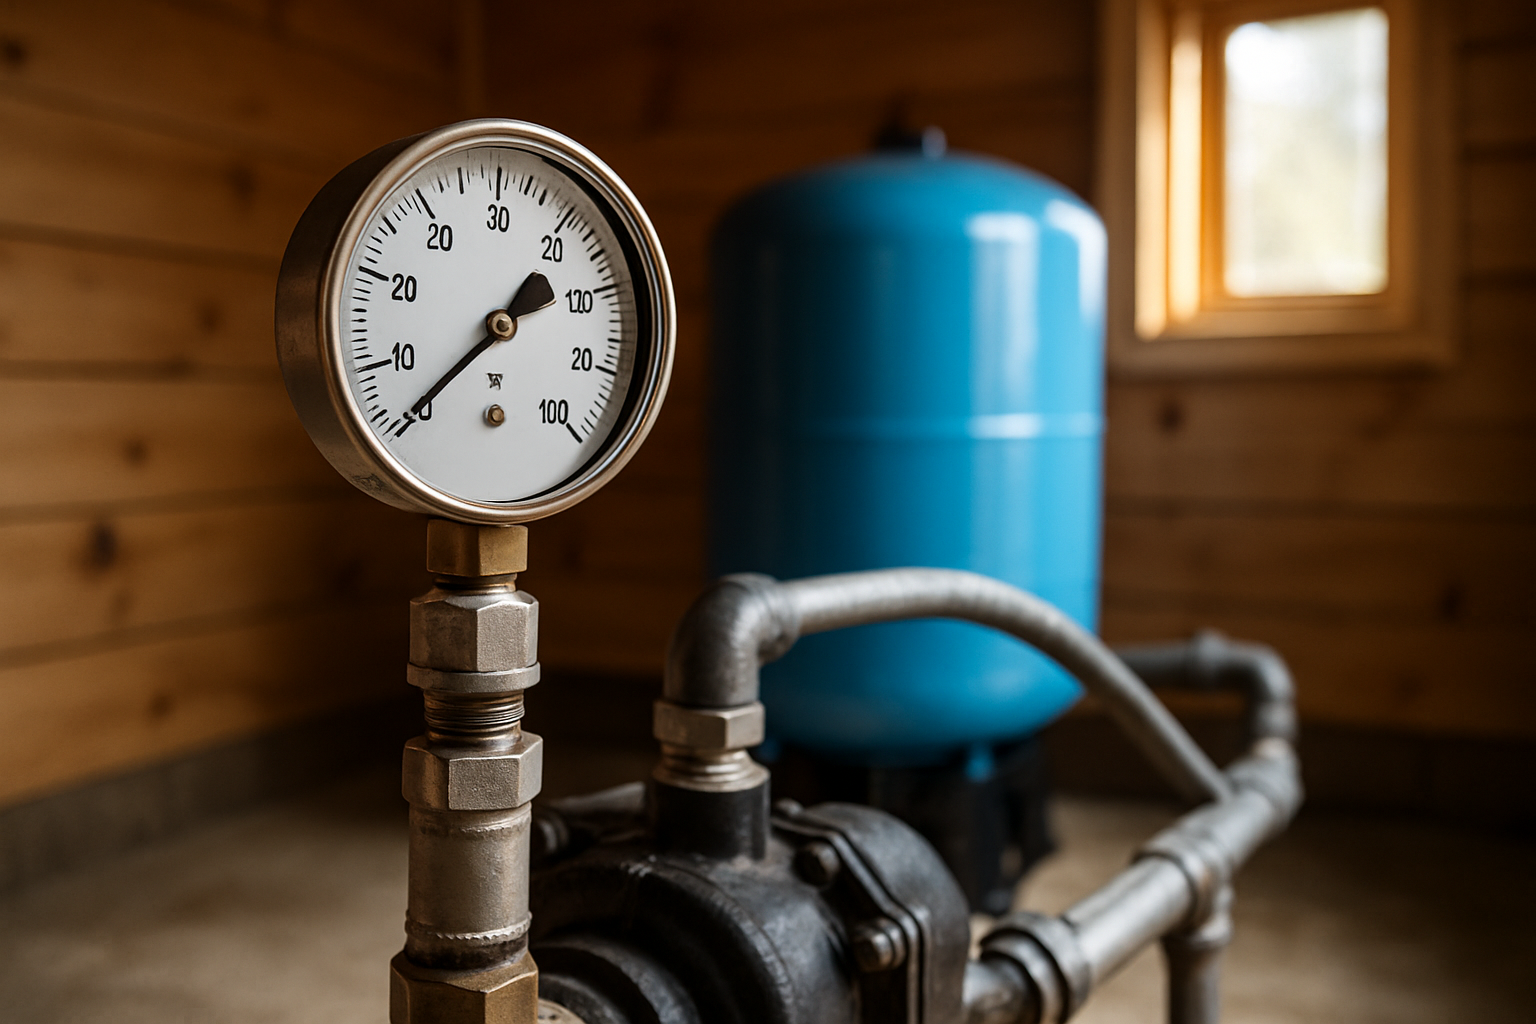
- Test with chlorine strips—target below 1 ppm
- Once the well is flushed, run each indoor faucet until chlorine-free
- Flush water heater last (may contain the most chlorinated water)
Step 9: Post-Treatment Steps
- Reinstall any water treatment equipment
- Replace carbon filters (they'll absorb residual chlorine)
- Wait 7-10 days, then retest water for bacteria
- If bacteria persists, repeat treatment or investigate contamination source
Treating Severe Contamination
For stubborn problems like iron bacteria or heavy slime:
Extended Treatment
- Use higher chlorine concentration (200 ppm)
- Allow 24-48 hour contact time
- May need to repeat treatment
- Consider professional "surging" to agitate the well
Adding Detergent
For iron bacteria, adding 1/4 cup of phosphate-free detergent per 100 gallons helps chlorine penetrate slime. Flush thoroughly afterward.
Protecting Septic Systems
Chlorinated water can harm beneficial bacteria in septic tanks:
- Flush the majority of chlorinated water through outdoor hoses
- Direct away from drain fields
- Minimize chlorinated water going to septic
- Consider adding septic bacteria treatment afterward
Troubleshooting Common Issues
Chlorine Smell Persists
- Continue flushing; it may take several hours
- Run water at maximum flow
- Check that water heater has been flushed
Bacteria Returns After Treatment
- Source of contamination may not be addressed
- Check well cap seal and casing integrity
- Inspect for surface water intrusion
- May need professional assessment
Water Discolored After Treatment
- Normal—chlorine may loosen scale and deposits
- Continue flushing until clear
- If persistent, may indicate other well issues
Safety Precautions
- Never mix chlorine with other chemicals (especially ammonia)
- Work in well-ventilated areas
- Keep chlorine away from eyes and skin
- Don't breathe chlorine fumes
- Rinse any skin contact immediately with water
- Store unused bleach safely away from children
- Don't drink water during treatment
When to Call a Professional
Consider professional help when:
- You're unsure of well construction details
- Contamination persists after treatment
- Well needs physical cleaning (surging or brushing)
- You're uncomfortable with the process
- There may be structural issues with the well
Conclusion
Shock chlorination is a straightforward but important procedure that maintains your well's safety and water quality. By following proper procedures—calculating the right amount of chlorine, achieving adequate contact time, and thoroughly flushing the system—you can effectively eliminate bacteria and restore confidence in your water supply.
Remember that shock chlorination treats the symptom (bacteria presence) but doesn't address underlying contamination sources. If bacteria returns repeatedly, investigate and repair the cause before retreating. Regular annual chlorination, combined with addressing any structural issues, keeps your well water safe and clean.
Need professional well disinfection or persistent water quality issues? Southern California Well Service provides thorough well chlorination and contamination source investigation. Contact us at (760) 440-8520 or visit www.scwellservice.com for expert assistance.