How to Sanitize Your Well Yourself: DIY Shock Chlorination Guide
Step-by-step guide to shock chlorinating your well at home. Learn the proper bleach amounts, safety precautions, and procedure for DIY well disinfection.
When to Shock Chlorinate Your Well
Shock chlorination (also called "shocking" or "disinfecting" a well) is a one-time treatment that kills bacteria and other microorganisms in your well and plumbing system. It's not a permanent solution for ongoing contamination, but it's effective for specific situations.
You should shock your well when:
- A water test shows positive for coliform bacteria
- After any well repairs or pump service that opened the system
- After flooding or surface water intrusion
- When a new well is first put into service
- After an extended period of non-use
- If you notice sudden changes in taste, odor, or color
When shocking WON'T solve the problem:
- Ongoing contamination from a nearby septic system or livestock
- Damaged well casing allowing surface water infiltration
- Iron bacteria (requires specialized treatment)
- Chemical contamination (chlorine only kills organisms)
If bacteria returns within weeks of shock treatment, you likely have a structural problem with your well that needs professional investigation.
Calculating Bleach Amounts for Your Well
Getting the chlorine concentration right is important—too little won't disinfect effectively, while too much wastes bleach and extends flushing time. You'll need to know your well's diameter and the depth of water in it.
Quick Reference Chart
For standard household bleach (5-6% sodium hypochlorite), use these amounts per 100 feet of water depth:
- 4-inch diameter well: 1 quart (32 oz) bleach
- 6-inch diameter well: 2 quarts (64 oz) bleach
- 8-inch diameter well: 1 gallon bleach
Calculating Your Specific Amount
First, calculate gallons of water in your well:
Gallons = Diameter (inches)² × Depth of water (feet) × 0.0408
Then use 3 pints (1.5 quarts) of household bleach per 100 gallons of water.
⚠️ Important: Use only plain, unscented household bleach (sodium hypochlorite 5-6%). Never use scented bleach, splash-less formulas, or bleach with added cleaners. "Ultra" concentrated bleach (8.25%) requires reduced amounts—use about 2/3 of the regular quantities.
Step-by-Step Shock Chlorination Process
⚠️ Safety Precautions:
- Wear safety glasses and rubber gloves when handling bleach
- Work in a well-ventilated area—chlorine gas can form
- NEVER mix bleach with other chemicals, especially ammonia or acids
- Keep children and pets away during the process
- Have clean water available for drinking during the treatment period
Step 1: Prepare for 24+ Hours Without Well Water
You won't be able to use your water during treatment. Fill containers for drinking, cooking, and essential needs. Plan to do this when water demand is lowest—starting in the evening is ideal.
Step 2: Bypass or Remove Water Treatment Equipment
If you have a water softener, carbon filter, or reverse osmosis system, bypass or disconnect it before shocking. Chlorine can damage filter media and shorten equipment life.
Step 3: Access the Well
Remove the well cap. If you have a sanitary well seal (the kind bolted down with a rubber gasket), you'll need to unbolt it. Older wells may have a simple cap that lifts off. Inspect the opening for debris, insects, or rodents—remove anything that shouldn't be there.
Step 4: Mix and Add the Bleach
For safer handling, dilute the bleach in a 5-gallon bucket of water before pouring it into the well. Pour the mixture directly into the well casing. You can use a hose to help wash the chlorine down the sides of the casing.
Step 5: Recirculate to Mix Thoroughly
Connect a clean hose to an outside faucet and run it back into the well opening. Turn on the water and let it recirculate for 15-30 minutes. This ensures chlorine reaches the entire water column and coats the well casing.
Step 6: Run Chlorinated Water Through the House
Open each faucet inside the house (hot and cold) and let it run until you smell chlorine, then shut it off. Do this for every tap, shower, toilet, and appliance that uses water. This ensures the entire plumbing system is disinfected.
Step 7: Let It Sit
Replace the well cap and let the chlorine solution sit for 12-24 hours. Overnight is ideal. Don't use any water during this time—doing so will reduce the chlorine concentration.
Step 8: Flush the System
After the contact period, you need to flush all the chlorinated water out. Start with an outside faucet that doesn't go to your septic system (or run the hose to a safe area away from plants). Run until you no longer smell chlorine—this may take several hours and hundreds of gallons. Then flush each inside tap.
⚠️ Septic System Warning: Avoid sending large amounts of chlorinated water to your septic tank, as it can kill the beneficial bacteria that make the system work. Flush as much as possible through an outside faucet to the ground, away from plants and drainage areas.
After Treatment: Testing and Follow-Up
Shock chlorination is only effective if you verify it worked. Follow these steps after treatment:
- Wait 1-2 weeks before retesting: Testing too soon may give false results
- Retest for coliform bacteria: Use a certified lab or home test kit
- If bacteria returns: The well may have a structural problem—call a professional
- Consider annual testing: Private wells should be tested at least once per year
When to Call a Professional
DIY shock chlorination works well for simple contamination events, but some situations require professional help:
- Bacteria returns within a few weeks of treatment
- You can't access the well safely
- The well has known structural issues
- You're dealing with iron bacteria (orange/red slime)
- The contamination source is unknown
A well professional can perform video inspection to identify casing problems, conduct more thorough disinfection, and recommend permanent solutions if contamination is ongoing.
We use Hach and LaMotte professional water testing equipment for field analysis, with comprehensive lab testing through certified California laboratories.
Frequently Asked Questions
How much bleach do I need to shock my well?
The amount of bleach depends on your well's depth and diameter. A general formula is 3 pints of standard household bleach (5-6% sodium hypochlorite) per 100 gallons of water in the well. For a typical 6-inch diameter well that's 100 feet deep with 50 feet of water, you'd need about 2-3 gallons of household bleach.
How long should I wait after shocking my well?
Let the chlorine solution sit in the well for at least 12-24 hours—overnight is ideal. After the contact time, flush the system until you no longer smell chlorine, which typically takes several hours. Wait 1-2 weeks after flushing before retesting for bacteria to ensure accurate results.
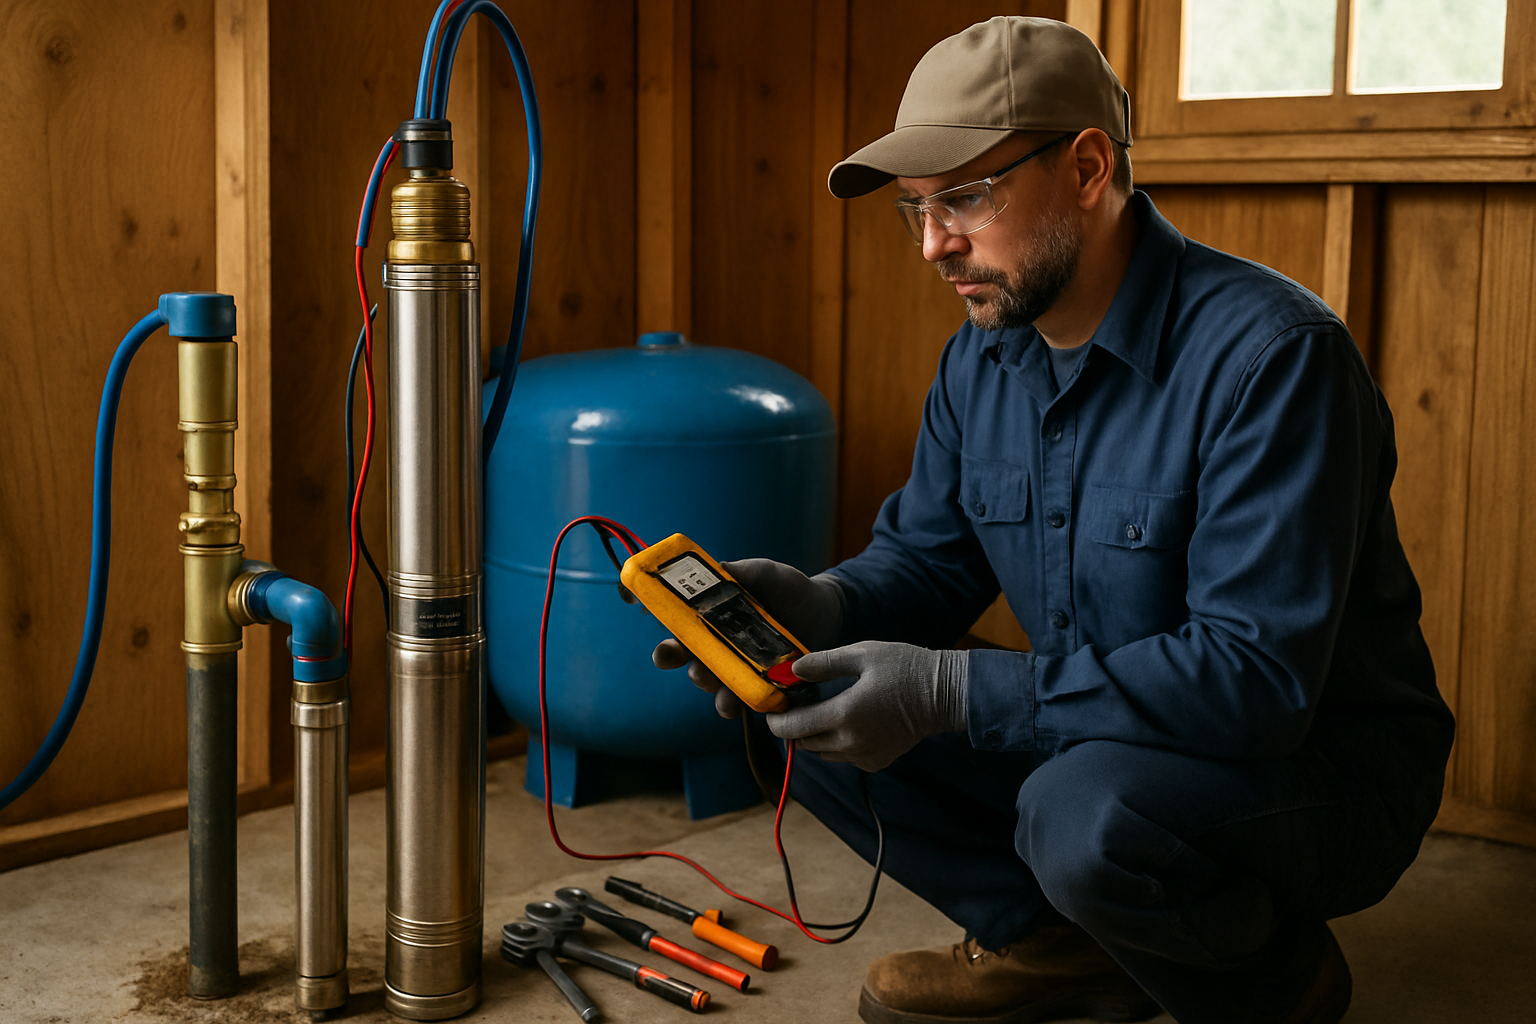
Is shock chlorination safe for my well pump?
Yes, when done correctly, shock chlorination is safe for most well components including pumps, pipes, and pressure tanks. The chlorine concentration used is similar to what municipal water systems use. However, avoid using excessive amounts of bleach, and don't let chlorinated water sit in the system for more than 24 hours.
Get Expert Well Service
Southern California Well Service has served San Diego, Riverside, and San Bernardino counties for decades. Licensed C-57 contractor.
Call (760) 440-8520Available 24/7 for emergencies
Related Articles
Continue learning about well maintenance and troubleshooting