How to Test Well Water at Home: A Complete DIY Guide
If you rely on a private well for your household water supply, regular testing is essential to ensure your family's health and safety. Unlike municipal water systems that undergo constant monitoring, private well owners are responsible for their own water quality. The good news is that basic well water testing can be done at home with the right tools and knowledge. This comprehensive guide will walk you through everything you need to know about testing your well water, from understanding what contaminants to look for to interpreting your results.
📋 In This Guide
- Why Regular Well Water Testing Matters
- What Contaminants Should You Test For?
- DIY Testing Methods: Home Test Kits
- When to Use Professional Laboratory Testing
- How to Collect Samples for Lab Testing
- Understanding Your Test Results
- What to Do If You Find Contamination
- Creating a Testing Schedule
- Maintaining Good Well Water Quality
- When to Call a Professional
- Conclusion
- Related Articles
Why Regular Well Water Testing Matters
Well water quality can change over time due to numerous factors. Seasonal variations, nearby agricultural activities, septic system issues, and natural geological conditions can all affect what's in your water. The Environmental Protection Agency (EPA) recommends testing private wells at least once per year, but certain situations may require more frequent testing.
Contaminated well water can lead to serious health issues, including gastrointestinal illness, neurological problems, and reproductive issues. Some contaminants, like arsenic or radon, have no taste, smell, or visible signs, making regular testing the only way to detect them. Early detection allows you to address problems before they become serious health hazards.
What Contaminants Should You Test For?
The specific contaminants you should test for depend on your location, nearby land uses, and the geology of your area. However, there are several common categories that all well owners should consider:
Bacteria and Microorganisms
Coliform bacteria and E. coli are the most common biological contaminants in well water. These organisms can enter your well through surface water infiltration, septic system failures, or animal waste. Testing for total coliform bacteria is recommended annually at minimum.
Nitrates and Nitrites
These compounds often come from fertilizers, septic systems, or animal feedlots. High nitrate levels are particularly dangerous for infants and pregnant women, potentially causing "blue baby syndrome." Annual testing is recommended, especially in agricultural areas.
Heavy Metals
Lead, arsenic, copper, and other heavy metals can leach into groundwater from natural deposits or old plumbing systems. These contaminants pose serious long-term health risks and should be tested every few years or if you notice changes in water taste or appearance.
pH and Hardness
While not directly harmful, water pH and hardness affect taste, plumbing longevity, and the effectiveness of water treatment systems. Ideal pH ranges from 6.5 to 8.5, while hardness is a matter of preference and appliance protection.
Volatile Organic Compounds (VOCs)
If you live near gas stations, dry cleaners, or industrial facilities, testing for VOCs like benzene and trichloroethylene is important. These chemicals can seep into groundwater and pose significant health risks.
DIY Testing Methods: Home Test Kits
Home water testing kits offer a convenient and affordable way to get a basic understanding of your water quality. These kits are available at hardware stores, online retailers, and some home improvement centers. Here's how to use them effectively:
Step 1: Choose the Right Kit
Select a test kit that covers the contaminants most relevant to your area. Basic kits test for bacteria, pH, hardness, chlorine, and a few common contaminants. More comprehensive kits may include tests for lead, pesticides, and nitrates. Read reviews and choose products from reputable manufacturers.
Step 2: Collect Your Sample Properly
Proper sample collection is crucial for accurate results. Follow these guidelines:
- Use a clean container provided with the kit or a sterile bottle
- Run the water for 2-3 minutes before collecting to clear the pipes
- For bacteria tests, don't touch the inside of the container or cap
- Collect samples in the morning when contaminant levels may be highest
- Follow the kit's specific instructions for sample volume and handling
Step 3: Perform the Tests
Most home test kits use test strips or color-changing reagents. Dip the strips in your water sample or add the specified drops of reagent. Wait the recommended time (usually a few minutes) and compare the results to the provided color chart. Some digital testers give numerical readouts for parameters like pH and TDS (total dissolved solids).
Step 4: Record and Interpret Results
Document your results with dates so you can track changes over time. Compare your readings to EPA guidelines and safe limits. If any results fall outside acceptable ranges, consider professional testing to confirm and identify the source of contamination.
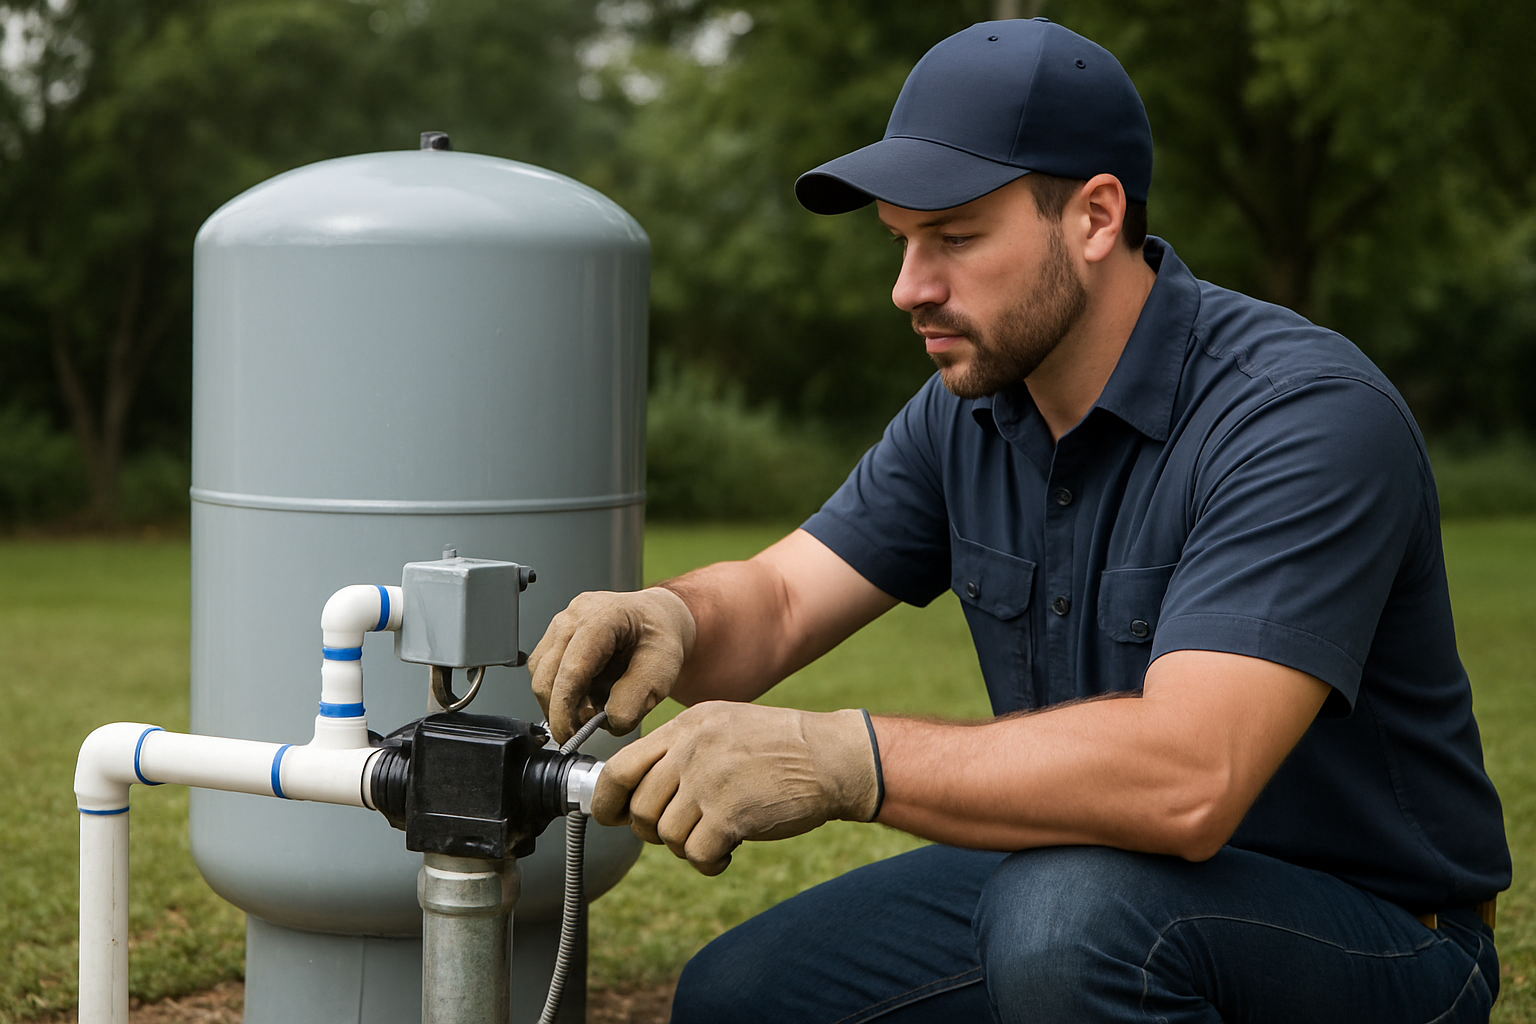
When to Use Professional Laboratory Testing
While home test kits are useful for routine monitoring, certain situations call for professional laboratory analysis:
- When buying or selling property with a private well
- After flooding or other natural disasters
- If anyone in the household becomes ill with gastrointestinal symptoms
- When home tests indicate potential problems
- For testing contaminants not covered by home kits (radon, arsenic, VOCs)
- When you need legally defensible results
Professional labs provide more accurate results and can test for a wider range of contaminants. Many local health departments offer free or low-cost water testing services. Certified laboratories must follow strict protocols and quality control measures, ensuring reliable results you can trust.
How to Collect Samples for Lab Testing
If you're sending samples to a laboratory, proper collection is even more critical:
- Contact the lab first to obtain proper collection containers and instructions
- Schedule sample collection so you can deliver or ship samples promptly
- Sterilize the faucet by removing the aerator and wiping with bleach or alcohol
- Run cold water for 3-5 minutes before collecting
- Fill containers to the line indicated, leaving no air bubbles for bacteria tests
- Label all samples with date, time, location, and your contact information
- Keep samples cool (not frozen) and deliver within 24-48 hours
Understanding Your Test Results
Test results are typically compared to Maximum Contaminant Levels (MCLs) established by the EPA. Here are some key benchmarks:
- Coliform bacteria: Should be absent (0 colonies per 100 mL)
- Nitrate: Below 10 mg/L
- Lead: Below 15 parts per billion (ppb)
- Arsenic: Below 10 ppb
- pH: Between 6.5 and 8.5
- Total Dissolved Solids: Below 500 mg/L for best taste
If your results exceed these limits, don't panic. Many contamination issues can be resolved with proper treatment systems, well maintenance, or addressing the source of contamination.
What to Do If You Find Contamination
If your tests reveal contamination, take these steps:
- Retest to confirm: A single high reading could be a collection or testing error
- Stop drinking the water: Use bottled water until the issue is resolved
- Identify the source: Consider recent changes, nearby activities, or well condition
- Consult professionals: A well service company can inspect your system and recommend solutions
- Consider treatment options: Filtration, UV treatment, or reverse osmosis may address your specific contaminants
- Retest after treatment: Confirm that your solution is working
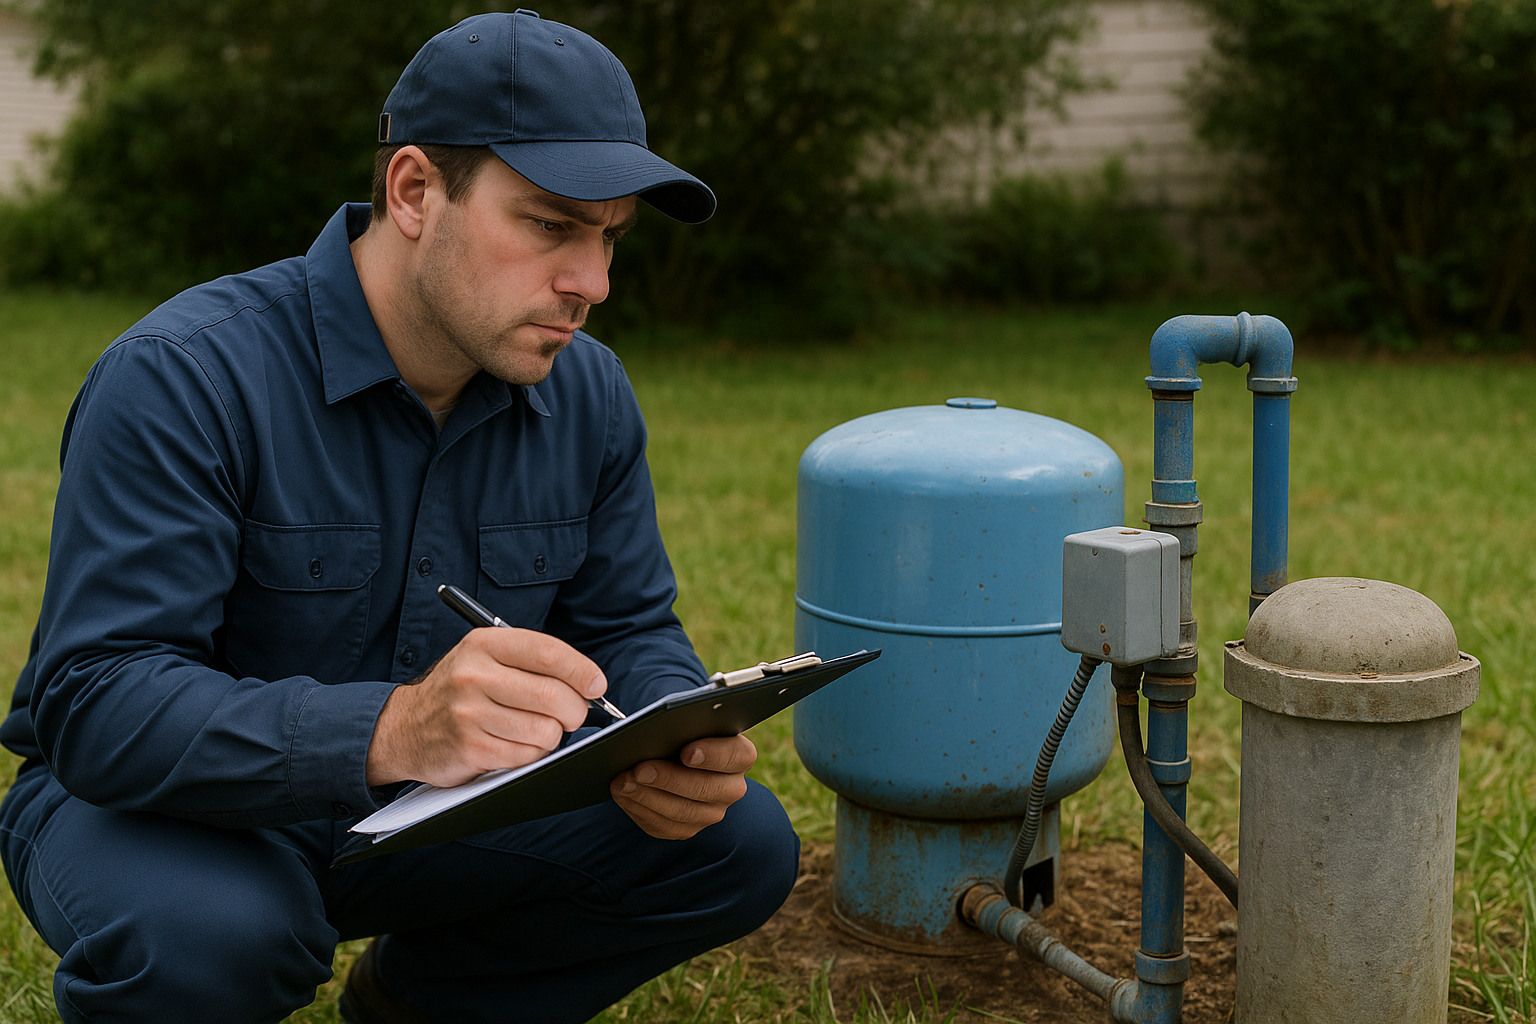
Creating a Testing Schedule
Develop a routine testing schedule based on your situation:
- Annually: Coliform bacteria, nitrates, pH, and total dissolved solids
- Every 3-5 years: Heavy metals, minerals, and any contaminants of local concern
- After events: Test whenever you notice changes in taste, smell, or appearance, or after flooding, earthquakes, or nearby construction
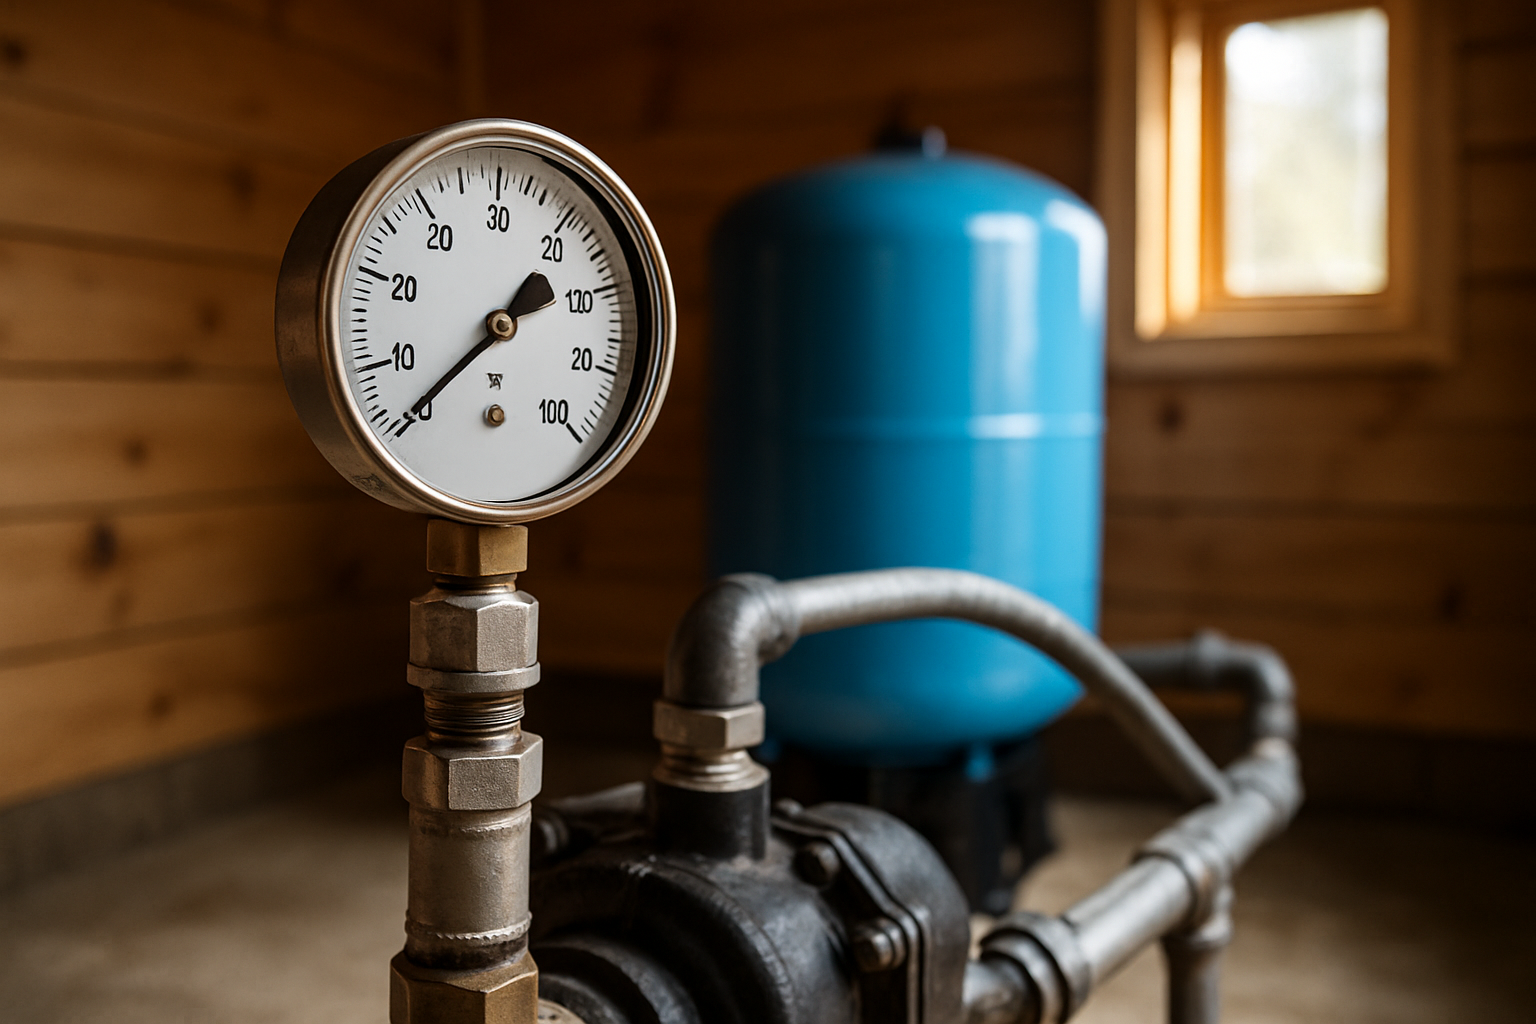
Maintaining Good Well Water Quality
Prevention is always better than treatment. These practices help maintain clean well water:
- Keep the area around your wellhead clean and free of debris
- Ensure the well cap is secure and in good condition
- Direct surface water away from the well
- Maintain proper distances between your well and septic systems, fuel tanks, and chemical storage
- Have your well professionally inspected every few years
- Shock chlorinate your well annually or after contamination events
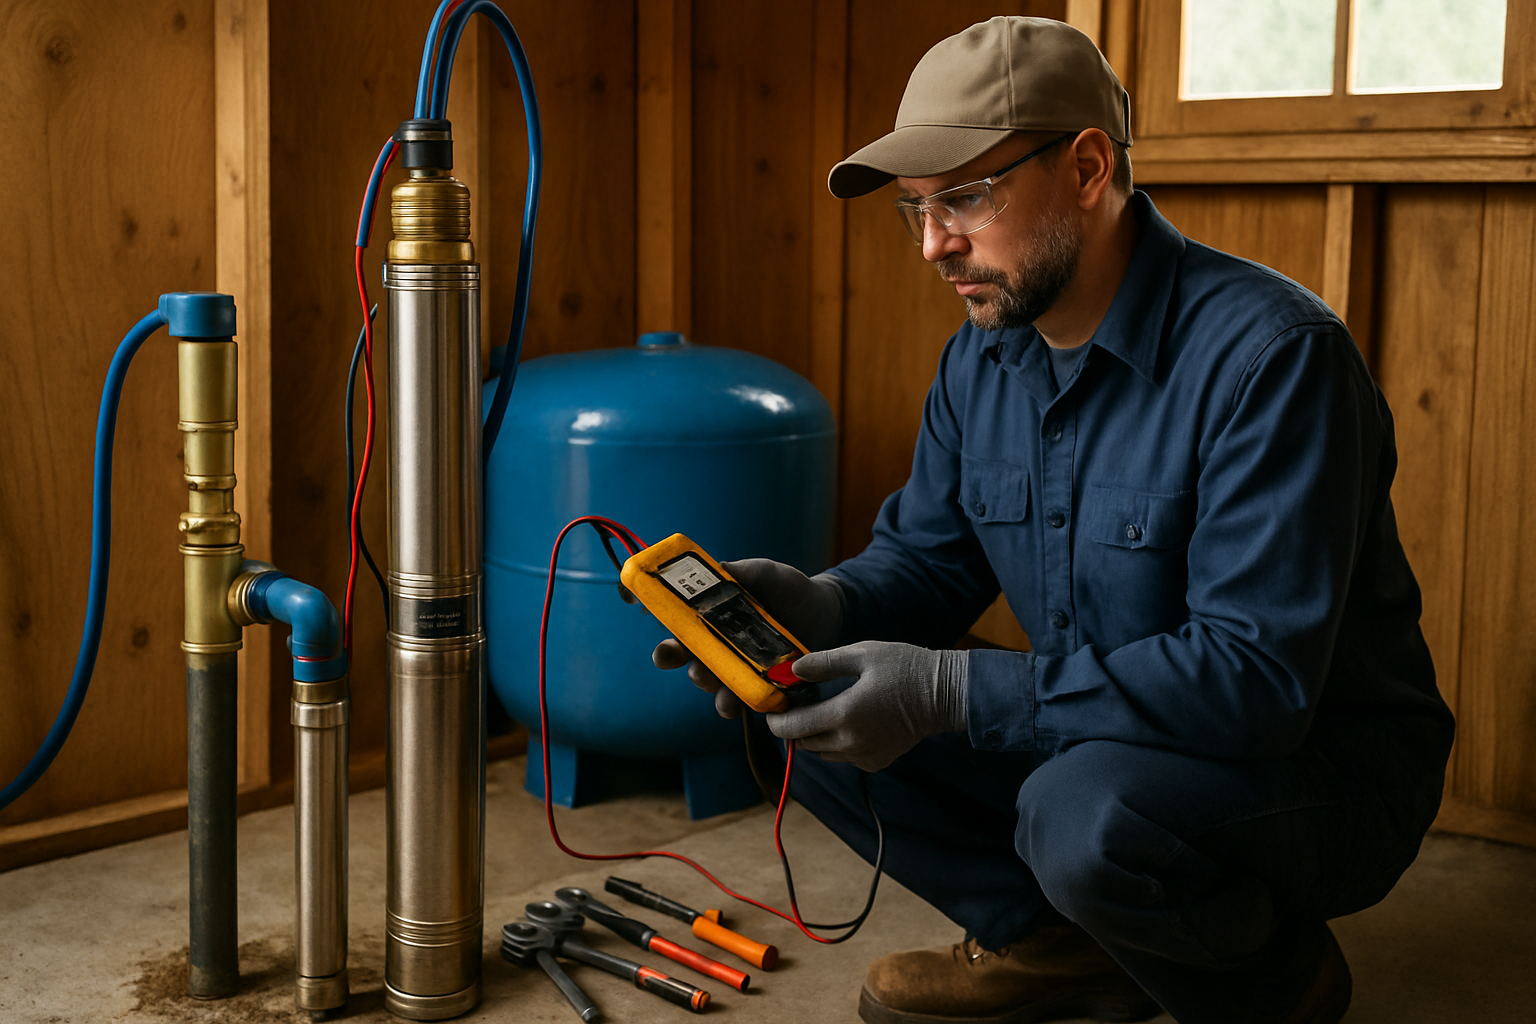
When to Call a Professional
While home testing is valuable, some situations require professional expertise. If you're experiencing persistent water quality issues, unusual test results, or changes in your well's performance, it's time to call in the experts. Professional well service technicians can conduct comprehensive inspections, identify problems that home tests might miss, and recommend effective solutions.
At Southern California Well Service, we've been helping homeowners maintain safe, clean well water for years. Our team can perform professional water testing, well inspections, and any necessary repairs or treatments to ensure your water meets the highest quality standards.
Conclusion
Testing your well water at home is an important part of responsible well ownership. By understanding what to test for, using proper collection techniques, and maintaining a regular testing schedule, you can ensure your family has access to safe, clean drinking water. Remember that home tests are a valuable screening tool, but professional testing and inspection should supplement your DIY efforts.
Don't wait until you notice a problem to start testing. Establish a baseline now and monitor your water quality over time. Your family's health depends on it.
Need professional well water testing or service? Contact Southern California Well Service today at (760) 440-8520 or visit www.scwellservice.com to schedule an appointment. Our experienced technicians serve homeowners throughout the region with comprehensive well services.