By SCWS Team
Published February 17, 2026 · 11 min read
📋 In This Guide
Congratulations on your new home—and your private water system! Owning a well means you control your water supply, but it also means you're responsible for maintaining it. Don't worry—it's more straightforward than you might think.
This guide will help you understand your system, establish good maintenance habits, and know what to do when problems arise.
First Week Priorities
- Locate all components and label them
- Find the circuit breaker for your well pump
- Check the pressure tank air charge
- Test your water quality (if not done pre-purchase)
- Document everything and start a maintenance log
- Save a well service company's number in your phone
Understanding Your Well System
Your well system has several key components. Knowing what each does helps you troubleshoot problems and communicate with service technicians.
The Well Itself
Your well is a hole drilled into the ground that reaches an underground water-bearing layer (aquifer). It's lined with casing (usually steel or PVC) to prevent collapse and contamination. The wellhead—the visible top of the well—should extend 12+ inches above ground and have a secure cap.
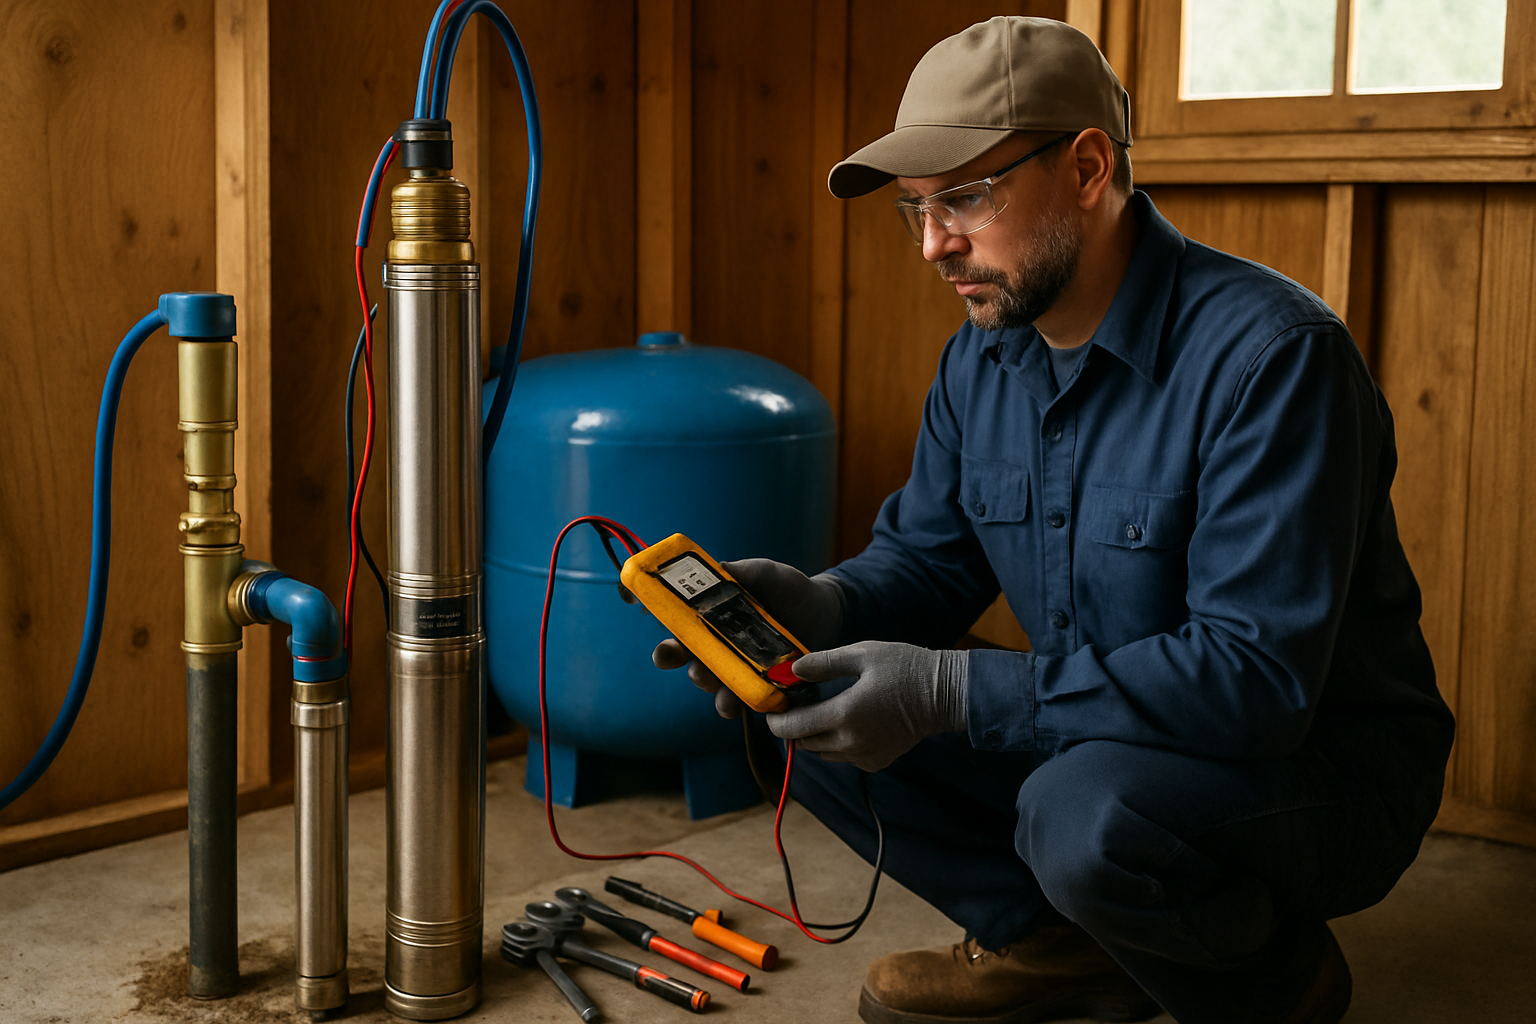
The Pump
Most modern residential wells use submersible pumps installed deep in the well, below the water level. The pump pushes water up through the drop pipe to your pressure tank. Pumps typically last 15-25 years.
Pressure Tank
The pressure tank stores pressurized water and reduces how often the pump cycles. Inside, an air bladder or diaphragm maintains pressure. When you open a faucet, pressurized water flows from the tank. When pressure drops to a set point, the pump runs to refill it. Tanks last 10-15 years.
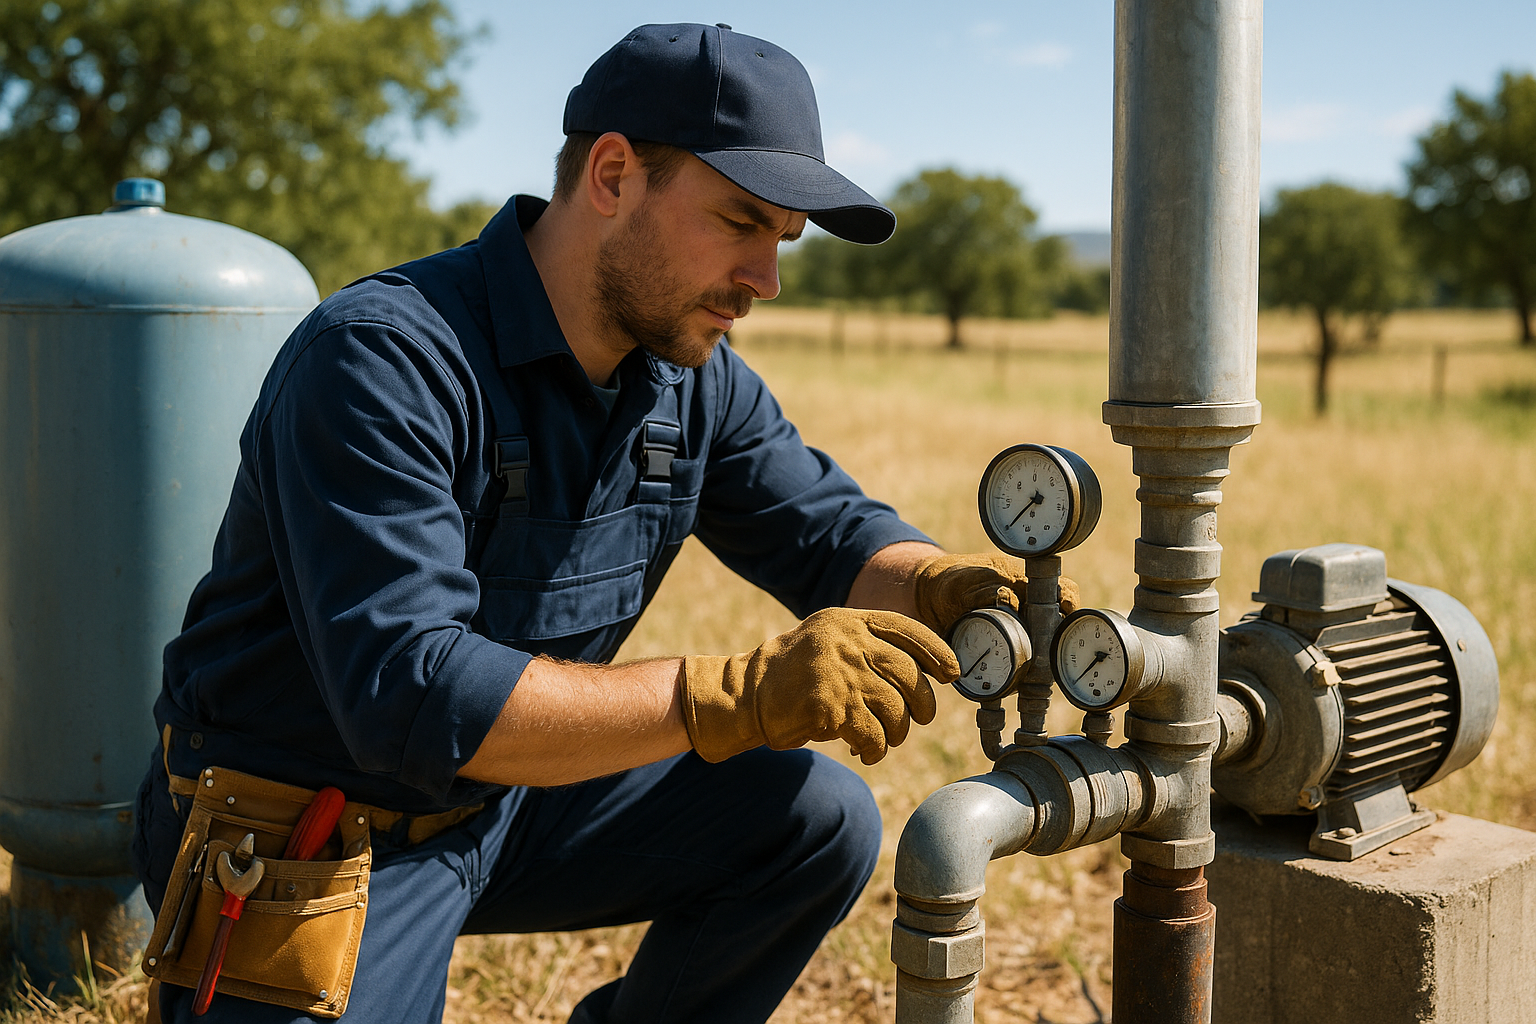
Pressure Switch
This controls when the pump turns on and off based on system pressure. Typical settings are 30/50 or 40/60 PSI (on/off). You'll hear it "click" when the pump starts or stops.
Control Box (Some Systems)
Three-wire submersible pumps have an external control box containing starting capacitors and a relay. Two-wire pumps have these components built into the motor. Learn more in our control box guide.
Essential First Steps
1. Locate and Label Everything
Walk your property and identify:
- Wellhead location (note for future reference)
- Pressure tank and pressure gauge
- Pressure switch (usually on or near the pressure tank)
- Control box (if present—usually near pressure tank)
- Circuit breaker for the well pump
- Any water treatment equipment
- Shut-off valves
Label the circuit breaker clearly. In an emergency, you'll need to find it quickly.
2. Check the Pressure Tank
The pressure tank needs the correct air charge to function properly. Here's how to check:
- Turn off the pump at the breaker
- Open a faucet to drain pressure from the system
- Find the Schrader valve (like a tire valve) on top of the tank
- Use a tire gauge to check pressure
- It should be 2 PSI below your cut-in pressure (e.g., 28 PSI for a 30/50 system)
- Add air with a bicycle pump if needed
3. Test Your Water
If the seller didn't provide recent water test results, order testing immediately. At minimum, test for:
- Coliform bacteria (indicates contamination)
- Nitrates (health concern, especially for infants)
- pH (affects pipes and treatment needs)
- Hardness (affects appliances and soap)
- Iron and manganese (cause staining)
In California, also test for arsenic, which occurs naturally in many aquifers.
Ongoing Maintenance
Annual Maintenance Checklist
- ☐ Test water for bacteria and nitrates
- ☐ Check pressure tank air charge
- ☐ Inspect wellhead for damage or gaps
- ☐ Check for leaks around pressure tank and fittings
- ☐ Note pump cycling pattern (is it normal?)
- ☐ Service water treatment equipment per manufacturer
- ☐ Replace sediment filters if present
- ☐ Clear vegetation from wellhead area
Every 5 Years
- Professional inspection of pump performance
- Comprehensive water quality panel
- Check well construction for integrity
- Evaluate system efficiency
Warning Signs to Watch For
Learn to recognize problems early:
- Pump runs constantly: Leak or low well level
- Rapid cycling: Pressure tank problem
- Dirty or cloudy water: Well or pump issue
- Air sputtering from faucets: Dropping water level or pump problem
- Reduced pressure: Various causes—investigate
- Higher electric bills: Pump working harder than normal
- Strange tastes or odors: Water quality change—test immediately
Emergency Procedures
No Water at All
- Check the circuit breaker—it may have tripped
- Listen for pump humming (motor trying to run)
- Check pressure gauge—zero means no pressure
- If power is good and no humming, the pump may have failed
- Call a professional if basic checks don't help
Rapid Clicking/Cycling
This usually means a waterlogged pressure tank. Turn off the pump at the breaker to prevent motor damage, then call for service. Learn more: pump cycling problems.
Contaminated Water
If you suspect contamination (unusual taste, odor, appearance), stop drinking the water immediately. Use bottled water until you have test results. Contact your county health department for guidance if tests confirm contamination.
We service all major pump brands including Franklin Electric, Grundfos, Goulds (Xylem), and Sta-Rite (Pentair). Our trucks carry common parts and components for same-day repairs.
Frequently Asked Questions
What should I do first as a new well owner?
First, locate and document all components: wellhead, pressure tank, control box, pressure switch, and any treatment equipment. Get a comprehensive water test if the seller didn't provide recent results. Check the pressure tank's air charge. Create a maintenance calendar with annual inspection reminders. Find a local well service company for emergencies.
How often should I test my well water?
Test annually for coliform bacteria and nitrates at minimum. Every 3-5 years, do a comprehensive test including pH, hardness, iron, manganese, and TDS. Test immediately if you notice taste, odor, or appearance changes. Test after any flooding, nearby construction, or well repairs. More frequent testing is wise near septic systems or agriculture.
What maintenance does a well need?
Annual: Test water quality, check pressure tank air charge, inspect visible components, check for leaks. Every 5 years: Professional inspection of pump performance and system efficiency. As needed: Replace filters, service treatment equipment per manufacturer guidelines. Keep the wellhead clear of debris and at least 12 inches above ground.
What do I do if my well stops producing water?
First, check the obvious: Is power on at the breaker? Has the pressure switch tripped? Is the pressure gauge showing zero? If electrical is good, check for rapid cycling (waterlogged tank) or listen for pump humming (seized pump). Most no-water emergencies are electrical or pressure tank related. Call a professional if basic checks don't reveal the problem.
Questions About Your New Well?
We're happy to help new well owners understand their systems. Annual inspections, water testing, and service throughout San Diego and Riverside Counties.
Call (760) 440-8520Related Articles
Continue learning about well maintenance and troubleshooting