Well Pump Relay: Troubleshooting & Replacement Guide
The relay in your well pump control box is a critical component that controls motor starting. When it fails, your pump may not start at all—or may struggle to start. Here's how relays work, how to identify failures, and what to do about them.
📋 In This Guide
Understanding the Pump Relay
What the Relay Does
In 3-wire submersible pump systems, the relay controls the start capacitor circuit:
- Pressure switch closes — Signals pump to start
- Relay connects start capacitor — Provides extra starting torque
- Motor accelerates — Reaches running speed
- Relay disconnects start capacitor — Motor runs on run capacitor only
Why this matters: Single-phase motors need help starting. The start capacitor provides a "boost" but must be disconnected once running or it will overheat and fail. The relay handles this switching automatically.
Relay Types
Potential Relay (Most Common)
- Uses motor's back-EMF to sense when running
- Contacts are normally closed, open when motor reaches speed
- Start capacitor disconnects automatically
- Found in most residential pump control boxes
Current Relay
- Senses motor current to determine starting vs. running
- Less common in submersible pumps
- Contacts are normally open
Solid-State Relay
- Electronic switching instead of mechanical contacts
- More reliable, longer life
- Found in newer/premium control boxes
Signs of Relay Failure
Symptoms
| Symptom | What's Happening |
|---|---|
| Pump hums but won't start | Start capacitor not engaging |
| Pump starts intermittently | Relay contacts sticking or worn |
| Clicking from control box | Relay chattering |
| Pump starts slowly | Weak relay engagement |
| Start capacitor keeps failing | Relay not disconnecting properly |
| Breaker trips on startup | Relay stuck, capacitor overheating |
Visual Signs
- Burned contacts — Visible discoloration or pitting
- Melted plastic — Overheating damage
- Loose connections — Wires not secure on terminals
- Corrosion — Green or white buildup
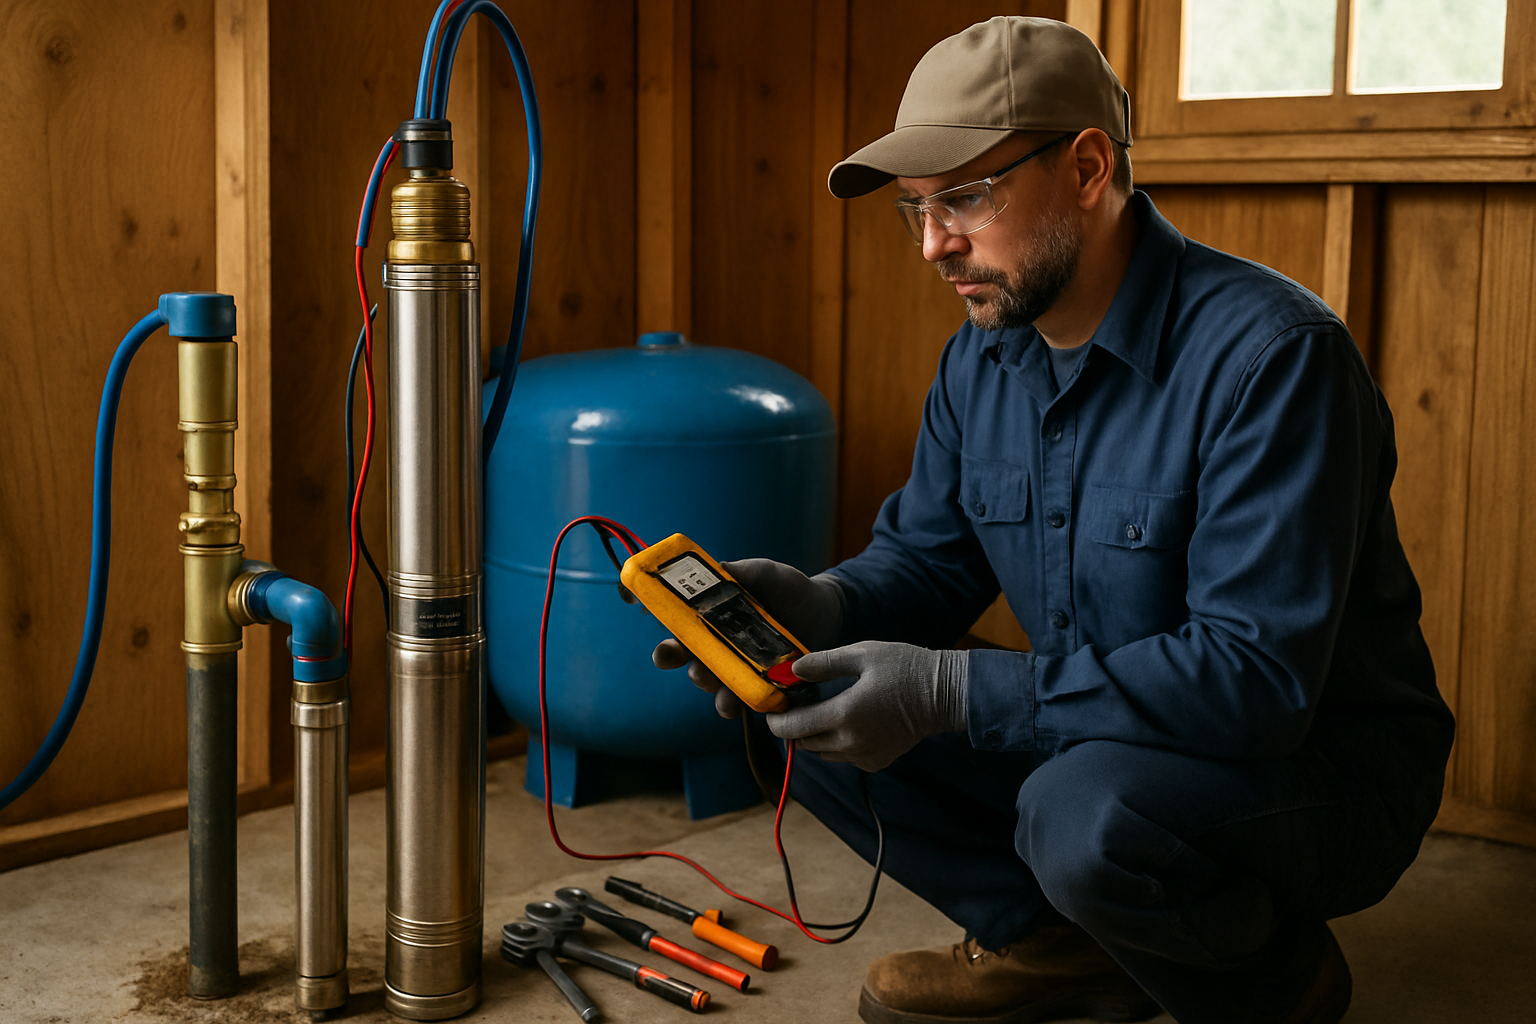
Testing the Relay
Equipment Needed
- Digital multimeter
- Screwdriver set
- Relay specifications (from control box label or relay body)
Safety First
- Turn OFF power at circuit breaker
- Verify power is off with voltage tester
- Wait for capacitors to discharge (1-2 minutes)
- Discharge capacitors manually with insulated screwdriver
Potential Relay Testing
Test 1: Coil Resistance
- Locate coil terminals (typically 2 and 5 on potential relays)
- Set multimeter to ohms (Ω)
- Measure resistance across coil terminals
- Compare to relay specifications
Normal: Typically 8,000-20,000 ohms depending on relay
Open (infinite): Coil is burned out — replace relay
Shorted (very low): Coil failure — replace relay
Test 2: Contact Check
- Locate contact terminals (typically 1 and 2)
- Set multimeter to continuity
- Check contacts at rest (should be closed/continuous for potential relay)
Normal: Continuity at rest (potential relay contacts normally closed)
No continuity: Contacts stuck open or damaged
Common Relay Problems
Stuck Closed (Contacts Won't Open)
Result: Start capacitor stays in circuit too long, overheats, fails
Symptoms: Start capacitor keeps blowing, pump runs hot
Stuck Open (Contacts Won't Close)
Result: Start capacitor never engages
Symptoms: Pump hums but won't start, low starting torque
Chattering
Result: Relay rapidly opens and closes
Symptoms: Clicking sounds, intermittent starting
Cause: Usually voltage issues or failing coil
Burned Contacts
Result: High resistance, poor connection
Symptoms: Slow starting, overheating
Cause: Arc damage from repeated switching
Replacement Process
Finding the Right Replacement
Match these specifications:
- Pickup voltage — When relay activates
- Dropout voltage — When relay releases
- Coil resistance — Must match closely
- Contact rating — Must handle capacitor current
Tip: Bring the old relay to a well supply store for exact matching.
Installation Steps
- Power OFF and verify
- Photograph existing wiring before disconnecting
- Note wire colors and terminal numbers
- Remove old relay
- Install new relay in same position
- Reconnect wires to correct terminals
- Double-check connections against photo
- Close control box
- Restore power
- Test pump operation
Relay Costs
| Item | Cost Range |
|---|---|
| Potential relay (standard) | $15-$40 |
| Solid-state relay | $40-$80 |
| Complete control box | $80-$200 |
| Professional diagnosis + repair | $100-$250 |
When to Replace the Whole Control Box
Sometimes replacing the complete box makes more sense:
- Multiple component failures — Relay + capacitor both bad
- Old/obsolete box — Parts hard to find
- Burn damage — Fire damage affects multiple components
- Upgrading to 2-wire pump — New pump doesn't need control box
We use Hach and LaMotte professional water testing equipment for field analysis, with comprehensive lab testing through certified California laboratories.
Frequently Asked Questions
What does the relay do in a well pump system?
In 3-wire pump systems, the relay (also called a starter relay or potential relay) controls the start capacitor circuit. When the motor starts, the relay connects the start capacitor to provide extra starting torque that single-phase motors need to begin spinning. Once the motor reaches running speed, the relay senses this and disconnects the start capacitor—which would overheat if left in the circuit. Without a working relay, the pump may not start at all, may struggle to start, or may damage the start capacitor.
How do I know if my pump relay is bad?
Common symptoms of a bad relay include: pump hums or buzzes but won't start (start capacitor not engaging), pump starts intermittently or unreliably, clicking sounds from the control box when pump tries to start (relay chattering), pump starts very slowly or struggles to reach speed, or start capacitors keep failing (relay stuck, not disconnecting). A failed relay often mimics capacitor problems since both affect starting—proper diagnosis requires testing both components.
Can I test a pump relay myself?
Basic relay testing requires a multimeter and understanding of the relay type. You can check coil resistance (should match specifications) and contact continuity. However, proper diagnosis often requires understanding the specific relay type, the control box circuit, and safe electrical procedures. Relays are inside control boxes with high voltage—if you're not comfortable with electrical testing and safety procedures, call a professional. The cost of a service call is worth avoiding electrical shock or misdiagnosis.
Relay vs. capacitor—how do I tell which is bad?
Symptoms overlap significantly. General guidelines: If you hear a hum but no start, either could be the cause. If start capacitors keep failing repeatedly, suspect the relay (not disconnecting). If the relay looks burned or damaged, obviously replace it. The safest approach is testing both components—capacitor with a capacitance meter, relay with resistance and continuity tests. When in doubt, replacing both the relay and start capacitor together ensures you've addressed the starting circuit completely.
Our Control Box Services
Southern California Well Service diagnoses and repairs pump control systems:
- Complete diagnosis — We test all components
- Relay replacement — Correct part, proper installation
- Capacitor service — Often needed with relay
- Control box replacement — When repair isn't practical
Control Box Problems?
We diagnose and repair pump relays, capacitors, and control boxes.
Call (760) 440-8520Expert diagnosis | Quality parts | San Diego County
Related: Pump Repair | Capacitor Guide | Pump Won't Start
Related Articles
Continue learning about well maintenance and troubleshooting