Spring Well Startup Checklist: Your Complete Annual Well Inspection Guide
By SCWS Team | February 1, 2026 | 12 min read
📋 In This Guide
- Why Spring Is Critical for Well Maintenance
- Complete Spring Well Startup Checklist
- Checking Wellhead and Cap
- Pressure Tank Inspection
- Electrical System Check
- Water Quality Testing After Winter
- Scheduling Professional Inspection
- Cost of Spring Well Tune-Up
- Frequently Asked Questions
- Start Your Spring Well Maintenance Today
- Related Seasonal Articles
- Related Articles
🌸 Spring has arrived in Southern California—and your well is waking up too. After months of winter storms beating down, water tables shifting, and (for mountain communities) potential freeze damage, your well system needs some TLC before the demanding summer months hit. Think of it as a wellness checkup for your water supply. This comprehensive well startup checklist walks you through everything needed for a complete annual well inspection—from quick visual checks you can do this weekend to knowing when it's time to call in the pros.

Why Spring Is Critical for Well Maintenance
Timing matters when it comes to well care, and spring represents the perfect window for several important reasons. Understanding why this season is crucial helps you prioritize your well system checkup and catch problems before they become emergencies.
Post-Winter Assessment
Winter weather—even Southern California's relatively mild version—takes a toll on well systems. Heavy rains can wash contaminants toward your wellhead, erosion may affect drainage patterns, and mountain communities experience freezing temperatures that stress pipes and equipment. Spring is your opportunity to assess any damage before it worsens.
Aquifer Recharge Complete
By spring, winter rains have recharged underground aquifers, giving you an accurate picture of your well's production capacity. Testing water levels and flow rates now provides a reliable baseline for the year ahead. If your well shows reduced capacity even with full aquifers, you know there's a problem to address.
Summer Preparation
Summer places the highest demand on your well system—increased household usage, irrigation needs, and potentially lowered water tables combine to stress even healthy wells. Completing your annual well inspection in spring ensures everything is optimized before peak demand hits. Discovering a failing pump in March is far better than losing water on a 100-degree August day.
Scheduling Advantage
Well service professionals are typically busiest during summer emergency season. Scheduling your spring well maintenance means shorter wait times, more flexibility in appointment scheduling, and the ability to plan any needed repairs without the pressure of being without water.
💡 Pro Tip: Schedule in March-April
The sweet spot for spring well service is March through mid-April. You'll beat the summer rush, get priority scheduling, and have plenty of time to address any issues before hot weather arrives.
Complete Spring Well Startup Checklist
Use this comprehensive checklist to ensure nothing gets missed during your spring well system checkup. We've organized tasks from simple visual inspections to more technical checks that may require professional assistance.
Your Complete Spring Well Checklist
- ☐ Visual wellhead and cap inspection
- ☐ Clear vegetation in 10-foot radius
- ☐ Verify proper drainage away from wellhead
- ☐ Check well casing above ground
- ☐ Inspect sanitary seal and vent screen
- ☐ Test pressure tank air charge
- ☐ Check pressure switch operation
- ☐ Inspect electrical connections
- ☐ Monitor pump cycling behavior
- ☐ Test water flow rate
- ☐ Schedule water quality testing
- ☐ Review and update maintenance records
- ☐ Schedule professional inspection if due
Checking Wellhead and Cap
The wellhead is your well's first line of defense against contamination, and winter weather can compromise its integrity. This visual inspection takes just 15 minutes but is essential for protecting your water supply.
Well Cap Inspection
Your well cap prevents insects, rodents, debris, and surface water from entering the well. Examine it carefully for:
- Secure attachment: The cap should be firmly seated with no wobble or looseness
- Cracks or damage: Winter temperature changes can cause plastic caps to crack
- Proper seal: No visible gaps between cap and casing
- Lock intact: If your cap has a lock, verify it's functional
- Vent screen: The screened vent should be clear of debris and intact
A damaged or missing cap requires immediate attention. Even a few days of exposure can allow contamination into your well. Learn more about protecting your well in our well casing damage guide.
Casing Condition
Examine the visible portion of your well casing (the pipe extending above ground):
- Height: Casing should extend at least 12 inches above ground level—preferably 18-24 inches in flood-prone areas
- Physical damage: Look for new dents, cracks, or rust spots
- Sanitary seal: The rubber boot where wires and pipes enter must be intact and properly seated
- Settling: Check if the casing has shifted or settled compared to previous years
Surrounding Area Assessment
The area around your wellhead affects contamination risk:
- Clear vegetation: Remove grass, weeds, and brush within 10 feet of the wellhead
- Drainage: Ground should slope away from the well in all directions
- Erosion: Check for new erosion channels that might direct water toward the well
- Debris: Remove any leaves, sticks, or other material that accumulated over winter
- Chemical storage: Ensure no fertilizers, pesticides, or fuel containers are stored near the well
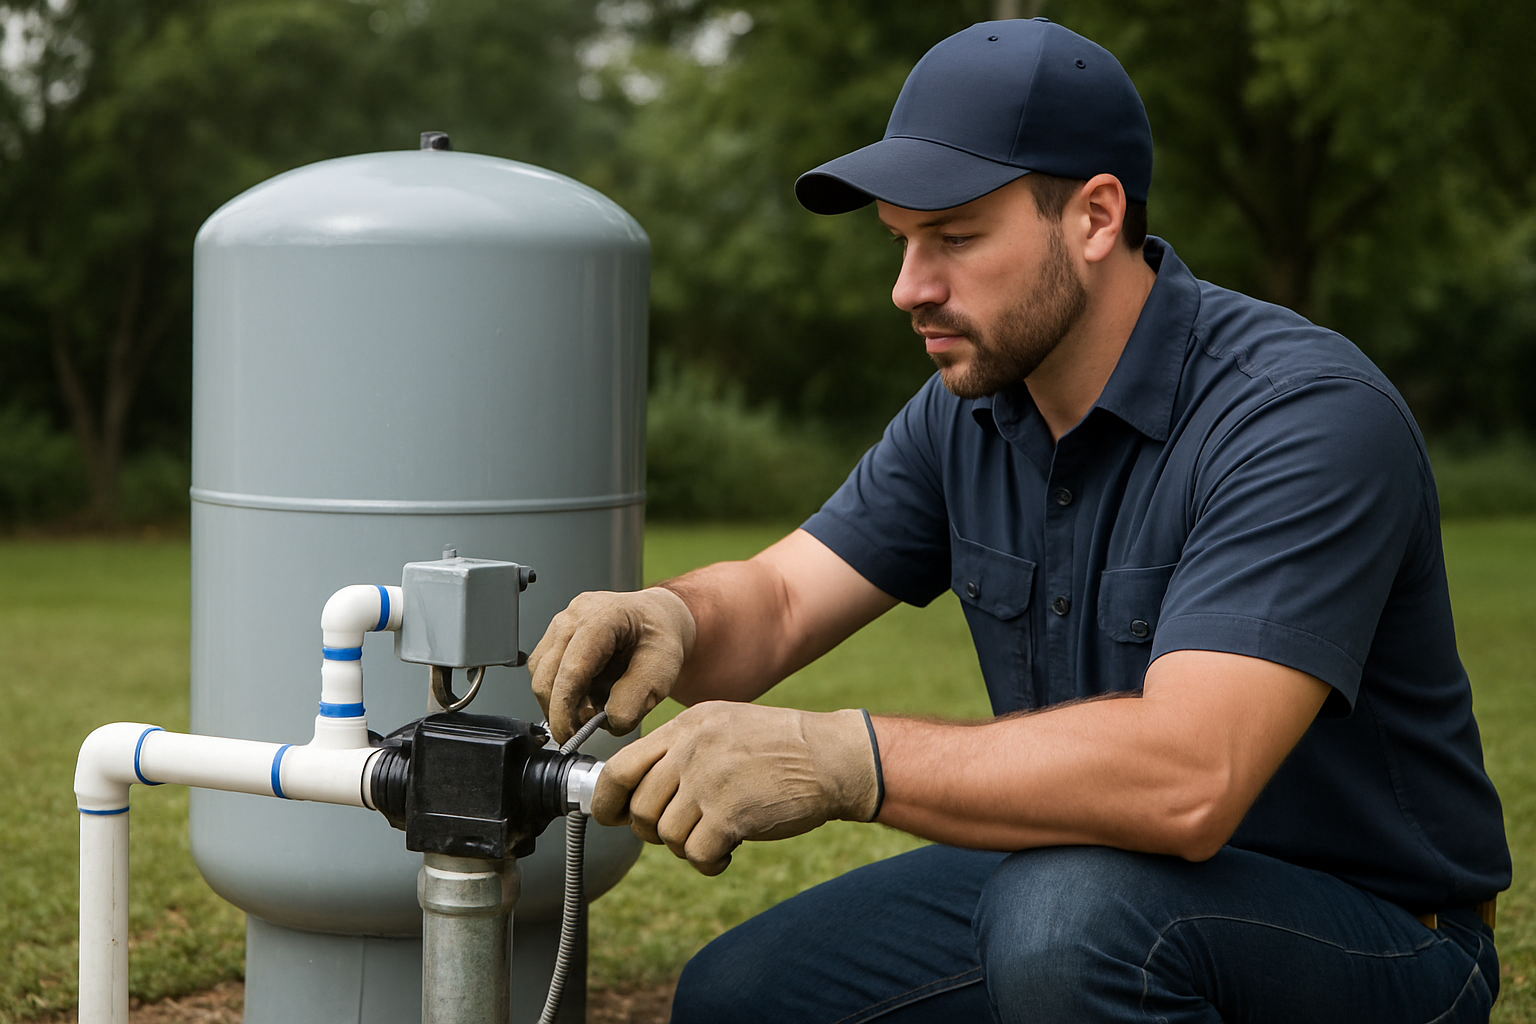
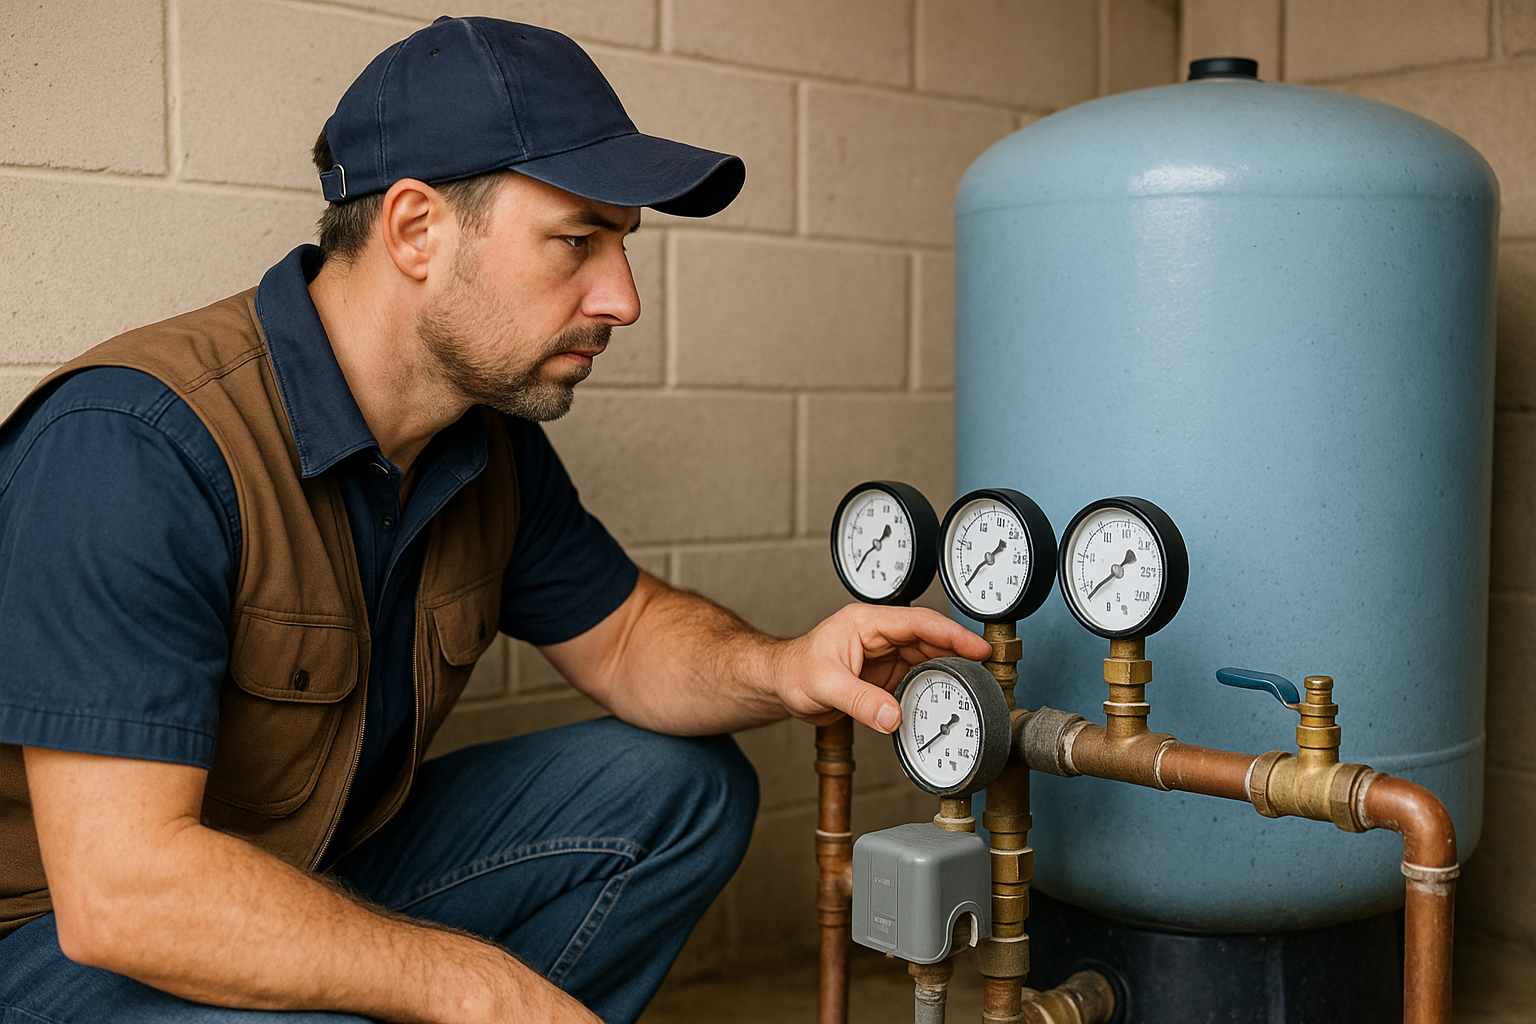
Pressure Tank Inspection
Your pressure tank is the heart of your well's delivery system, maintaining consistent pressure and preventing the pump from cycling constantly. Spring is the ideal time to check its condition and verify proper operation.
External Inspection
Before checking internal components, examine the outside of your pressure tank:
- Rust or corrosion: Surface rust indicates moisture problems that may worsen
- Condensation: Excessive moisture on the tank surface suggests internal bladder issues
- Leaks: Check all connections, fittings, and the tank bottom for water
- Physical damage: Dents or bulges indicate internal problems
- Age: Most pressure tanks last 10-15 years; note your tank's installation date
Air Charge Test
The most important pressure tank maintenance task is checking the air charge. An improperly charged tank causes rapid pump cycling, which dramatically shortens pump life. Here's how to check it:
- Turn off the pump: Shut off power at the breaker or disconnect
- Drain the tank: Open a faucet and let water run until it stops completely
- Locate the air valve: Usually on top of the tank, looks like a tire valve
- Check pressure: Use a standard tire pressure gauge
- Compare to specification: Air pressure should be 2 PSI below your pressure switch's cut-in setting (typically 28 PSI for 30/50 systems or 38 PSI for 40/60 systems)
- Adjust if needed: Add air with a bicycle pump or compressor; release air if too high
- Restore power: Close the faucet and turn the pump back on
If your tank won't hold air pressure, the internal bladder has likely failed and the tank needs replacement. See our pressure tank troubleshooting guide for more details.
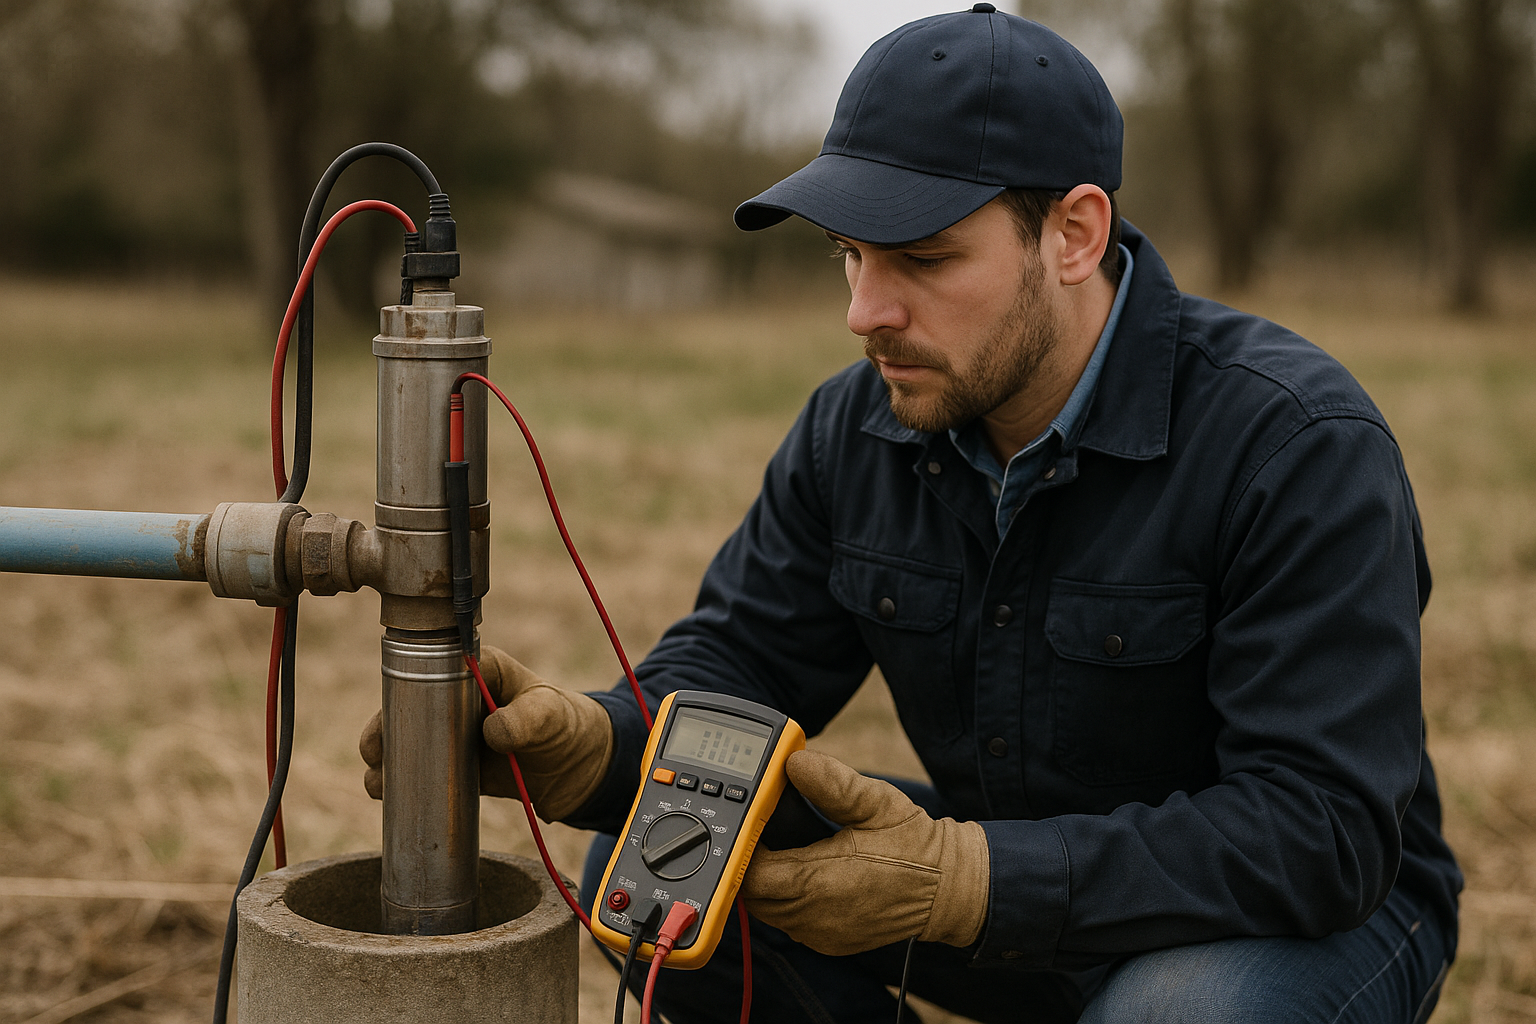
Electrical System Check
Your well's electrical components work year-round and deserve attention during your spring well startup checklist. While you should leave actual electrical work to professionals, you can perform important visual inspections.
Safety First
⚠️ Electrical Safety Warning
Never work on well electrical components with power connected. Well pumps use 240 volts—enough to cause serious injury or death. If you see damaged wiring, burnt components, or anything concerning, call a professional immediately. Do not attempt repairs yourself.
Visual Electrical Inspection
With power OFF, examine these components:
- Pressure switch: Look for burn marks, corrosion, or insect nests
- Control box: Check for rust, water damage, or rodent activity
- Wiring conduit: Ensure conduit is intact with no exposed wires
- Connections at wellhead: Verify wires entering the well casing are properly sealed
- Breaker panel: Note if well circuit breaker has tripped recently
Pump Operation Check
With power restored, monitor your pump's behavior:
- Startup: Pump should start smoothly without hesitation or clicking
- Run time: Note how long pump runs to fill the pressure tank
- Cycling: Pump should run, then stop clearly—not rapid on/off cycles
- Sounds: Listen for grinding, humming, or other unusual noises
- Vibration: Excessive vibration indicates potential motor or pump problems
If you notice any unusual behavior, see our guide on signs your well pump is failing.
Water Quality Testing After Winter
Spring water quality testing is perhaps the most important part of your annual well inspection. Winter storms can introduce contaminants into groundwater, and testing reveals problems before they affect your family's health.
Why Post-Winter Testing Matters
Several factors make spring testing essential:
- Surface water infiltration: Heavy rains can overwhelm well seals and introduce bacteria
- Agricultural runoff: Fertilizers and pesticides wash into groundwater during storms
- Septic system stress: Saturated soils can cause septic failures affecting nearby wells
- Turbidity changes: Rising water tables can stir up sediment and contaminants
- Baseline establishment: Annual testing creates a record showing changes over time
Essential Tests for Spring
At minimum, your spring testing should include:
Recommended Spring Water Tests
- Total Coliform Bacteria: Indicates potential contamination from surface water or sewage. Any detection requires immediate action.
- E. coli: Specific indicator of fecal contamination. A positive result means your water is unsafe to drink.
- Nitrates: Common in agricultural areas, dangerous for infants (blue baby syndrome). Should be under 10 mg/L.
- pH Level: Affects corrosion, treatment effectiveness, and taste. Ideal range is 6.5-8.5.
Extended Testing Considerations
Depending on your location and circumstances, consider additional tests:
- Iron and manganese: Common in Southern California wells, affects taste and staining
- Hardness: Impacts appliances, plumbing, and soap effectiveness
- Arsenic: Naturally occurring in some areas, long-term health effects
- Radon: Present in certain geological formations
- Pesticides/herbicides: Essential near agricultural operations
For comprehensive testing information, see our complete well water testing guide. If you find bacteria, our bacteria in well water guide explains treatment options.
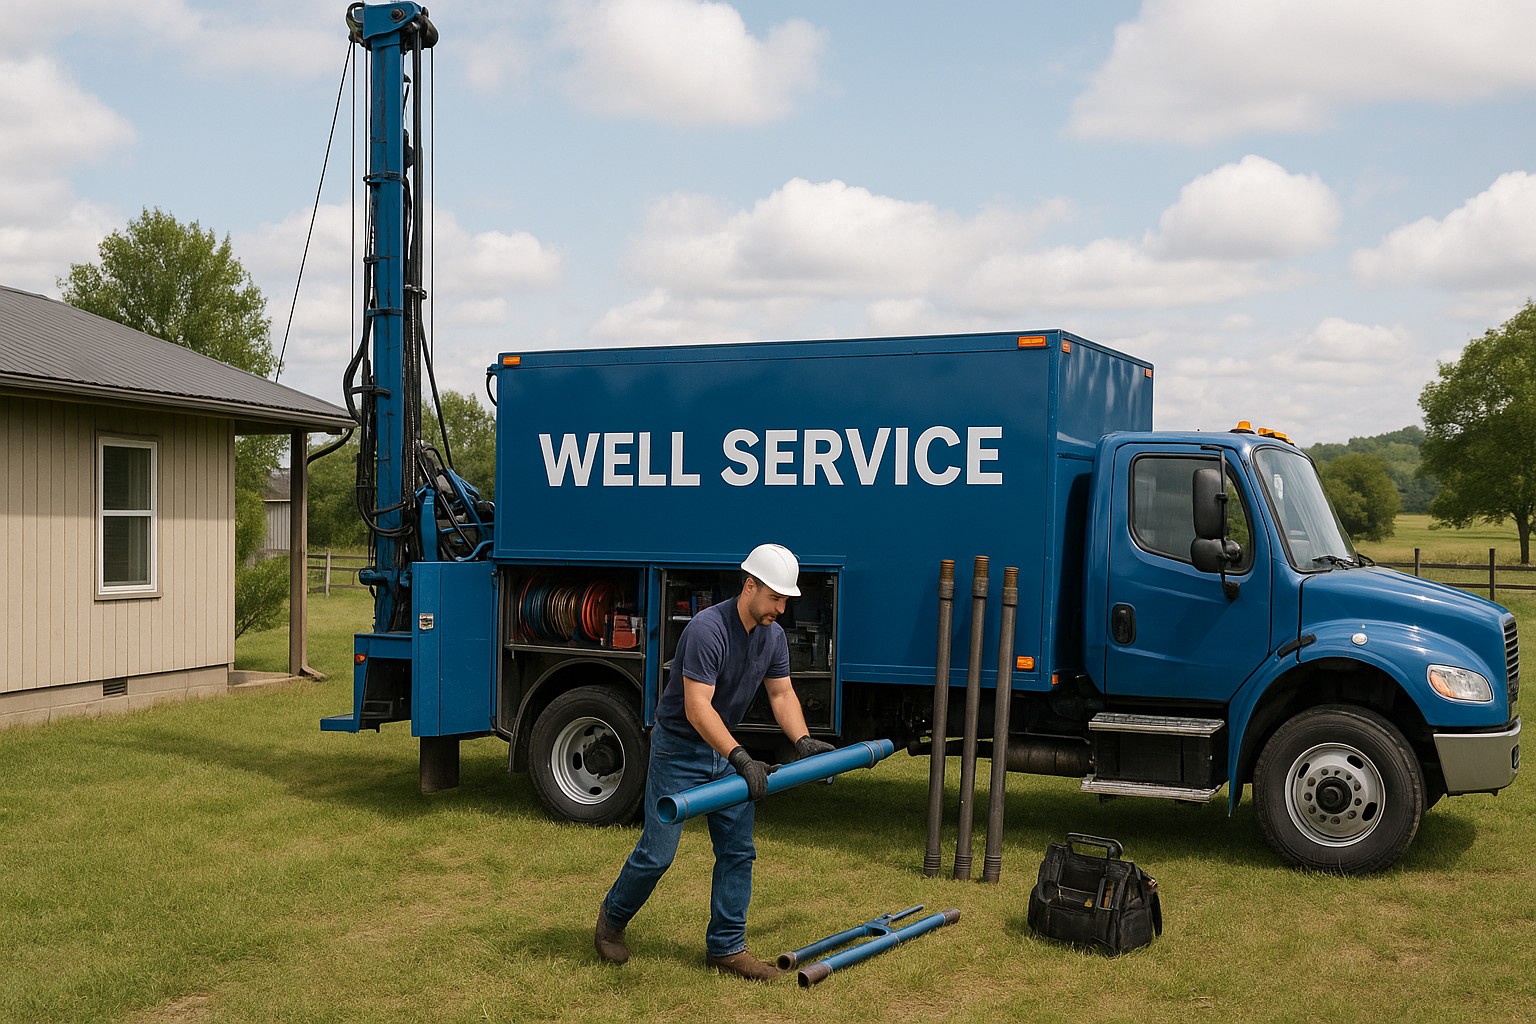
Scheduling Professional Inspection
While many spring well maintenance tasks are DIY-friendly, some situations require professional expertise. Knowing when to call in the experts ensures problems are properly diagnosed and repaired.
When Professional Service Is Essential
Schedule a professional inspection if:
- Your well is over 15 years old and hasn't been inspected in the past year
- Wells 5-15 years old should be inspected every 3-5 years
- You've noticed changes in water quality, pressure, or flow rate
- The pump is cycling more frequently than normal
- You experienced flooding near the wellhead during winter
- You're buying or selling a property with a well
- Your water test revealed contamination
- You hear unusual sounds from the pump or pressure tank
What Professional Inspection Includes
A thorough professional annual well inspection typically covers:
- Complete wellhead and casing assessment
- Pump performance testing and amp draw measurement
- Flow rate testing (gallons per minute)
- Pressure tank evaluation and air charge check
- Electrical system inspection and testing
- Static water level measurement
- Water quality testing or sample collection
- Written report of findings and recommendations
For details on what to expect, see our complete well inspection guide.
Cost of Spring Well Tune-Up
Investing in spring well maintenance is far more economical than emergency repairs. Understanding typical costs helps you budget appropriately and recognize fair pricing.
Typical Service Costs
Spring Well Service Pricing
- Basic inspection and tune-up: $150-$300 — Includes visual inspection, pressure tank check, flow test, and system evaluation
- Comprehensive inspection: $300-$500 — Adds detailed pump testing, water level measurement, and written report
- Water quality testing: $100-$250 — Basic bacterial and chemical panel; extensive testing costs more
- Pressure tank service: $75-$150 — Air charge adjustment and evaluation
- Well chlorination: $150-$300 — Shock treatment if bacteria detected
The Value of Prevention
Compare preventive maintenance costs to typical repair expenses:
- Well pump replacement: $1,500-$4,000+
- Pressure tank replacement: $500-$1,500
- Emergency service call: Often 50-100% premium over scheduled service
- Well rehabilitation: $3,000-$10,000
Annual maintenance costing $300-$500 that extends pump life by even two years saves thousands. For detailed repair costs, see our guides on well pump replacement cost and pressure tank replacement cost.
Frequently Asked Questions
Why is spring the best time for annual well inspection?
Spring is ideal for annual well inspection because winter storms have recharged aquifers, allowing accurate water level assessment. You can identify and repair any storm damage before summer's peak demand. Water quality testing after winter rains reveals any contamination from surface runoff. Plus, scheduling inspections in spring ensures your system is ready for the high-usage months of summer when your well works hardest.
How much does a spring well tune-up cost?
A basic spring well tune-up typically costs $150-$300 and includes visual inspection, pressure tank air charge check, flow rate testing, and system evaluation. Comprehensive inspections with water quality testing range from $300-$500. Adding bacterial and chemical testing adds $100-$250. While these costs seem significant, preventive maintenance saves thousands compared to emergency repairs and pump replacements that result from neglected systems.
What should I test my well water for in spring?
At minimum, spring water testing should include coliform bacteria, E. coli, and nitrates—the most common and dangerous contaminants. The EPA also recommends testing pH levels annually. After heavy winter rains, consider testing for turbidity, iron, and manganese. If you live near agricultural areas, test for pesticides and herbicides. Properties near old industrial sites should test for volatile organic compounds (VOCs) and heavy metals.
Can I perform spring well maintenance myself or do I need a professional?
Many spring maintenance tasks are DIY-friendly: visual wellhead inspection, clearing vegetation, checking drainage, testing pressure tank air charge, and monitoring pump performance. However, electrical work, pump service, water quality testing, and anything requiring well entry should be handled by licensed professionals. A good approach is performing your own checklist first, then scheduling professional service for anything beyond your comfort level or requiring specialized equipment.
How often should I have a professional well inspection?
The general recommendation is every 3-5 years for wells under 15 years old, and annually for older systems. However, you should schedule an inspection immediately if you notice changes in water quality, pressure, or taste; after any flooding near the wellhead; following earthquakes; before buying or selling property; or if your pump behavior changes. Annual water quality testing is recommended for all wells regardless of age.
Start Your Spring Well Maintenance Today
Your well is one of the most valuable systems on your property, providing independence and clean water for your family. Taking time each spring for a thorough well system checkup protects that investment and ensures reliable water year-round.
Start with the visual inspections and checklist items you can handle yourself. Print this guide, walk your property, and take notes on anything concerning. Then schedule professional service for water testing and any items beyond your expertise.
The small investment of time and money in spring well maintenance pays dividends through extended equipment life, better water quality, and the peace of mind that comes from knowing your system is ready for whatever the year brings.
Ready for Your Spring Well Checkup?
Whether you need a comprehensive annual inspection, water quality testing, or noticed something concerning during your DIY check, our experienced technicians are ready to help. We service wells throughout San Diego and Riverside Counties, providing thorough evaluations and honest recommendations.