By SCWS Team
Published February 17, 2026 · 8 min read
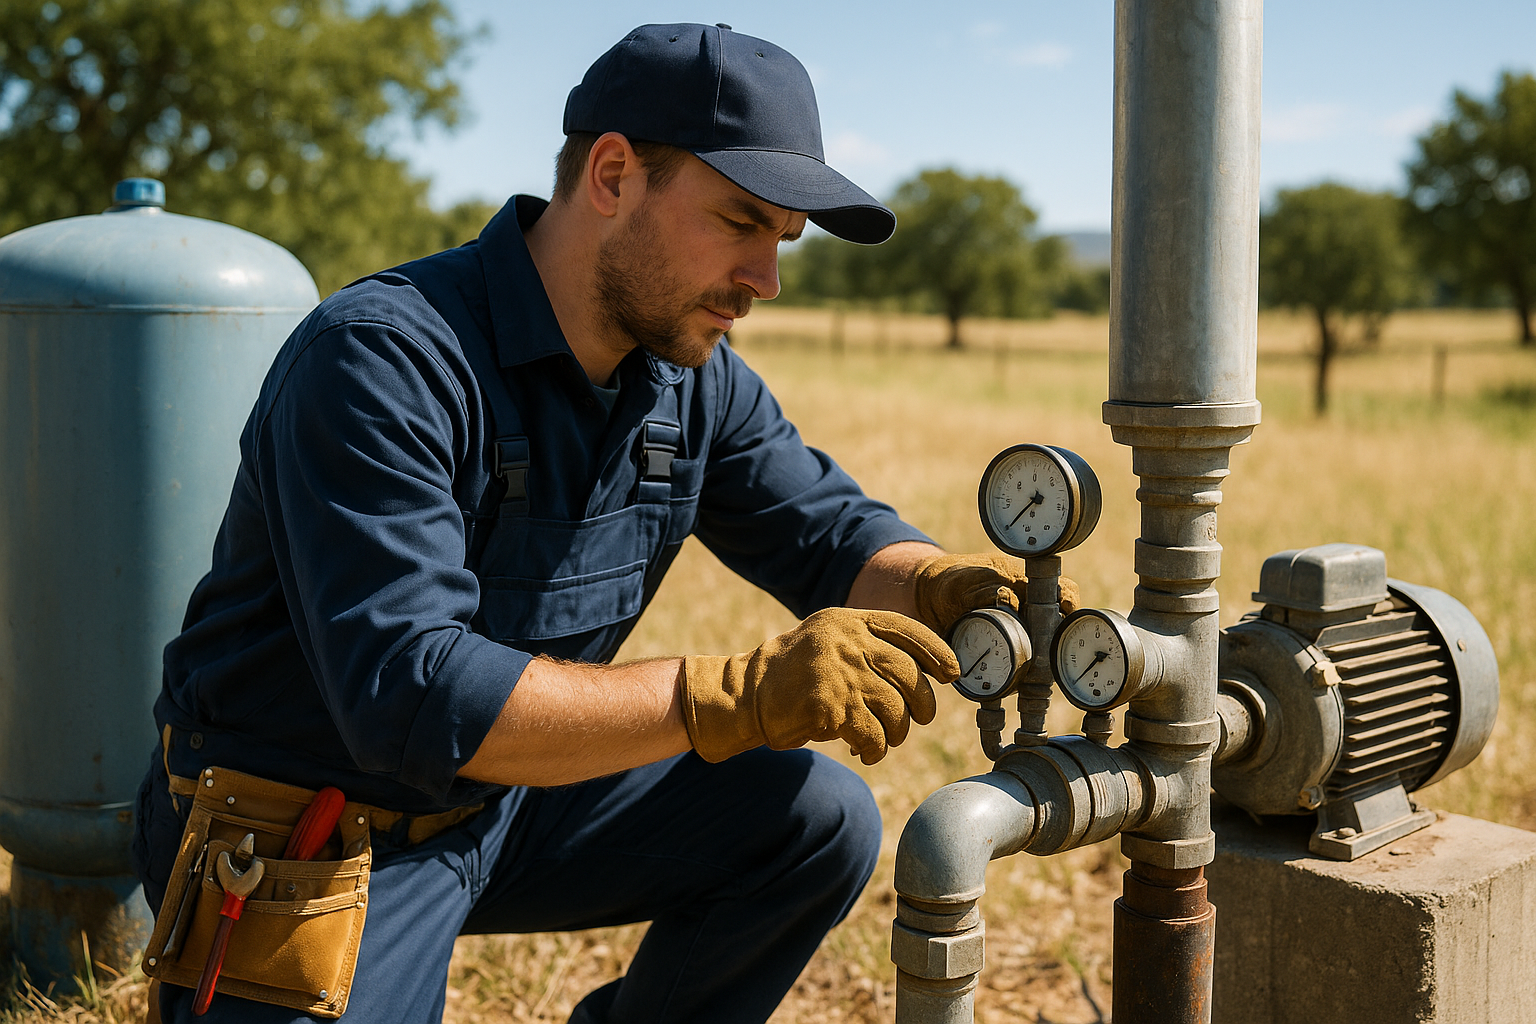
The well cap is probably the cheapest component of your well system—and also one of the most important. This simple device is all that stands between your water supply and insects, rodents, debris, and surface contamination.
A cracked cap or deteriorated seal can allow bacteria, pesticides, fertilizers, and animal waste into your water supply. Regular inspection takes just a few minutes and can prevent serious contamination and illness.
Well Cap Basics
What the Cap Does
- Barrier to contamination: Keeps out insects, debris, animals, and surface water
- Security: Prevents tampering with your water supply
- Venting: Allows pressure equalization while screening out contaminants
- Wire protection: Provides entry point for pump wiring
Types of Well Caps
- Standard vermin-proof: Bolted or screwed on; screened vent; most common modern type
- Locking caps: Same as above with padlock provision; prevents tampering
- Pitless adapter wells: Minimal above-ground exposure; very secure
- Old-style covers: Simple loose-fitting covers; inadequate—should be replaced
Inspection Checklist
✓ Well Cap Inspection Points
- Secure attachment: Cap should be firmly attached with no wobble
- Complete seal: No gaps between cap and casing
- Vent screen: Intact, not clogged or damaged
- No rust/corrosion: Metal caps should be intact
- Proper fit: Cap matches casing diameter
- Wiring entry: Properly sealed where wires enter
- No tampering evidence: Bolts intact, no forced entry signs
✓ Sanitary Seal Inspection
- Rubber condition: No cracking, dry rot, or deterioration
- Tight fit: Seal compresses firmly around pipes and wires
- No gaps: Complete seal around all penetrations
- Proper installation: Seal seated correctly in casing
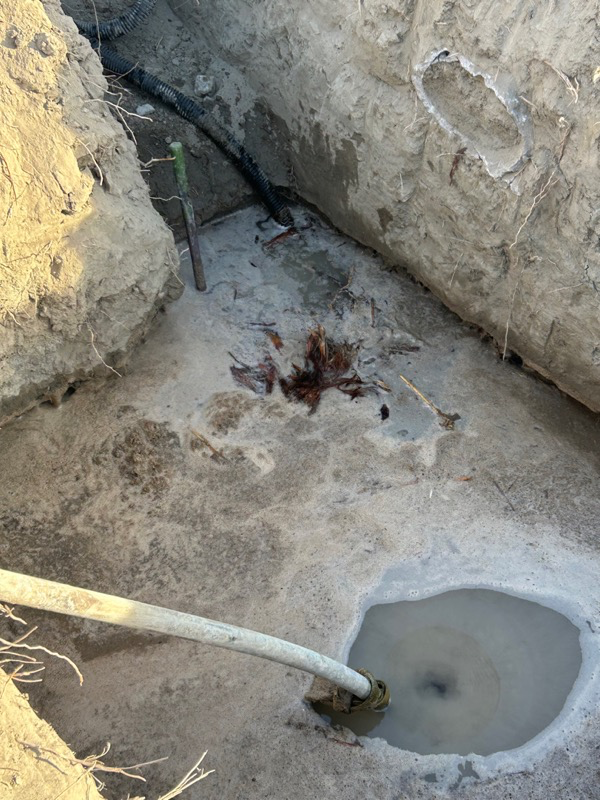
Surrounding Area
The area around your wellhead is part of your contamination defense:
- Grading: Ground should slope away from well in all directions
- Clearance: No debris, mulch, or vegetation piled against casing
- No ant mounds: Insects can enter through tiny gaps
- No standing water: Puddles near well indicate grading problems
- Casing height: Should extend at least 12 inches above ground
- No hazards nearby: Fuel, chemicals, fertilizers should be 100+ feet away
Common Problems
| Problem | Risk | Solution |
|---|---|---|
| Cracked/missing cap | Direct contamination pathway | Replace immediately |
| Deteriorated seal | Water/insects can enter | Replace seal |
| Clogged vent | Vacuum issues; insect entry | Clean or replace screen |
| Loose attachment | Can be removed; contamination | Tighten or replace |
| Old-style cover | Not vermin-proof | Upgrade to modern cap |
| Low casing | Flooding can enter well | Extend casing height |
When to Take Action
Replace Immediately If:
- Cap is missing, cracked, or doesn't fit properly
- Seal is crumbling, cracked, or visibly deteriorated
- Evidence of insects or debris inside casing
- Water test shows bacteria after previously being clear
- Any visible pathway for contamination entry
We service all major pump brands including Franklin Electric, Grundfos, Goulds (Xylem), and Sta-Rite (Pentair). Our trucks carry common parts and components for same-day repairs.
Frequently Asked Questions
What does a well cap do?
The well cap prevents insects, animals, debris, and surface water from entering your well. It's your primary barrier against contamination.
How often should I inspect my well cap?
At least annually, and after severe weather or if you notice water quality changes. Spring is a good time for annual inspection.
How much does it cost to replace a well cap?
Well caps cost $20-100, with professional installation adding $50-150. Given the low cost, replace whenever there's any doubt about integrity.
Need Well Cap Service?
We inspect, repair, and replace well caps and seals throughout San Diego and Riverside Counties.
Call (760) 440-8520Related Guides
Related Articles
Continue learning about well maintenance and troubleshooting
Well Cap Inspection
Southern California Well Service provides professional water well drilling, pump repair, and maintenance services throughout San Diego, Riverside, and San Bernardino counties. With over 30 years of experience and a team of 17+ employees, we have the equipment and expertise to handle any well project.
Our Services
Well Drilling
We drill new residential, agricultural, and commercial water wells using air rotary and mud rotary methods. Our rigs can handle the diverse geology of Southern California—from the granite formations in the mountains to the alluvial basins in the valleys.
- Site evaluation and well placement consultation
- Permit acquisition (we handle the paperwork)
- Drilling, casing, and well development
- Pump installation and system setup
Pump Repair and Replacement
When your pump fails, you need it fixed fast. Our service trucks carry diagnostic equipment and common parts for same-day repairs when possible.
- Submersible and jet pump service
- Control box and electrical diagnosis
- Pressure tank replacement
- Emergency same-day service available
Well Rehabilitation
If your well's production has declined, rehabilitation can often restore it without drilling a new well—saving you thousands.
- Video inspection to assess condition
- Chemical treatment for mineral buildup
- Hydrofracturing to open new fractures
- Well deepening when applicable
Water Storage Systems
Many rural SoCal properties benefit from water storage to buffer against low well yield or power outages.
- Storage tank installation (500–10,000+ gallons)
- Booster pump systems
- Fire suppression water storage
- Agricultural and livestock watering systems
Service Area
We serve all of San Diego County, western Riverside County, and southwestern San Bernardino County, including:
- San Diego County: Ramona, Julian, Alpine, Escondido, Valley Center, Fallbrook, Poway, Lakeside, El Cajon, Jamul, Descanso, Pine Valley, Boulevard, Borrego Springs, and more
- Riverside County: Temecula, Murrieta, Hemet, San Jacinto, Anza, Aguanga, Winchester, Menifee
- San Bernardino County: Lake Arrowhead, Big Bear, Running Springs, Highland, Yucaipa
Why Choose SCWS?
- Licensed and insured: CSLB License #1086994 (C-57 Water Well Drilling)
- 30+ years experience in Southern California geology
- 17+ employees with multiple drilling rigs and service trucks
- Locally owned: Based in Ramona, serving our community
- Fair pricing: Honest estimates, no surprise charges
Get a Free Estimate
Call us at (760) 440-8520 or visit our office at 1077 Main St, Ramona, CA 92065. We're happy to discuss your project and provide a detailed estimate at no cost.
Need Professional Help?
SCWS has 30+ years of experience serving San Diego, Riverside, and San Bernardino counties. Licensed C-57 contractor (CSLB #1086994).
Call (760) 440-8520