Well Check Valves: Types, Location & Troubleshooting
📋 In This Guide
What Check Valves Do
Primary Functions
- Allow water flow in one direction only
- Prevent backflow when pump stops
- Maintain system pressure
- Reduce strain on pump startup
Why They Matter
Without check valves:
- Water drains back into well each cycle
- Pump must re-fill lines every start
- Severe water hammer (pipe banging)
- Pump works much harder
- Shortened pump life
Types of Check Valves
Foot Valve
- Located at bottom of suction pipe (jet pumps)
- Keeps pump primed
- Often has strainer screen
- Critical for shallow well jet pumps
Spring Check Valve
- Spring-loaded disc
- Common in residential systems
- Available in brass, PVC, stainless
- Vertical or horizontal installation
Swing Check Valve
- Hinged disc swings open/closed
- Low pressure drop
- Usually horizontal installation only
- Common in larger systems
Double Check Valve
- Two valves in series
- Code requirement for certain applications
- Backflow prevention
Built-In Pump Check
- Many submersible pumps have check valve built in
- Located at pump discharge
- May still want additional check at surface
Where Check Valves Go
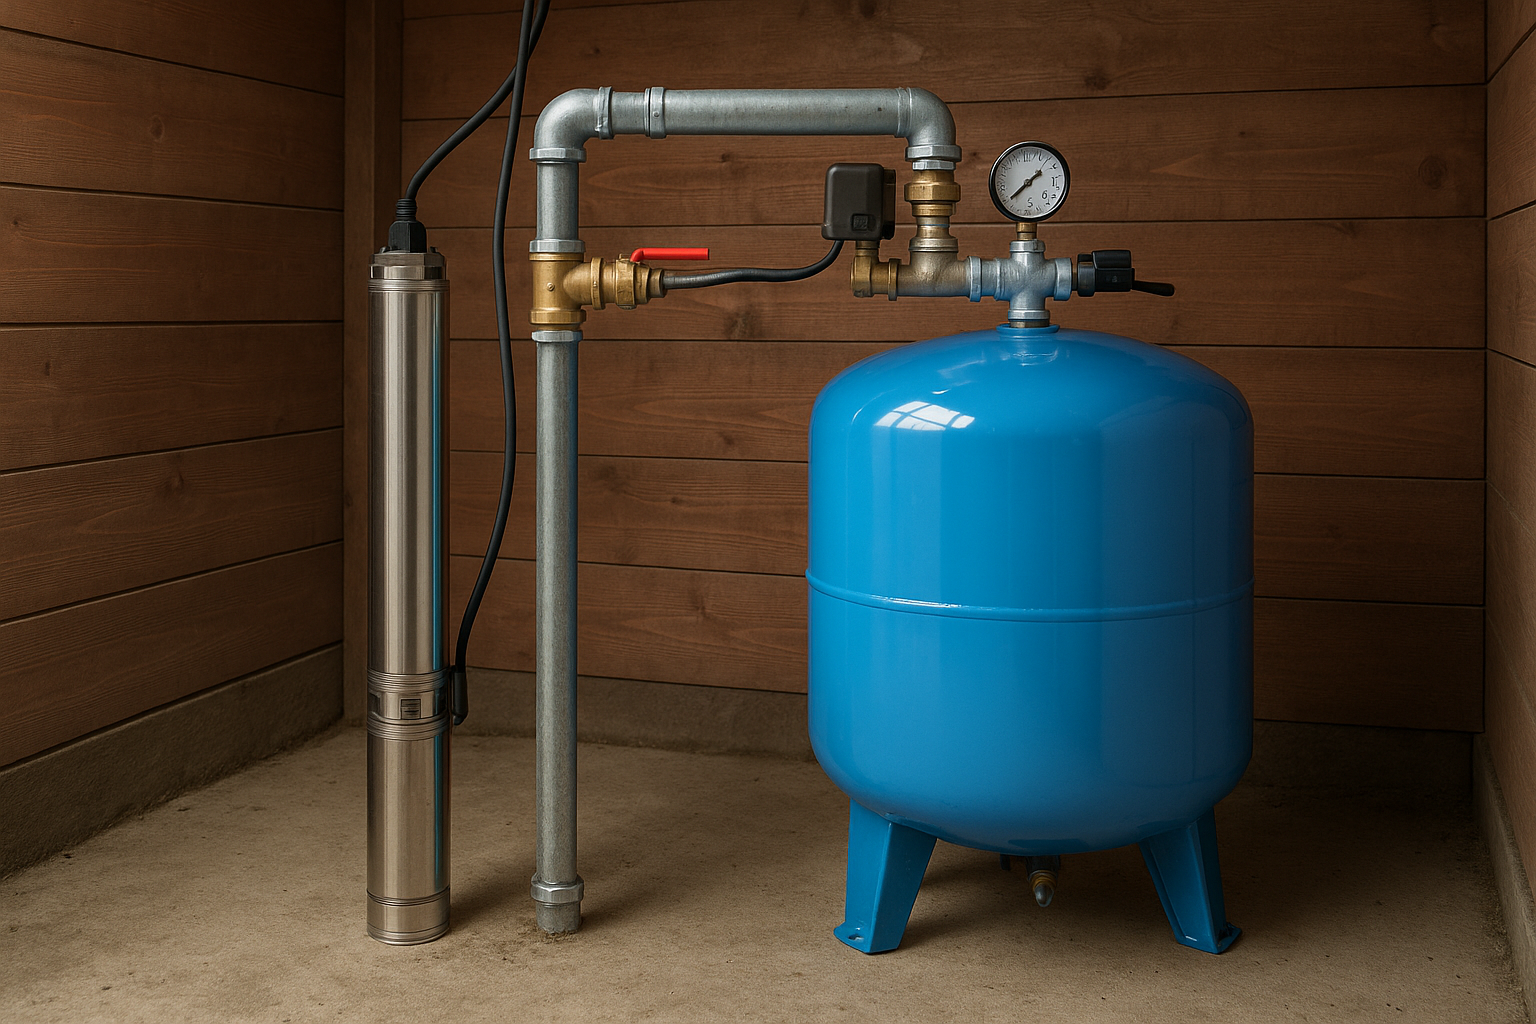
Submersible Pump Systems
- At pump: Built-in or attached
- At wellhead: Where pipe exits casing
- At tank: Optional, prevents tank backflow
Jet Pump Systems
- Foot valve: Bottom of suction pipe (in well)
- At pump discharge: Prevents backflow
Deep Wells
May have multiple check valves at intervals down drop pipe to:
- Reduce weight on fittings
- Limit backflow distance if one fails
- Reduce water hammer
Typical Setup
Most residential wells: check valve at or near pump, sometimes second at pressure tank.
Signs of Check Valve Failure
Symptoms
| Symptom | What's Happening |
|---|---|
| Water hammer (banging) | Valve slamming shut or water surging |
| Short cycling | Pressure draining back, pump restarts |
| Pressure drops quickly | Water flowing back into well |
| Loss of prime (jet pump) | Foot valve leaking, water draining |
| Air spurts from faucets | Lines draining between cycles |
Causes of Failure
- Worn seal/disc
- Debris stuck in valve
- Mineral buildup
- Corrosion
- Age (rubber parts degrade)
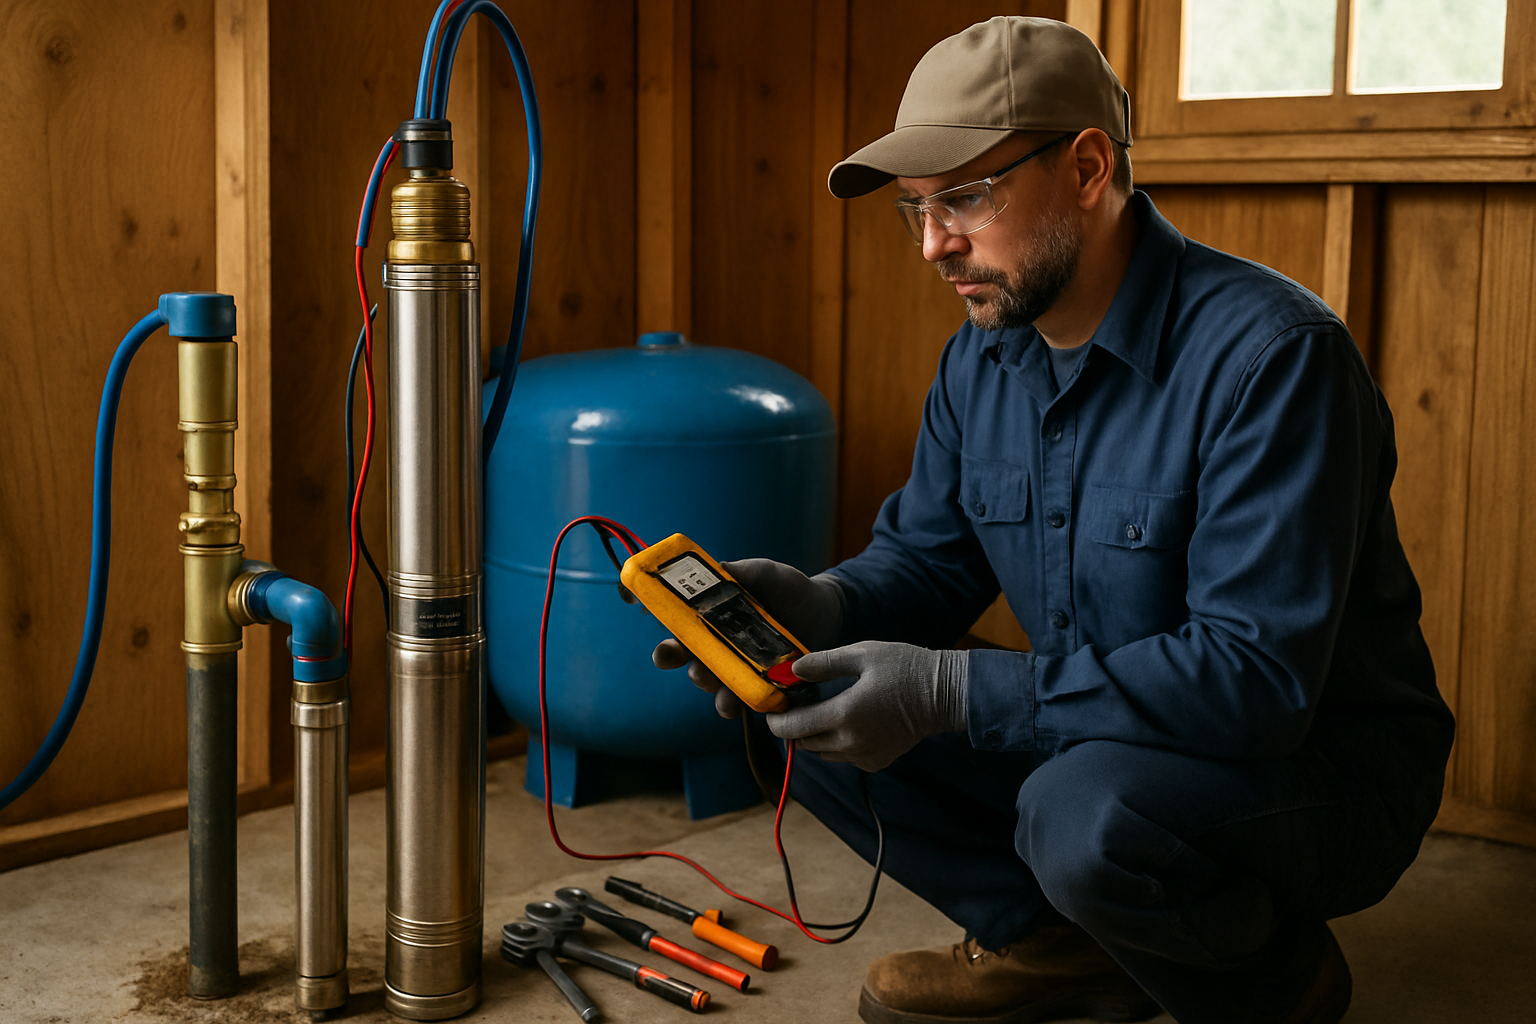
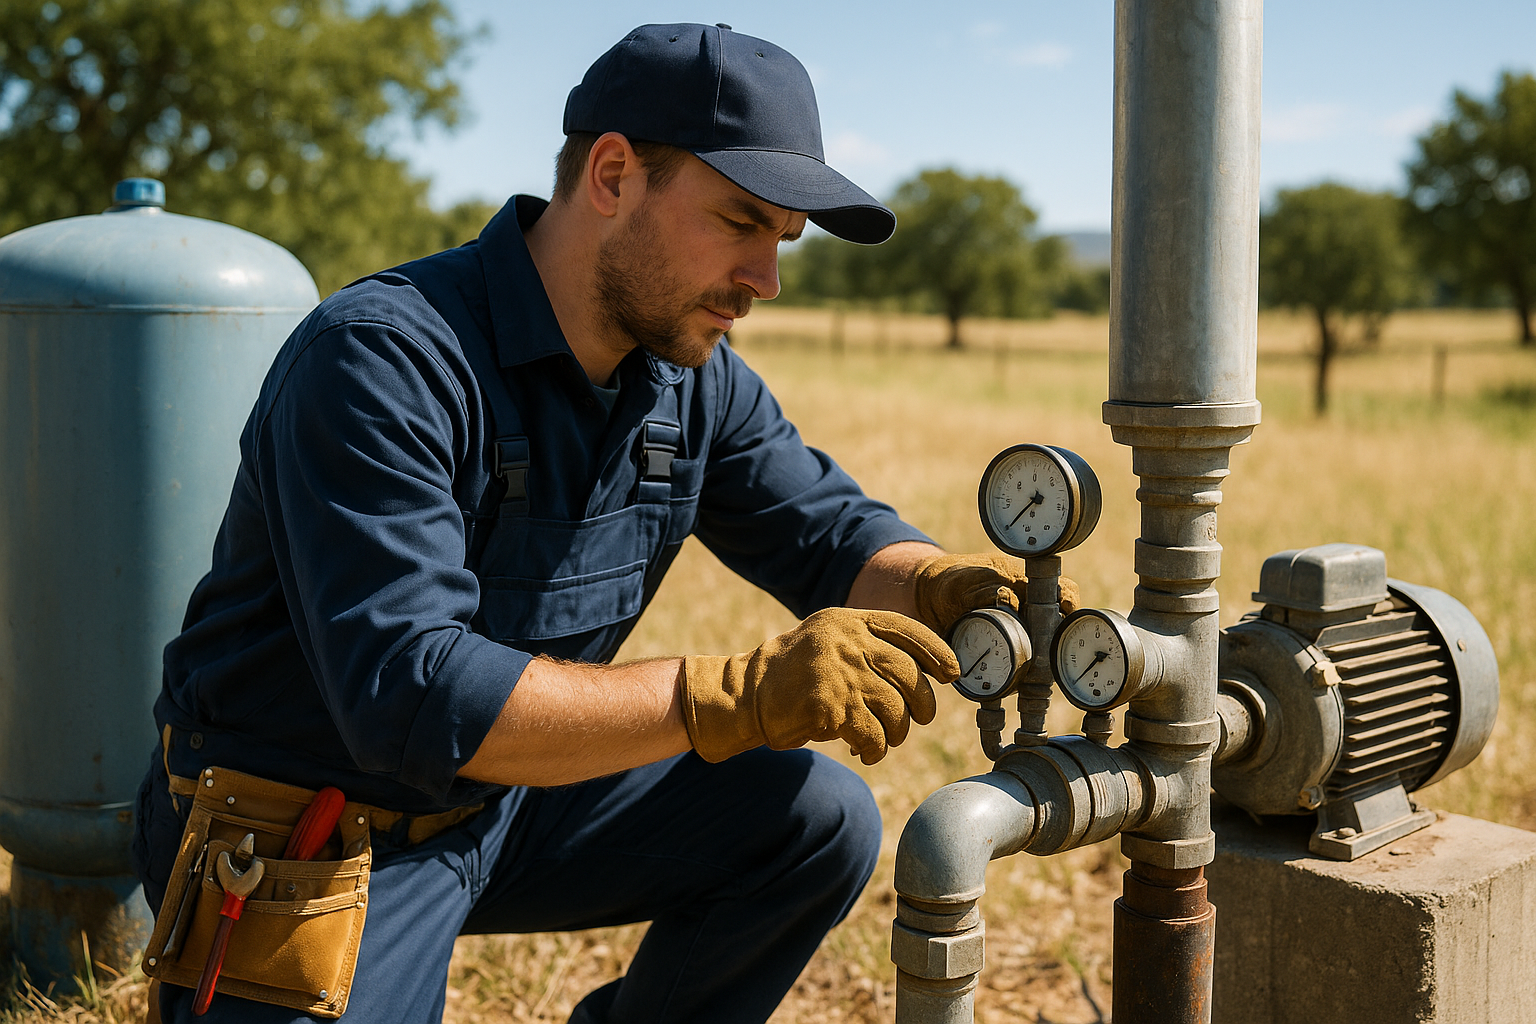
Testing
- Turn off pump
- Watch pressure gauge
- Rapid pressure drop = leaking valve
- Slow drop may be normal (small leaks in system)
Replacement
Surface Check Valve
- Accessible, relatively easy
- Turn off pump, relieve pressure
- Cut out or unscrew old valve
- Install new valve (check flow direction arrow)
- Cost: $20-$100 for valve, $100-$200 labor
In-Well Check Valve
- Requires pulling pump
- Much more labor intensive
- Often replaced when pulling pump anyway
- Cost: $200-$500+ (includes pump pull)
Foot Valve (Jet Pumps)
- Must pull suction pipe from well
- Replace with new foot valve
- Re-prime system
Valve Selection
- Match size to pipe (1", 1-1/4" common)
- Material: brass, stainless, or PVC
- Pressure rating: 200+ PSI typical
- Check flow direction during install
Prevention
- Use quality valves
- Replace when pulling pump (cheap insurance)
- Consider dual check valves for deep wells
Frequently Asked Questions
What does a well check valve do?
Allows water to flow one direction (toward house), prevents backflow when pump stops. Maintains pressure and reduces pump wear.
How do I know if my check valve is bad?
Water hammer, short cycling, rapid pressure loss, loss of prime (jet pumps). Watch pressure gauge after pump stops—fast drop indicates failed valve.
How many check valves should my well have?
At least one at or near the pump. Often a second at the surface or pressure tank. Deep wells may have more.
Can I replace a check valve myself?
Surface valves: yes, if comfortable with plumbing. In-well valves: requires pulling pump—usually professional job.
How long do check valves last?
Varies widely: 5-20+ years depending on quality, water conditions, and usage. Replace when pulling pump as preventive maintenance.
Check Valve Problems?
We diagnose and replace check valves for well systems.
Related Articles
Continue learning about well maintenance and troubleshooting