Well Electrical Maintenance: Control Box and Wiring Safety Checks
Your well pump's electrical system handles 240 volts of power—enough to cause serious injury or death. This guide covers safe DIY inspection techniques for above-ground electrical components, helps you identify warning signs of trouble, and explains when to call a professional.
Safety First
Working with well pump electrical systems requires extreme caution. These are 240-volt systems that can kill. Before any electrical work, understand and follow these safety rules:
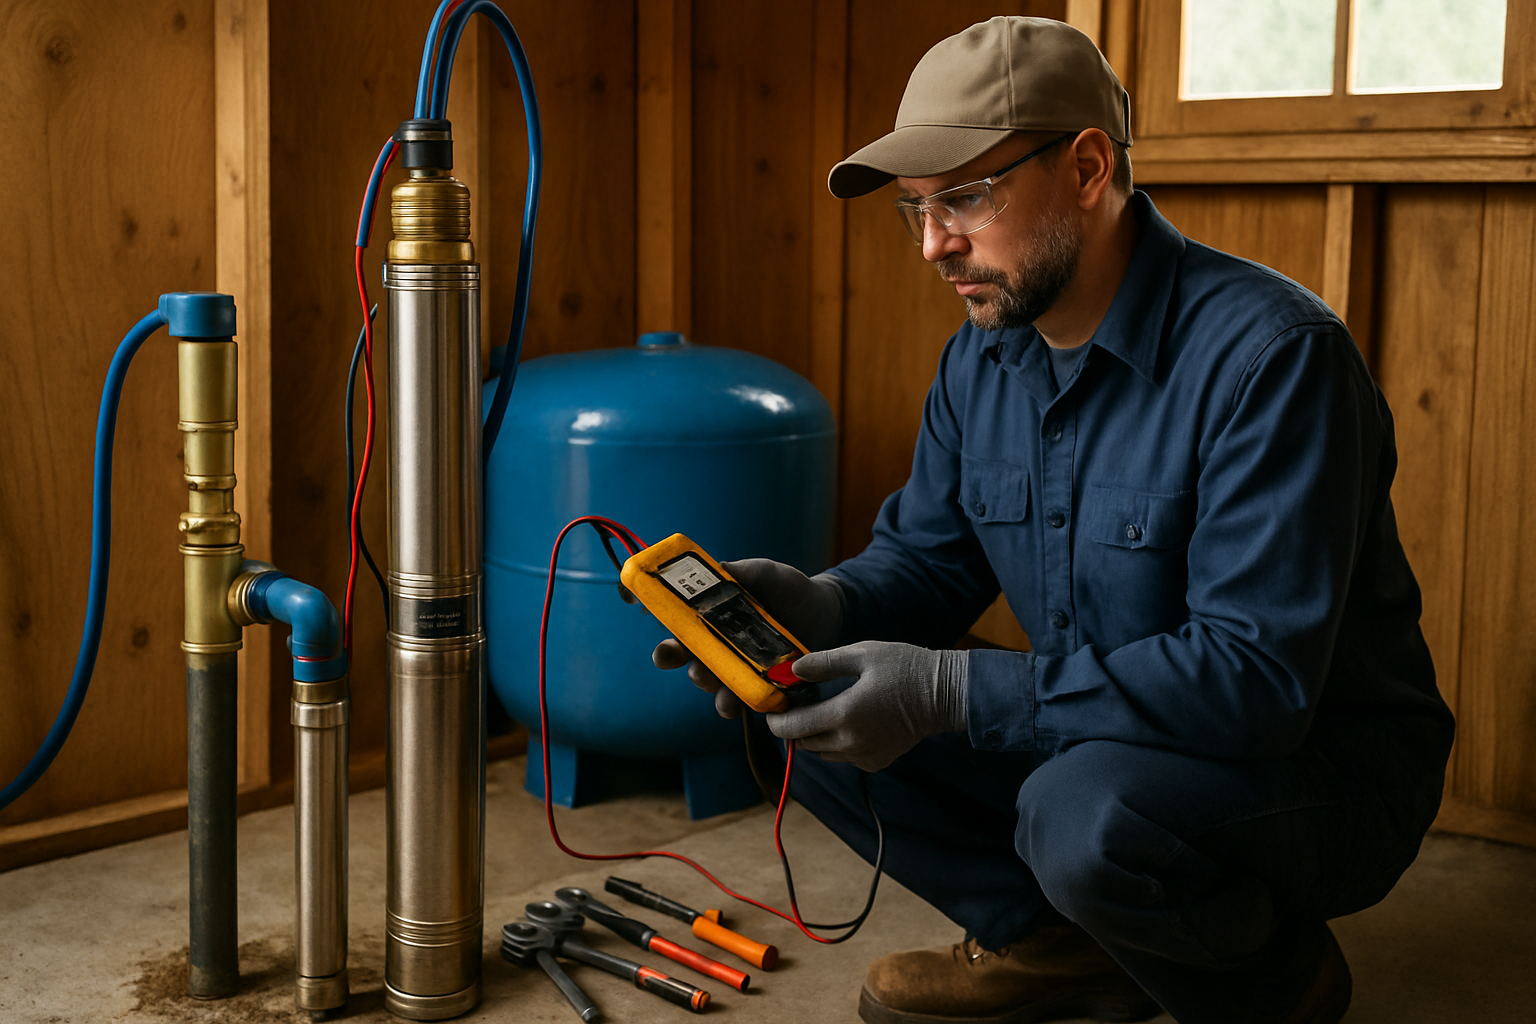
Power Off: Always turn off the pump circuit at the main breaker panel before touching any electrical components. Don't just flip the switch—go to the breaker. After turning off, use a non-contact voltage tester or multimeter to verify power is actually off at the component you're working on. Breakers can fail, circuits can be mislabeled.
Capacitor Danger: Control box capacitors store electrical charge even when power is off. They can deliver a painful or dangerous shock. Before touching anything in a control box, discharge capacitors by carefully shorting their terminals with an insulated screwdriver. Wait 5 minutes after power off before this step.
Know Your Limits: Homeowners can safely perform visual inspections and simple tasks like checking connections. Actual electrical repairs, testing with meters while energized, and pump electrical work should be left to licensed professionals. When in doubt, don't touch it.
Tools Needed: Non-contact voltage tester ($15-30), insulated screwdrivers, flashlight, and optionally a multimeter if you know how to use it safely. Never use metal tools that could short circuits.
Control Box Inspection
The control box is the brain of your well pump system (if you have a 3-wire pump). Regular inspection helps catch problems before they cause pump failure.
External Check (Power On): Before opening the box, listen carefully with the pump running. You should hear the relay click when the pump cycles on and off. Constant clicking, buzzing, or humming suggests problems. Feel the box exterior—it should be cool or slightly warm. Hot to the touch indicates electrical problems. Look for signs of water intrusion, corrosion, or insect activity around the box.
Internal Inspection (Power OFF): After safely disconnecting power and discharging capacitors, open the control box cover. Look for burn marks, melted plastic, or discolored components—these indicate overheating from electrical problems. Check capacitors for bulging, leaking, or corrosion. Inspect wire connections for looseness, corrosion, or heat damage (discolored insulation). Note any burnt smell.
Capacitor Health: Capacitors are the most common failure point in control boxes. They assist the motor in starting and running. Signs of failed capacitors include bulging or leaking cases, burn marks, or the pump humming without starting. Capacitor testing requires a multimeter with capacitance function—if you're not confident with this, have a professional test them.
Wiring and Connection Checks
Electrical connections in a well system face challenging conditions—moisture, temperature changes, and vibration. Regular inspection catches problems before they cause failures or fires.
Visible Wiring Inspection: With power off, visually trace all accessible wiring from the breaker panel to the control box or pressure switch. Look for damaged insulation, exposed copper, rodent chews, sun damage, or wear from rubbing against surfaces. Outdoor-rated conduit should be intact and weatherproof. Any damaged wiring should be repaired immediately by a professional.
Junction Boxes: Check any junction boxes for moisture intrusion, corrosion, or loose connections. Wire nuts should be tight and wires should be secure. Look for any discoloration indicating heat from poor connections. Underground junction boxes are especially prone to moisture problems.
Wellhead Connections: Where wiring enters the well casing, check for proper strain relief and weatherproof seals. Wires shouldn't bear the weight of the pump cable. The conduit-to-cap seal should be watertight. Water entering through electrical penetrations is a common contamination pathway.
Grounding: The well pump should be properly grounded. There should be a grounding wire running from the electrical panel through the system. Check that ground connections are tight and corrosion-free. Proper grounding protects against electrical shock and helps surge protection work effectively.
Electrical Protection Systems
Well pumps are vulnerable to power surges, lightning, and voltage fluctuations. Proper protection extends equipment life and prevents costly failures.
Surge Protection: Lightning strikes—even nearby ones—can destroy well pump motors and control boxes. Surge protectors installed at the panel or control box absorb voltage spikes before they reach sensitive components. If you don't have surge protection, consider adding it. A $50-150 protector can save a $2,000+ pump replacement.
Ground Fault Protection: Some well systems include ground fault circuit interrupters (GFCIs). While not always required for well pumps, GFCIs add protection against electrical shock. Check that any GFCIs test properly using the test button. Failed GFCIs should be replaced immediately.
Voltage Monitoring: Low voltage is hard on pump motors—it causes them to draw excess current and overheat. If you're in an area with unreliable power, consider a voltage monitor that shuts off the pump if voltage drops too low. Signs of voltage problems include lights dimming when the pump runs, or the pump struggling on hot days when utility loads are high.
Professional Electrical Inspection: Have an electrician or well professional inspect your entire pump electrical system annually. They can check amp draw under load, verify proper voltage, test capacitors, and identify problems that visual inspection misses. This typically costs $75-150 and can catch failures before they happen.
We service all major pump brands including Franklin Electric, Grundfos, Goulds (Xylem), and Sta-Rite (Pentair). Our trucks carry common parts and components for same-day repairs.
Frequently Asked Questions
How do I know if my well pump control box is bad?
Common signs of control box failure include: pump won't start despite power at the pressure switch, humming from the control box without the pump running, clicking relay but no pump operation, visible burn marks or melted plastic on the box, or a burnt electrical smell. Control box problems often relate to failed capacitors or relay contacts. A professional can test capacitor values and relay operation to diagnose the specific failure.
Can I replace a well pump capacitor myself?
Yes, if you're comfortable with electrical work and take proper precautions. Turn off power at the breaker AND verify with a meter before touching anything. Capacitors store charge even when power is off—discharge them by shorting terminals with an insulated screwdriver. Match replacement capacitor ratings exactly (microfarads and voltage). Take photos before disconnecting anything. If you're unsure about any step, call a professional. Incorrect capacitor installation can damage your pump motor.
Why does my well pump trip the breaker?
Breaker trips indicate excessive current draw. Common causes include: a failing pump motor drawing too many amps, a locked rotor (pump stuck or seized), damaged wiring causing a short, waterlogged pressure tank causing rapid cycling, or low voltage from the utility. If the breaker trips immediately on reset, don't keep trying—there's a serious problem. Have a professional check motor amp draw and wiring before operating the pump further.
Get Expert Well Service
Southern California Well Service has served San Diego, Riverside, and San Bernardino counties for decades. Licensed C-57 contractor.
Call (760) 440-8520Available 24/7 for emergencies
Related Articles
Continue learning about well maintenance and troubleshooting