Well Pump Installation: What to Expect
Getting a new well pump installed? Whether it's a replacement or a new installation, here's what to expect from the process—from preparation through completion. Understanding the steps helps you know what you're paying for and how to prepare.
📋 In This Guide
Installation Timeline
| Well Depth | Typical Duration | Notes |
|---|---|---|
| Under 200 ft | 3-5 hours | Standard residential |
| 200-400 ft | 5-8 hours | Typical for San Diego backcountry |
| 400-600 ft | 6-10 hours | Deep well, may need additional equipment |
| 600+ ft | 8+ hours | Very deep, possibly multi-day |
The Installation Process
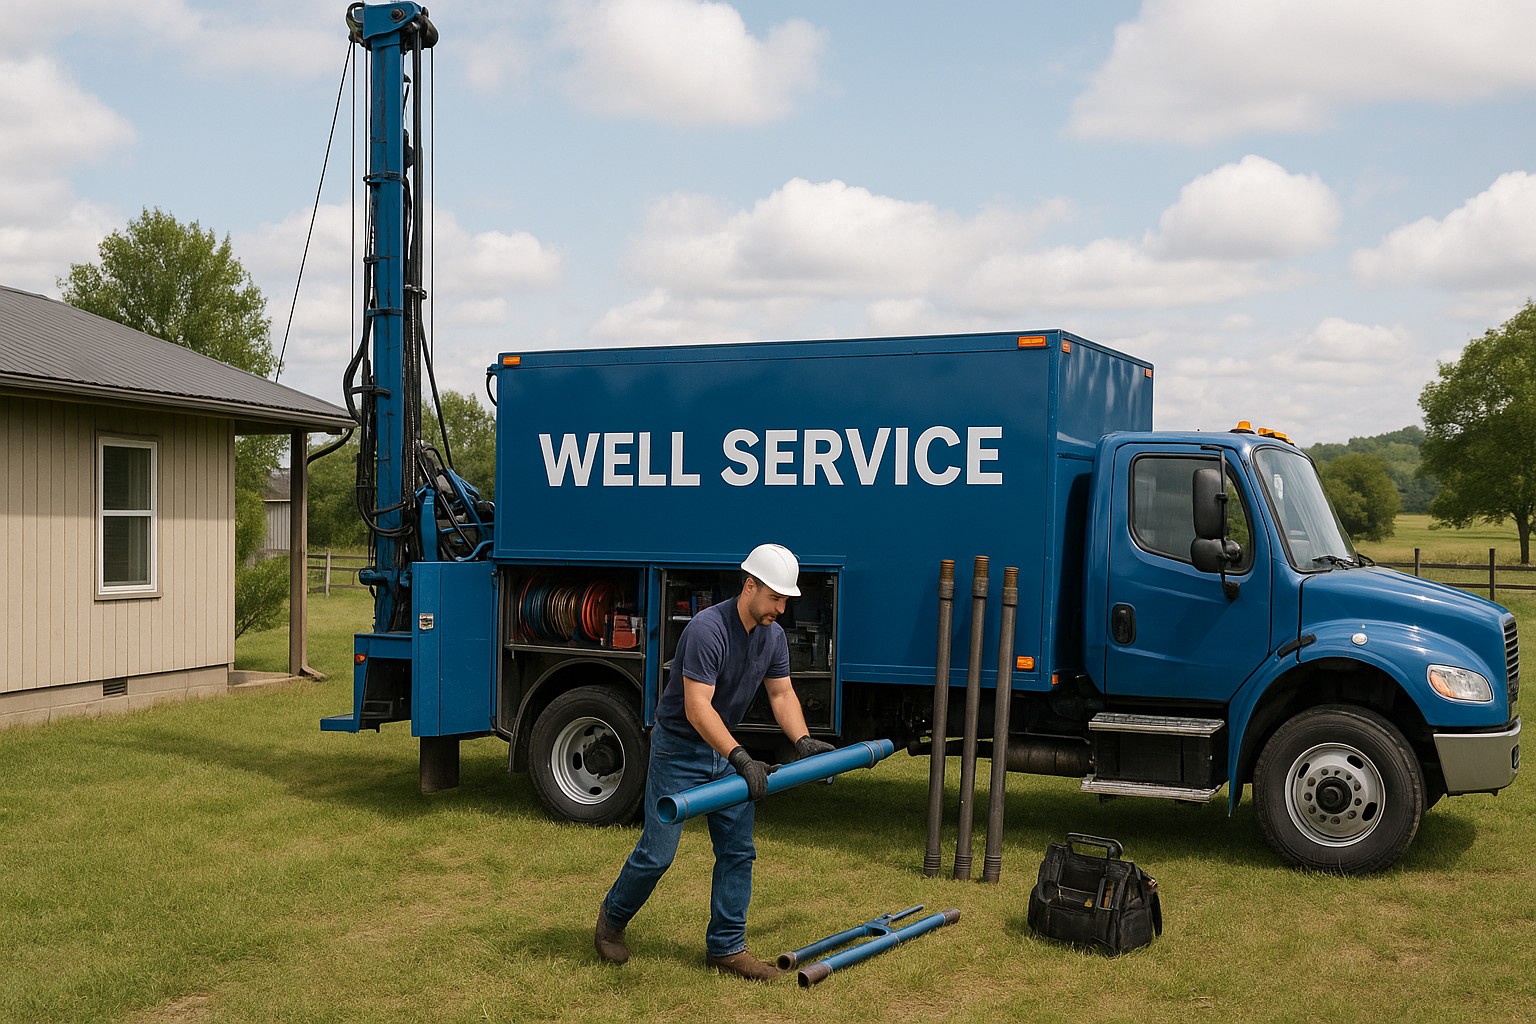
Step 1: Arrival and Setup (30-60 minutes)
The crew arrives and prepares the work area:
- Position service truck/rig near the wellhead
- Set up pulling equipment (tripod or truck-mounted rig)
- Lay out tarps to protect the area and equipment
- Disconnect power to the pump circuit
- Review the job scope and any special considerations
Step 2: Pulling the Old Pump (1-3 hours)
This is often the most time-consuming step:
- Disconnect wiring at the wellhead
- Break loose the pitless adapter or well seal
- Use pulling rig to lift pump, pipe, and wire
- Handle carefully to avoid dropping equipment
- Lay out old components for inspection
What affects pull time:
- Well depth (deeper = longer)
- Pipe type (steel is heavier than poly)
- Pipe condition (corroded pipes can break)
- Access (tight spaces slow work)
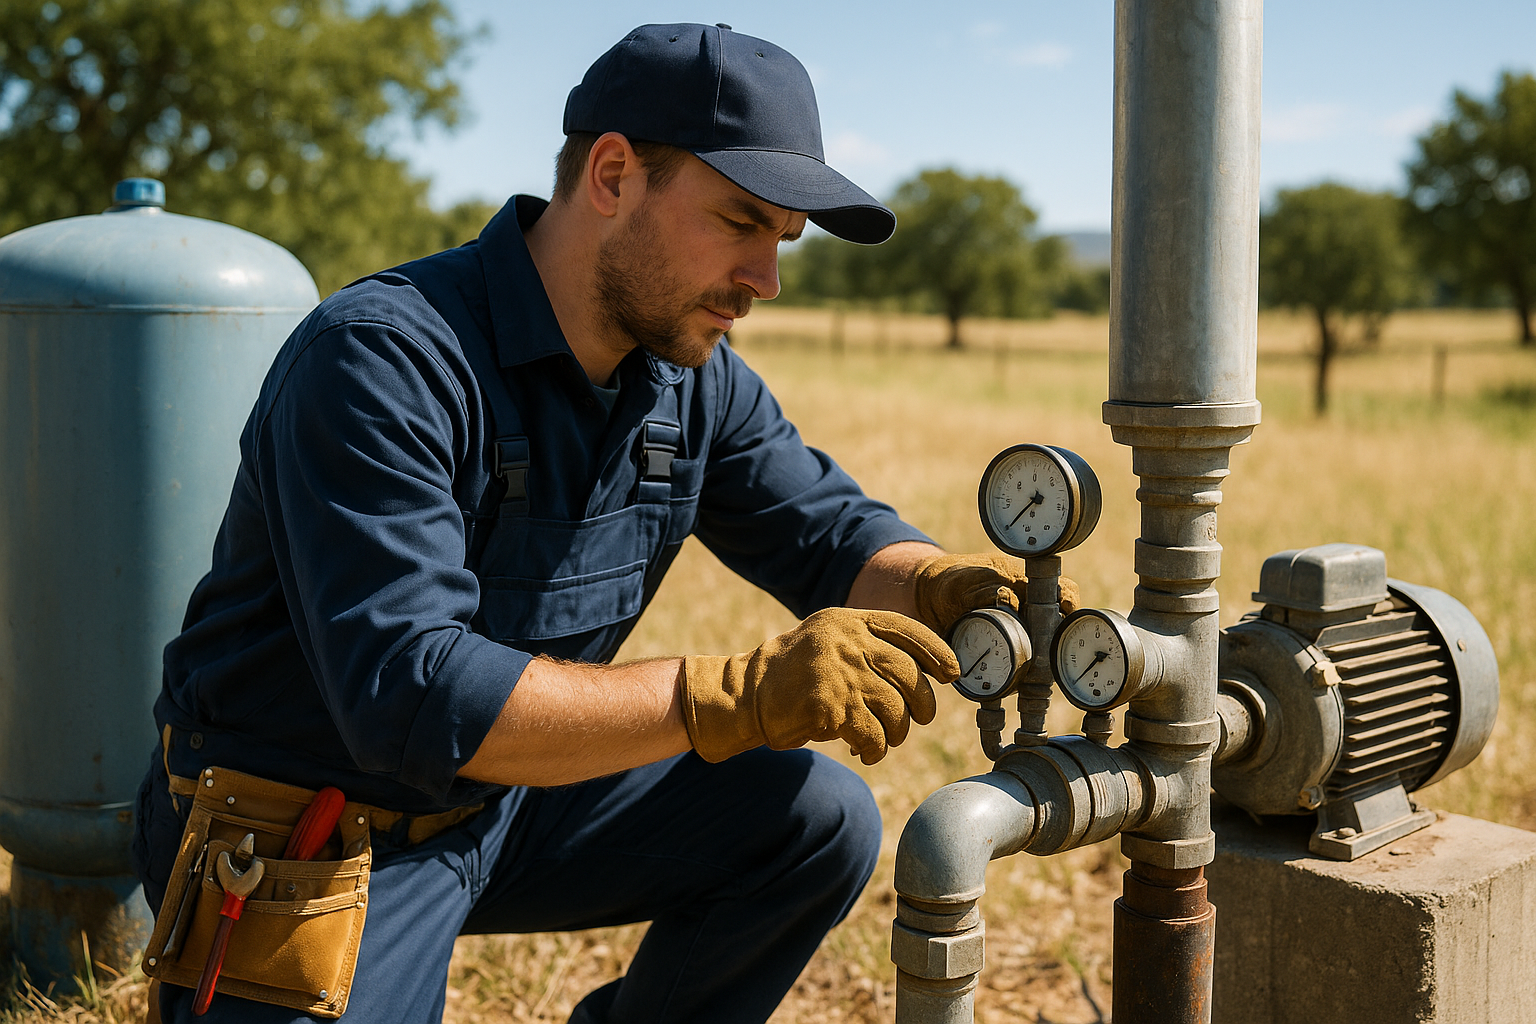
Step 3: Well Inspection (15-30 minutes)
With the pump out, the technician checks:
- Static water level (how much water is in the well)
- Visible casing condition
- Signs of sand or debris
- Old pump condition (diagnose failure cause)
- Video inspection if included/needed
Step 4: Preparing the New Pump (30-60 minutes)
Assembly of the new pump system:
- Unpack and inspect new components
- Assemble pump, motor, and check valve
- Connect wiring to motor leads
- Test motor briefly (optional)
- Begin attaching drop pipe sections
Step 5: Lowering the New Pump (1-2 hours)
Careful installation into the well:
- Lower pump assembly into well opening
- Add pipe sections, securing wire as you go
- Install torque arrestors at intervals
- Monitor depth to reach proper setting
- Connect to pitless adapter or well seal
Step 6: Surface Connections (30-60 minutes)
Completing the installation above ground:
- Secure wellhead seal/cap
- Route wiring through conduit
- Connect to control box (3-wire systems)
- Connect to pressure tank and plumbing
- Install new pressure switch if needed
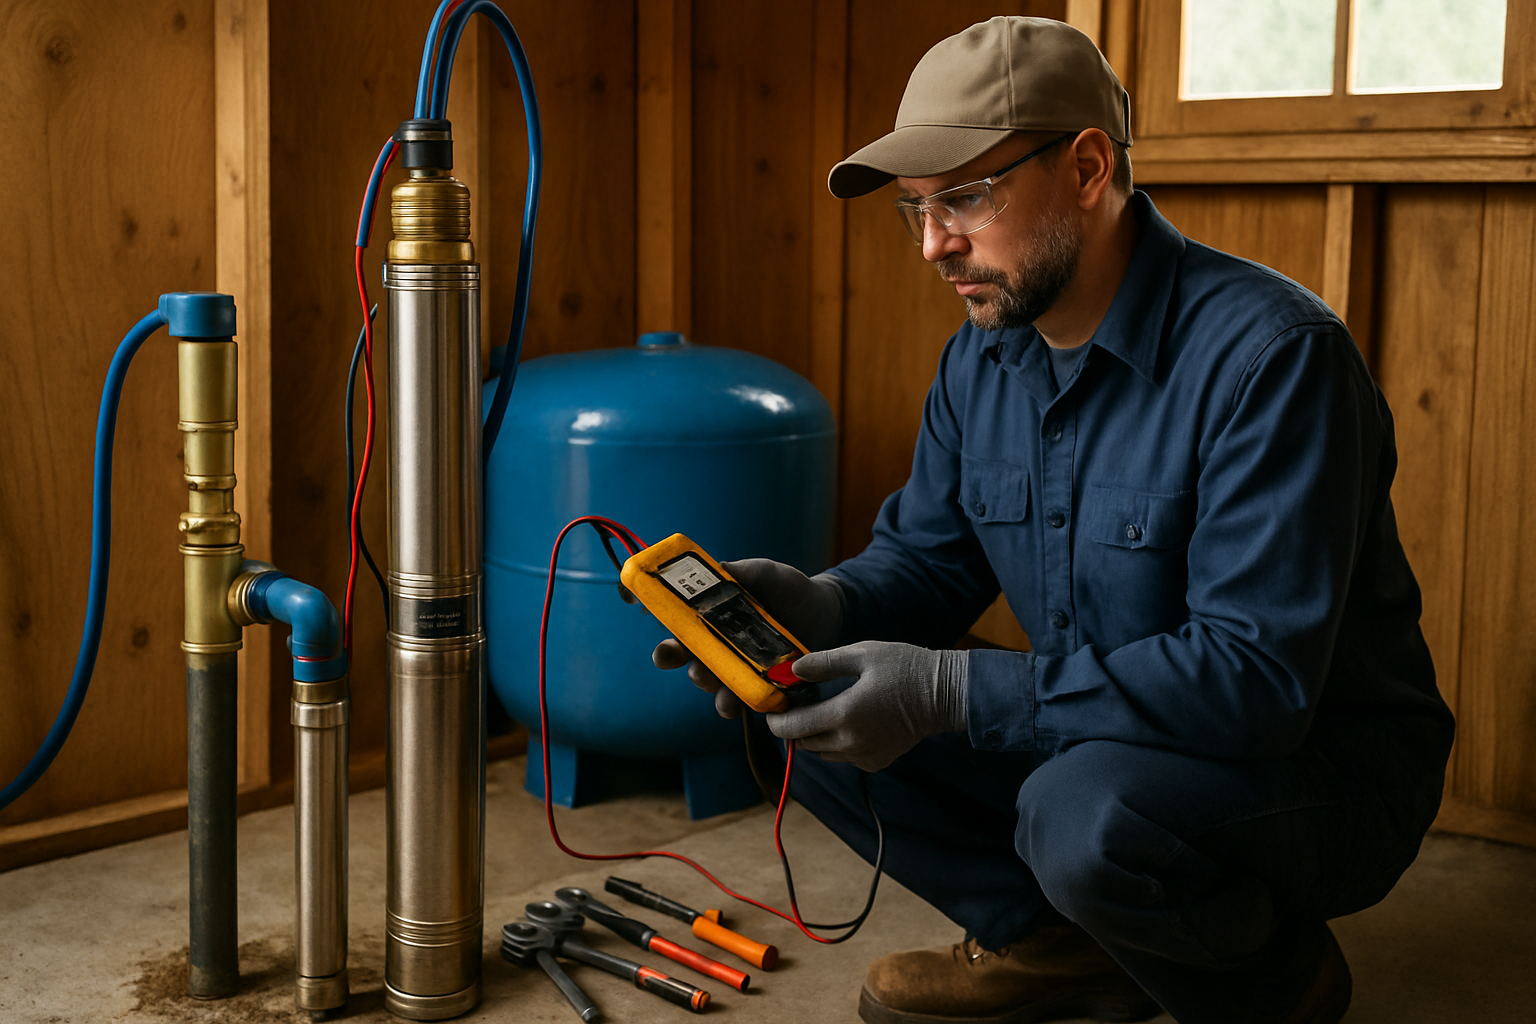
Step 7: Testing and Startup (30-60 minutes)
Verifying everything works correctly:
- Check all electrical connections
- Measure voltage and amp draw
- Start pump and monitor operation
- Measure flow rate (GPM)
- Set pressure switch (cut-in/cut-out)
- Check for leaks
- Test system cycling
Step 8: Cleanup and Walkthrough (15-30 minutes)
Finishing up:
- Clean up work area
- Remove old equipment (unless customer keeps)
- Walk through system operation with homeowner
- Explain any maintenance needed
- Provide documentation and warranty info
How to Prepare for Installation Day
Before the Crew Arrives
- Clear the wellhead area — Remove obstacles within 15 feet
- Ensure access — Service truck needs to reach the well
- Secure pets — Keep animals away from work area
- Store water — Fill containers for drinking, cooking, toilet flushing
- Locate electrical panel — Know where pump breaker is
Documentation to Have Ready
- Well driller's report (if available)
- Previous service records
- Pump information (brand, HP, depth)
- Any known issues or concerns
During Installation
- Stay available for questions
- Don't use water (system will be offline)
- Ask questions—good crews are happy to explain
What's Included in Professional Installation
Standard Installation Typically Includes:
- Pulling and disposing of old pump
- New submersible pump and motor
- Check valve
- Torque arrestors
- Wire (or reuse if in good condition)
- Drop pipe (or reuse poly pipe if good)
- Pitless adapter or well seal
- Labor for complete installation
- Startup testing and adjustment
May Be Additional:
- Pressure tank replacement
- Control box replacement (3-wire)
- Electrical upgrades or repairs
- Pitless adapter replacement
- Extended warranty options
Installation Costs
| Component | Typical Cost Range |
|---|---|
| Pump + motor (residential) | $400-$1,200 |
| Drop pipe (new, per foot) | $2-$5/ft |
| Wire (new, per foot) | $1-$3/ft |
| Check valve | $30-$80 |
| Torque arrestors (set) | $30-$60 |
| Labor (typical) | $500-$1,500 |
| Total typical range | $1,500-$4,000 |
Costs vary significantly by well depth, pump size, and specific conditions.
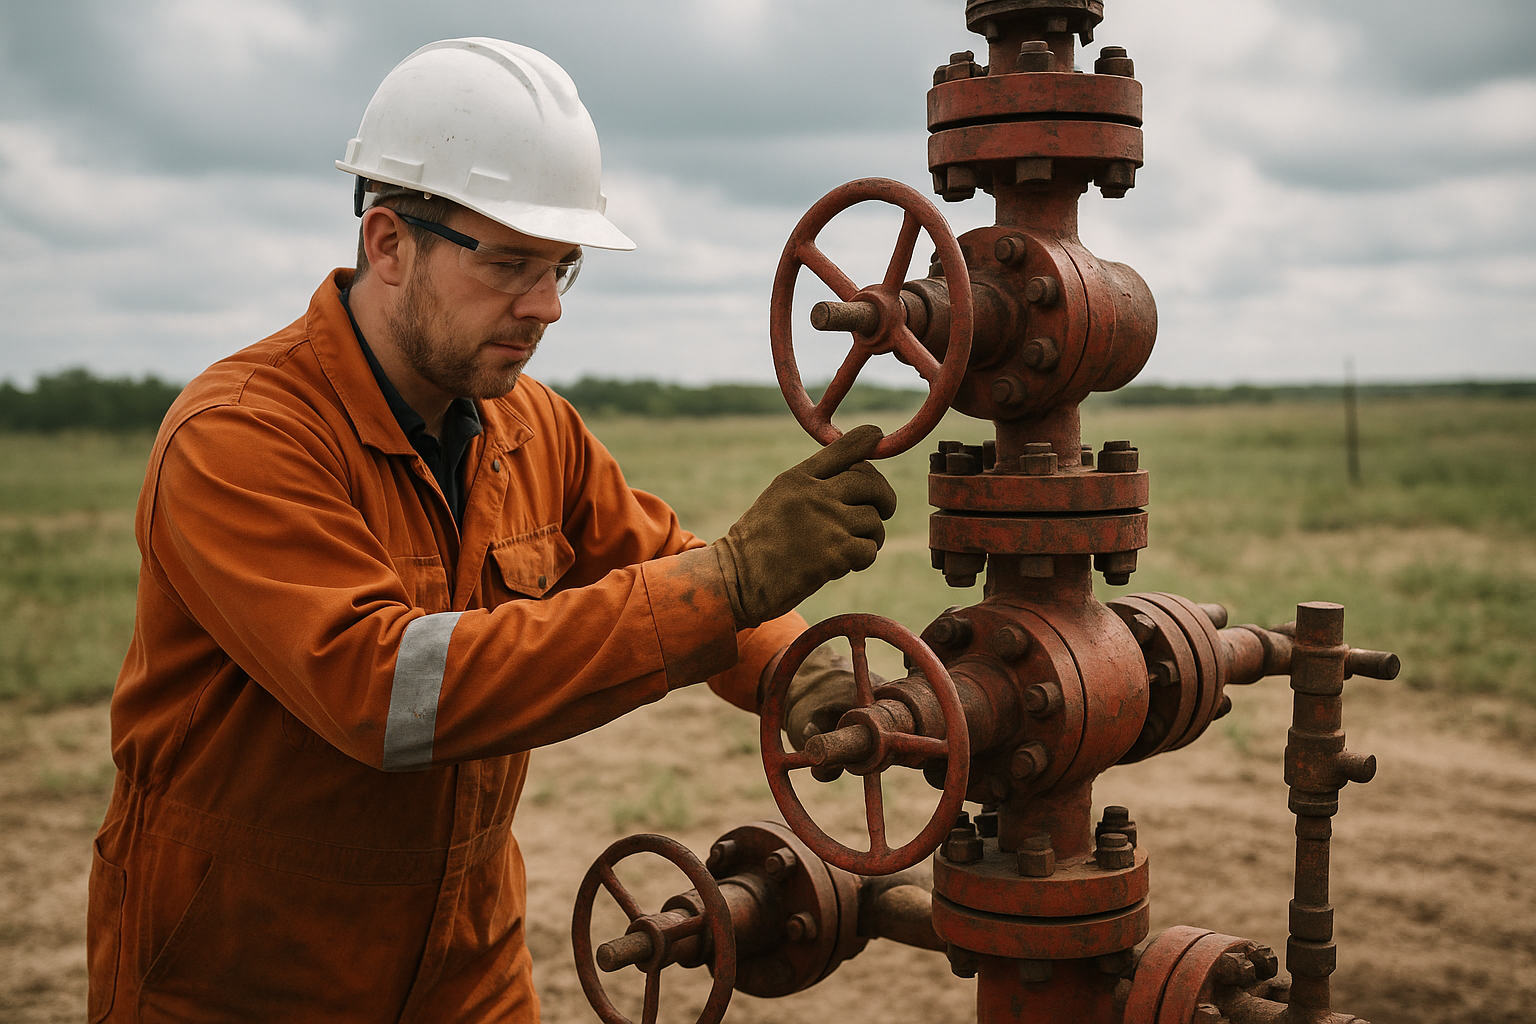
Signs of Quality Installation
What to Look For
- Proper equipment — Using pulling rig, not hand-pulling deep wells
- Clean work — Tarps down, careful handling
- Testing — Measuring flow, pressure, electrical
- Documentation — Written records of what was installed
- Warranty — Written warranty on parts and labor
Red Flags
- No written estimate or contract
- Not checking voltage/electrical
- Rushing without proper testing
- Unable to explain what they're doing
- No warranty offered
Frequently Asked Questions
How long does well pump installation take?
A typical residential pump installation or replacement takes 4-8 hours for wells up to 400 feet deep. Deeper wells, difficult access, complications like stuck pipe, or additional work (pressure tank replacement, electrical upgrades) can extend this to a full day or more. The actual pump swap takes 2-4 hours; additional time is for setup, testing, and cleanup.
Do I need to be home during pump installation?
You don't need to be present the entire time, but you should be available at the start and end of the job. At the start, to provide access, discuss any concerns, and ensure the crew understands your needs. At the end, to walk through the completed work, learn about your new system, and authorize payment. You'll also need to provide access to your electrical panel.
How do I prepare for pump installation?
Clear access to the wellhead—at least 10-15 feet around for equipment and workers. Ensure the area can support service vehicles (some rigs are heavy). Locate and have access to your electrical panel. Store some water in containers for household use during installation (toilet flushing, drinking, hand washing). Have any well documentation available if you have it (depth, previous service records).
Can the old pump pipe be reused?
Sometimes. Poly pipe (black plastic) can often be reused if it's in good condition and the correct size for the new pump. Galvanized steel pipe is usually too corroded to reuse safely. The technician will inspect the pipe during the pull. Reusing good pipe saves money—but using questionable pipe risks a callback. Most customers prefer peace of mind with new pipe.
Our Installation Process
Southern California Well Service provides professional pump installation:
- Experienced crews — Thousands of pumps installed
- Proper equipment — Truck-mounted pulling rigs
- Quality components — Name-brand pumps and parts
- Full testing — We verify everything works
- Written warranty — Coverage on parts and labor
Ready for Pump Installation?
Get professional installation done right the first time.
Call (760) 440-8520Free estimates | Professional installation | San Diego County
Related: Pump Services | Replacement Costs | Pump Sizing
Related Articles
Continue learning about well maintenance and troubleshooting