Well Pump Installation: What to Expect
📋 In This Guide
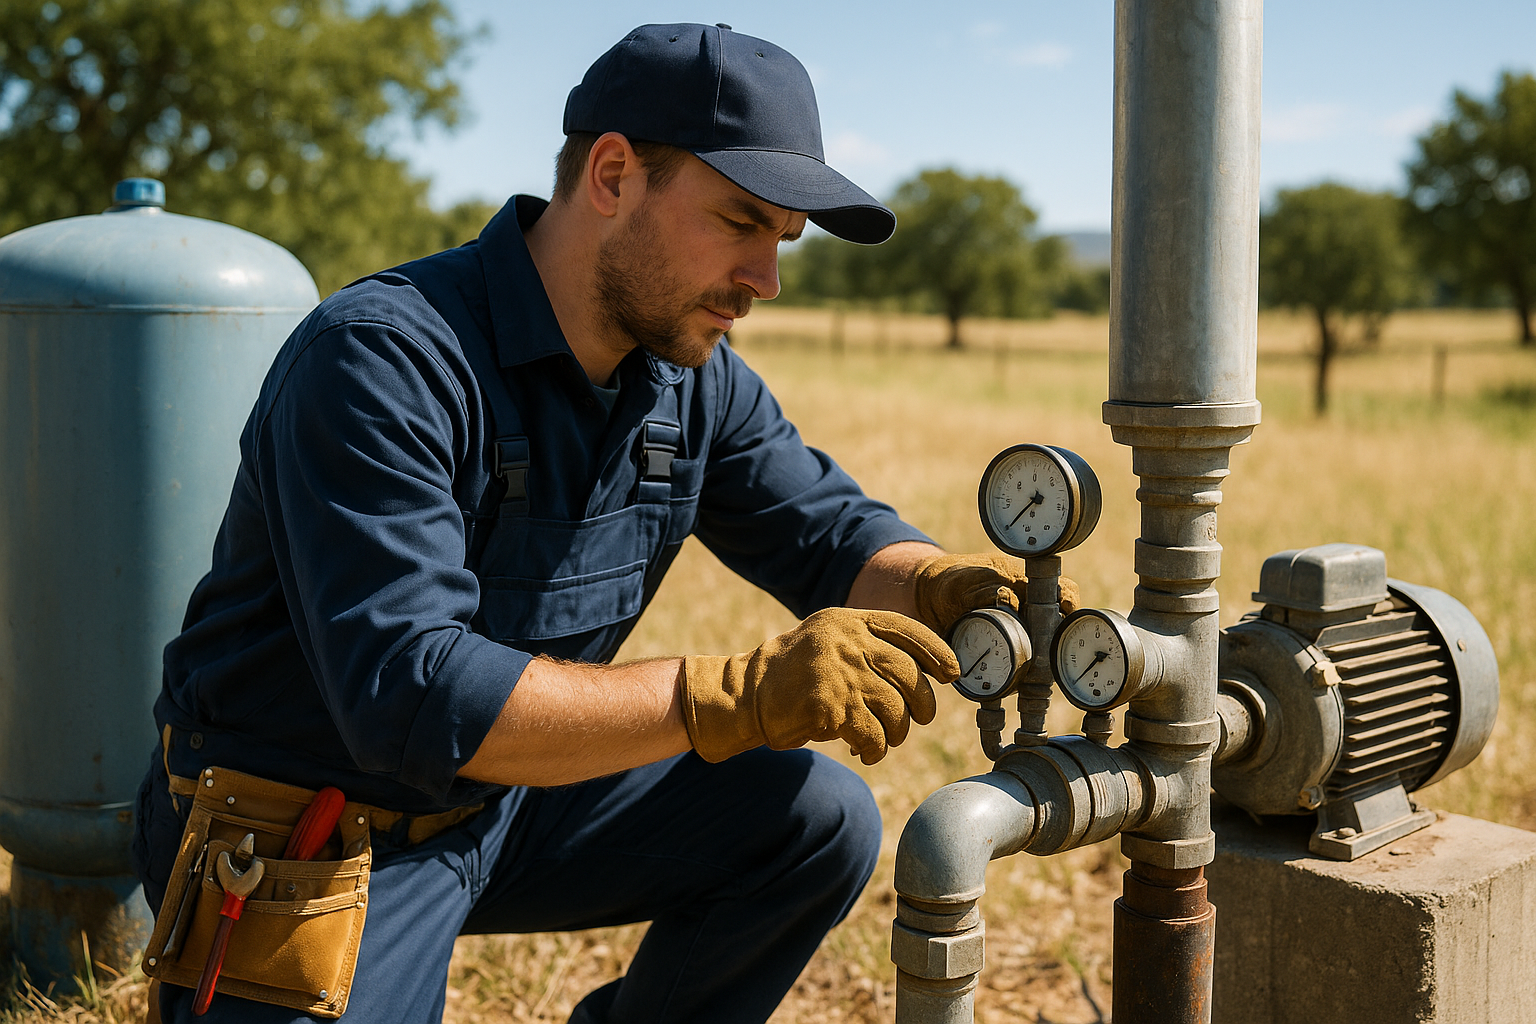
Before Installation
Site Assessment
- Technician reviews well specs
- Checks well depth and casing
- Measures water level
- Assesses access for equipment
- Determines pump size needed
What You Should Prepare
- Clear access to well (move obstacles)
- Know where electrical panel is
- Have well records if available
- Plan for no water during work
- Store water if needed
Equipment Needed
- Service rig (crane/hoist)
- New pump and drop pipe
- Wiring
- Control box (if 3-wire)
- Fittings, check valve, etc.
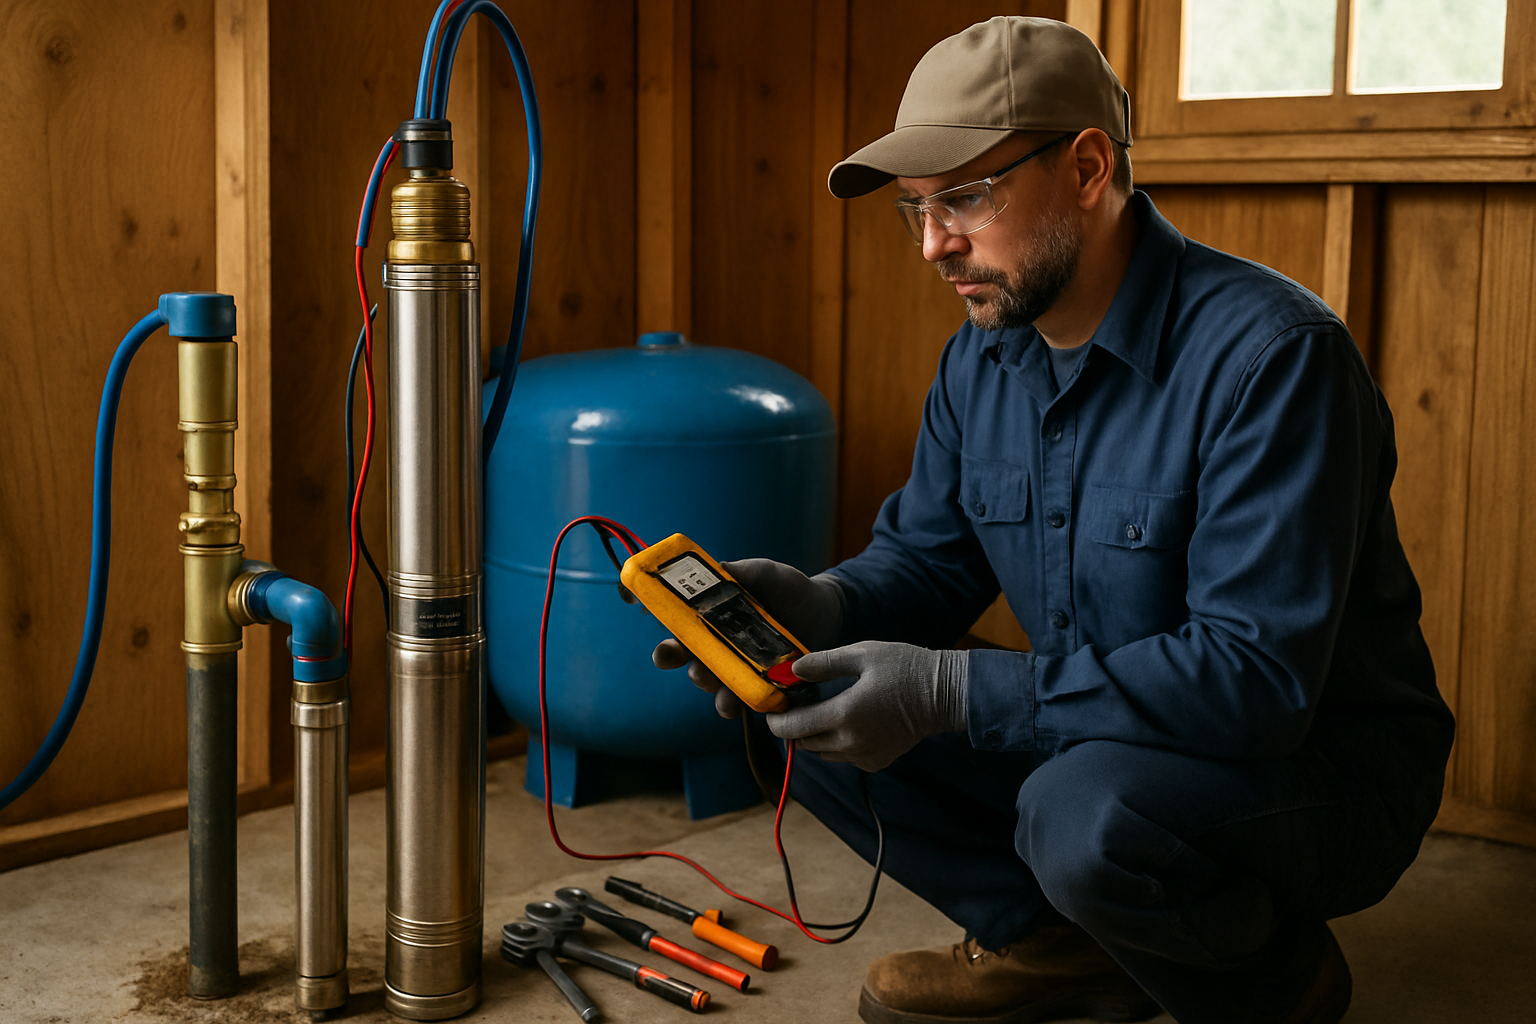
Installation Process
Step 1: Disconnect Power
- Turn off breaker
- Lock out for safety
- Disconnect wires
Step 2: Pull Old Pump (If Replacing)
- Remove well cap
- Connect service rig
- Carefully pull pump and pipe
- Remove in sections (deep wells)
- Inspect old pump for failure cause
Step 3: Inspect Well
- Check casing condition
- Look for obstructions
- Measure water level
- Note any issues
Step 4: Prepare New Pump
- Assemble pump and motor
- Attach drop pipe sections
- Install check valve
- Connect wiring
- Install torque arrestor
Step 5: Lower Pump
- Carefully lower into well
- Add pipe sections
- Feed wire as lowering
- Set at proper depth
- Secure at wellhead
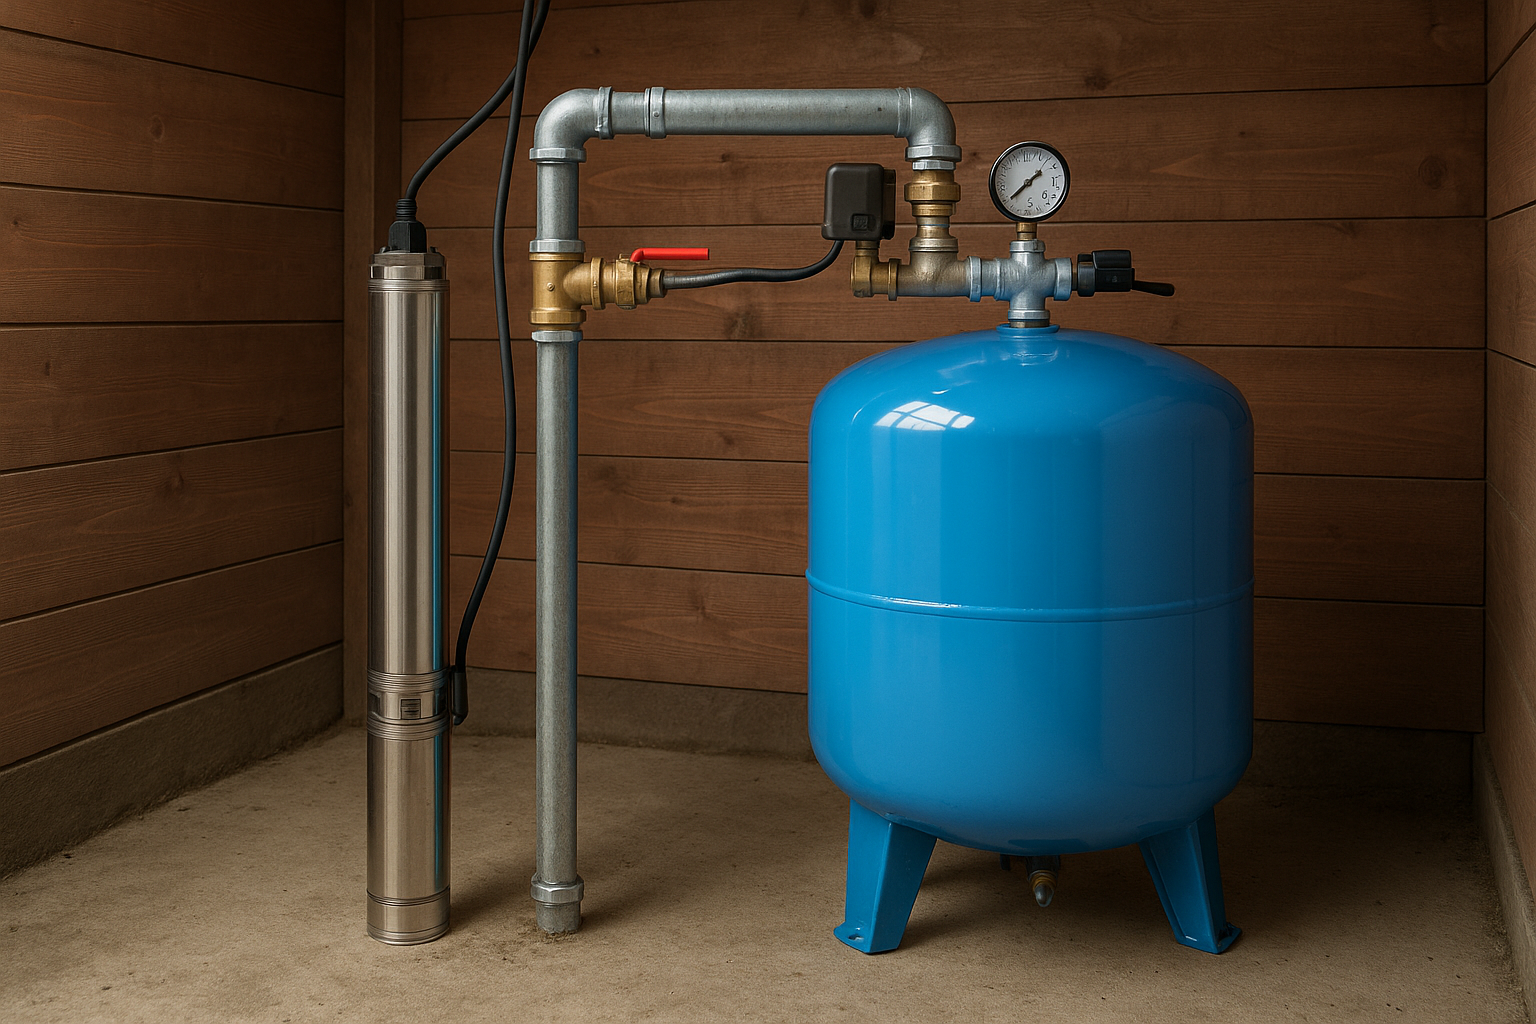
Step 6: Wellhead Assembly
- Install pitless adapter (or well seal)
- Connect to supply line
- Install sanitary well cap
- Seal all connections
Step 7: Electrical Connections
- Wire to control box (3-wire)
- Or direct to pressure switch (2-wire)
- Verify voltage
- Connect to breaker
Step 8: System Setup
- Check/set pressure tank air charge
- Set pressure switch
- Verify all connections
Step 9: System Test
- Turn on power
- Prime if needed
- Check flow rate
- Verify pressure range
- Measure amp draw
- Run several cycles
- Check for leaks
After Installation
Immediate
- Run water for 15-30 minutes
- Flush air from lines
- Clear any sediment
Documentation
- Keep pump model/serial numbers
- Keep installation date
- Keep installer contact info
- Warranty information
What to Watch For
- Normal cycling (not rapid)
- Steady pressure
- Clear water (after initial flush)
- No unusual sounds
When to Call Back
- Rapid cycling
- Low pressure
- Air in water (persistent)
- Any leaks
- Tripping breaker
Cost Breakdown
Typical Costs
| Item | Cost Range |
|---|---|
| Submersible pump | $300-$1,500 |
| Control box (3-wire) | $50-$200 |
| Drop pipe | $100-$500 |
| Wire | $100-$400 |
| Fittings/hardware | $50-$200 |
| Labor | $500-$1,500 |
| Total | $1,500-$4,500 |
Factors Affecting Cost
- Well depth (deeper = more labor/materials)
- Pump HP (larger = more expensive)
- Access difficulty
- Emergency vs scheduled
Timeline
Typical Installation
- Shallow well (under 100 ft): 2-3 hours
- Medium well (100-300 ft): 3-4 hours
- Deep well (300+ ft): 4-6 hours
Factors That Add Time
- Difficult access
- Well problems discovered
- Old stuck pump
- Wiring issues
We install premium Franklin Electric and Grundfos submersible pumps — the two most reliable brands in the well industry. For specific applications, we also offer Goulds and Sta-Rite options.
Frequently Asked Questions
How long does pump installation take?
Typically 2-6 hours depending on well depth and complexity. Most jobs done same day.
Will I be without water?
Yes, during the installation. Plan to store water or schedule accordingly.
Can I install a well pump myself?
Not recommended. Requires special equipment (service rig), electrical knowledge, and safety precautions.
What warranty do I get?
Manufacturer warranty (1-5 years depending on pump). Installer may offer labor warranty (1-2 years typically).
What if my old pump is stuck?
Extraction takes longer and may cost more. In rare cases, pump may need to be drilled out or left in place.
Need Pump Installation?
We install well pumps professionally with same-day service available.
Related Articles
Continue learning about well maintenance and troubleshooting