DIY Well Maintenance vs Professional: What You Can (and Can't) Do Yourself
Well ownership comes with maintenance responsibilities—but not all tasks require professional help. Knowing which jobs you can safely tackle yourself and which demand licensed expertise saves money without risking safety, code violations, or expensive repairs. Here's your guide to the DIY/professional divide.
📋 In This Guide
- The Golden Rule: Safety First, Codes Always
- Green Light: Safe DIY Well Maintenance Tasks
- Yellow Light: Proceed with Extreme Caution (or Don't)
- Red Light: Never DIY—Always Hire Professionals
- The Cost-Benefit Analysis of DIY Well Work
- How to Work Effectively with Well Professionals
- Building Your DIY Well Maintenance Toolkit
- Frequently Asked Questions
- The Smart Homeowner's Approach
The Golden Rule: Safety First, Codes Always
Before we dive into specific tasks, understand these principles:
California licensing requirements: State law restricts well drilling, pump installation, and major repairs to licensed C-57 water well contractors. Violating this can void insurance, create liability, and result in fines.
Electrical work: Pump electrical systems require C-10 electrical contractor licensing. Homeowners can perform limited electrical work on their property, but well systems involve special hazards (submersible connections, grounding, outdoor installations).
Permits: Most repairs, pump replacements, and modifications require county permits and inspections. DIY work without permits creates problems when selling property or filing insurance claims.
Safety hazards: Wells involve drowning risk, electrical shock, heavy equipment, high-pressure water, and confined space dangers. Professionals have training, equipment, and insurance. You don't.
That said, plenty of maintenance tasks are safe, legal, and smart for homeowners to handle.
Green Light: Safe DIY Well Maintenance Tasks
1. Monitoring and Record-Keeping (Everyone Should Do This)
Difficulty: Easy | Time: 10 minutes monthly | Cost: Free
The most valuable "DIY" task is systematic monitoring:
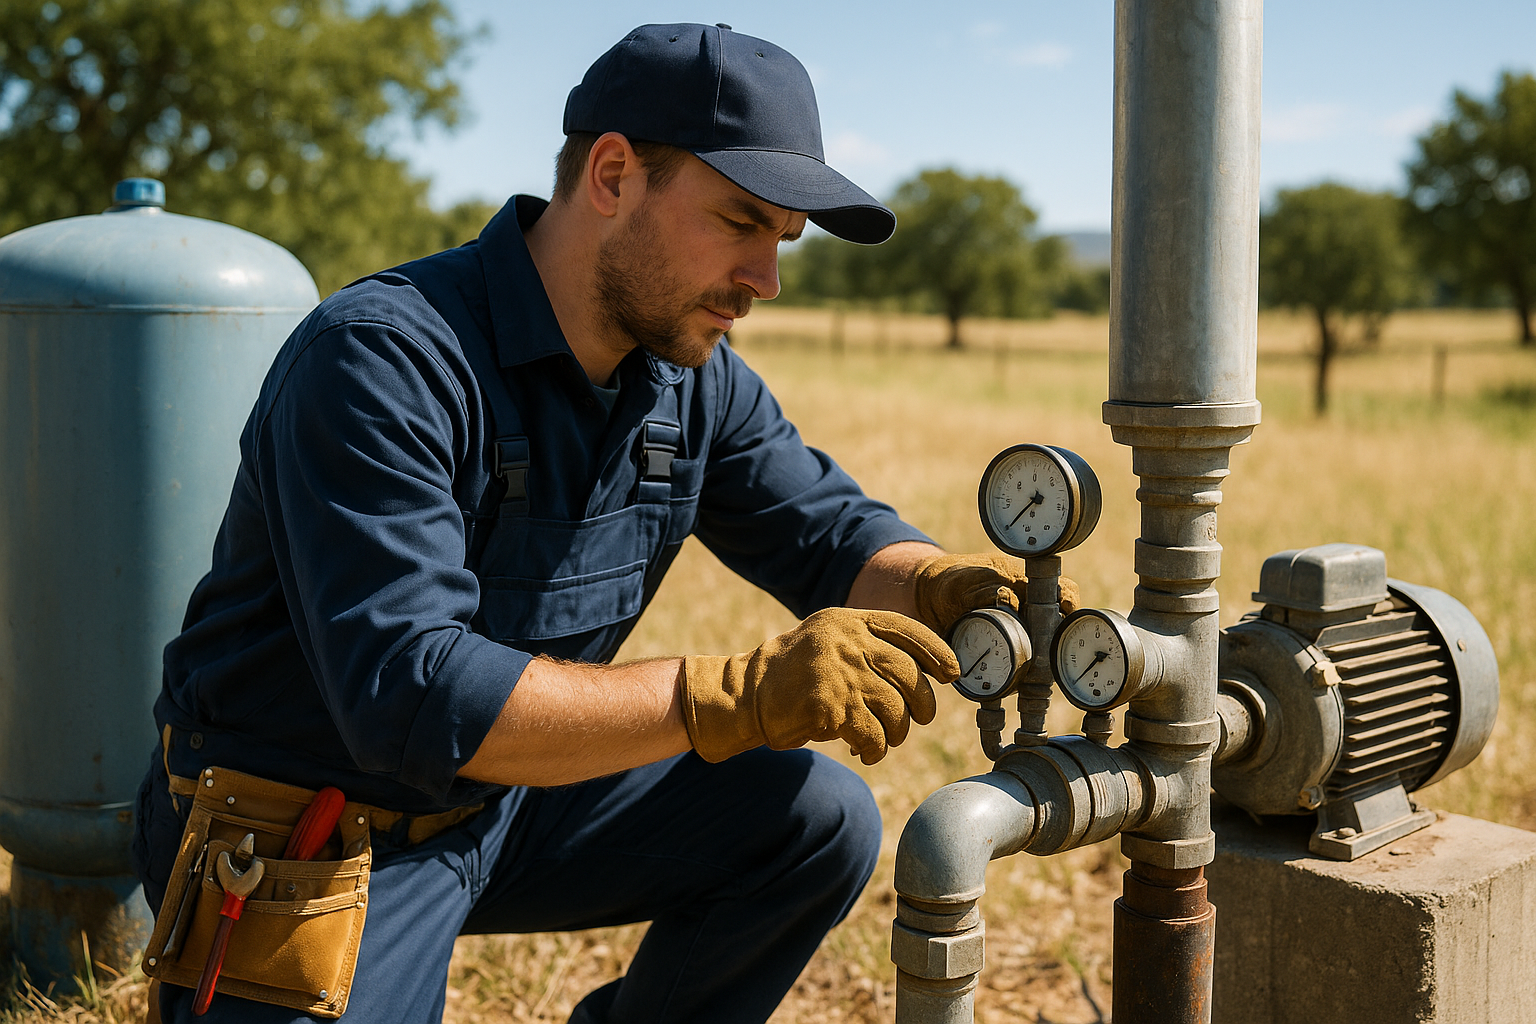
- Record pressure gauge readings (should stay consistent within switch range, e.g., 40-60 psi)
- Listen to pump cycling patterns (note frequency and duration)
- Monitor water quality (color, odor, taste changes)
- Check flow rates (time how long to fill 5-gallon bucket)
- Note seasonal changes (pressure, flow during dry periods)
- Track power consumption (if accessible via smart meter)
Keep a simple log (notebook or spreadsheet). Trends help identify problems early and provide valuable information when you do call professionals.
Red flags to watch for: Rapid pressure cycling, declining flow, frequent pump operation, changing water appearance, increasing sediment, new odors or tastes.
2. Pressure Tank Air Charge Maintenance
Difficulty: Easy | Time: 15 minutes | Cost: $0-$5
Pressure tanks have an air bladder that compresses as water fills the tank. Over time, air can be lost, causing "waterlogging" and rapid pump cycling.
How to check and add air:
- Turn off power to the pump at the breaker
- Open a faucet to release all pressure from the system
- Locate the air valve (looks like a tire valve, usually on top of tank)
- Use a tire pressure gauge to check air pressure
- Proper pressure is 2 psi below the pressure switch cut-in (e.g., if switch is 40/60, set air to 38 psi)
- Add air with a bicycle pump or air compressor if needed
- Close faucets, restore power, verify normal operation
Check this 2-3 times per year. Takes minutes and prevents thousands in pump damage from short-cycling.
When to call a pro: If the tank doesn't hold air pressure (bladder failure requires tank replacement) or you're not confident shutting off power safely.
3. Visual Inspections of Accessible Components
Difficulty: Easy | Time: 20 minutes quarterly | Cost: Free
Walk through your well system and look for:
Wellhead area:
- Sanitary seal integrity (no cracks, gaps, or damage)
- Proper grade (wellhead should be 12+ inches above ground)
- No pooling water or erosion around well
- Vents clear and screened
- No rodent or insect damage
Pump house or equipment area:
- No water leaks from pipes or fittings
- Electrical connections dry and secure
- Pressure gauge readable and functioning
- Pressure tank not showing rust or corrosion
- Control box indicators normal (no fault lights)
- No unusual sounds, smells, or heat
Safety note: Look and listen only—don't open electrical boxes or remove covers without proper training.
4. Basic Water Quality Testing
Difficulty: Easy | Time: 30 minutes | Cost: $15-$50
Home test kits provide basic water quality screening:
DIY-friendly tests:
- Bacteria presence tests: Simple yes/no results for coliform bacteria (though lab testing is more accurate)
- pH test strips: Acidity/alkalinity (ideal 6.5-8.5)
- Hardness test kits: Mineral content (affects appliances and soap use)
- Iron/manganese tests: Staining and taste issues
- Multi-parameter strips: Quick screening for several factors
Test annually minimum, or when:
- Water quality noticeably changes
- After flooding or septic system work
- New baby in household (nitrates, bacteria)
- Installing new treatment systems
When to use certified labs: Real estate transactions, diagnosing health concerns, comprehensive analysis (arsenic, nitrates, VOCs), or when home tests show problems. DIY tests are screening tools, not definitive.
5. Filter Cartridge Replacement (Point-of-Use Systems)
Difficulty: Easy to Moderate | Time: 15-30 minutes | Cost: $10-$60 per cartridge
If you have sediment filters, carbon filters, or other cartridge-based treatment:
DIY-safe steps:
- Turn off water supply to the filter
- Release pressure (open nearby faucet or use pressure release button)
- Use filter wrench to remove housing
- Replace cartridge with correct replacement part
- Clean housing interior if needed
- Replace O-rings if worn (keep spares on hand)
- Reassemble, restore water, check for leaks
Maintenance schedule:
- Sediment filters: 3-6 months
- Carbon filters: 6-12 months
- Specialized media: Per manufacturer specs
When to call a pro: Whole-house systems with backwashing controllers, UV systems (bulb replacement requires procedure), reverse osmosis membrane changes (some are DIY, some complex), or if you've never done it and lack manual/guidance.
6. Wellhead Protection Maintenance
Difficulty: Easy | Time: 1-2 hours | Cost: Minimal
Protecting your well from contamination and damage:
- Keep area clear: Remove debris, vegetation growing against casing, stored materials
- Maintain drainage: Ensure ground slopes away from well, preventing pooling
- Repair wellhead cover: Tighten loose caps, replace damaged covers (should be vermin-proof and sealed)
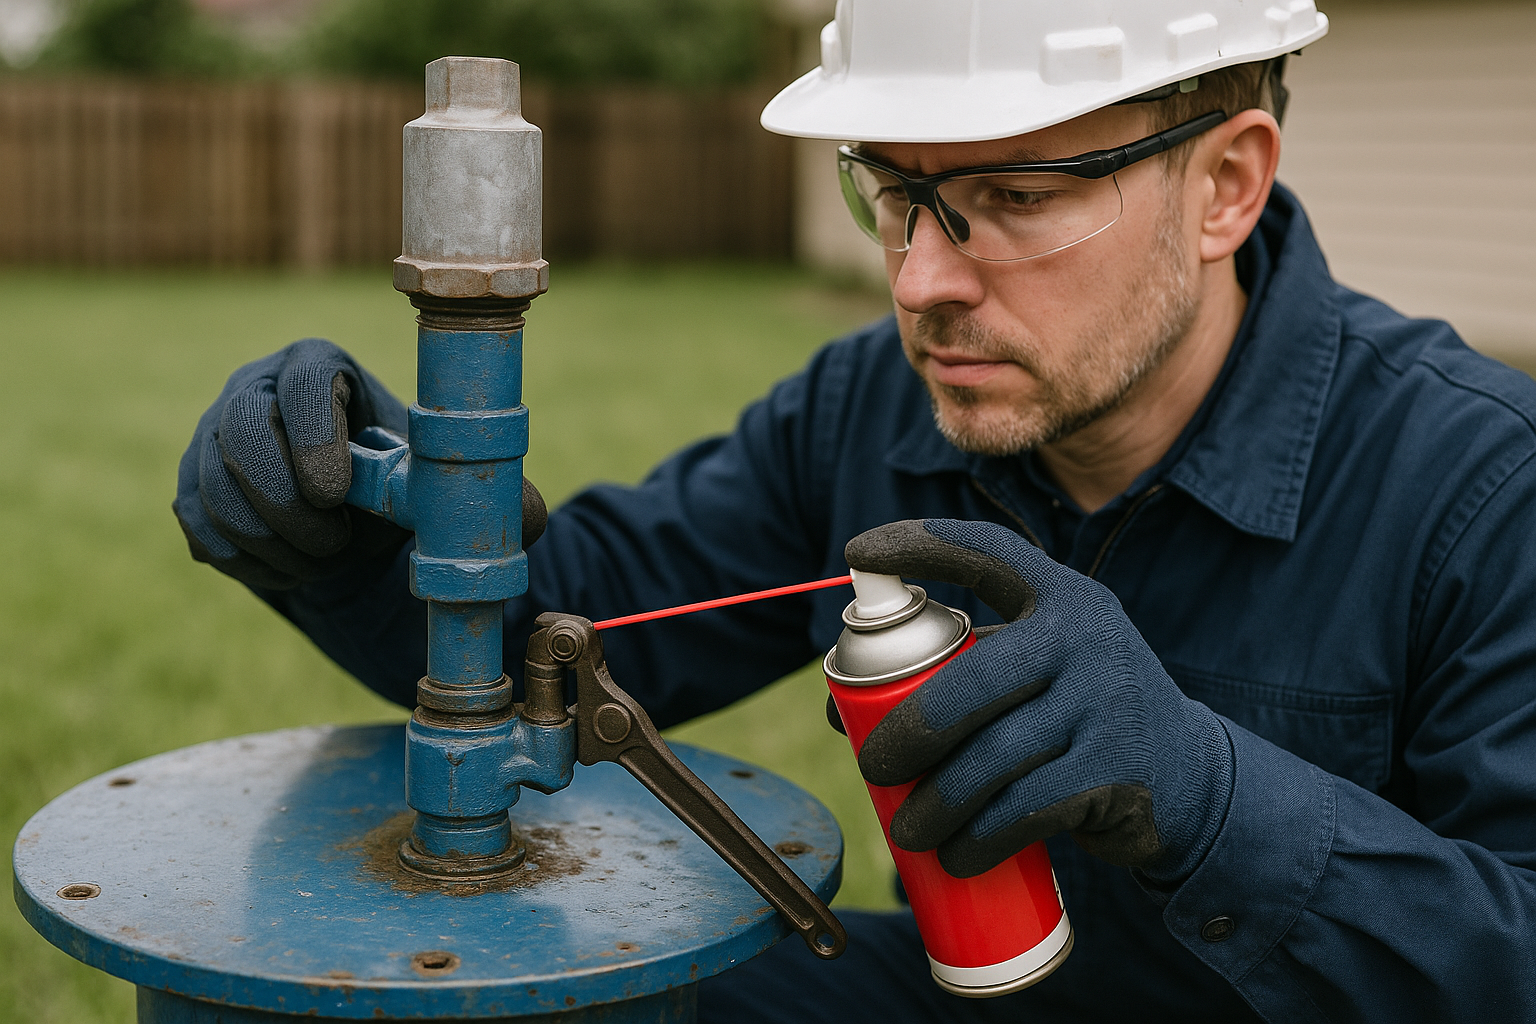
- Paint/protect casing: Steel casings benefit from rust-prevention paint
- Mark well location: Ensure it's visible and won't be damaged by vehicles or equipment
7. Emergency Preparedness
Difficulty: Easy | Time: 2 hours initial setup | Cost: $50-$200
Smart homeowners prepare for well failures:
- Know your well specs: Keep well log, pump info, and contractor contact info accessible
- Emergency water storage: 1-2 weeks supply (1 gallon/person/day minimum)
- Backup power plan: Generator sizing info (know pump wattage), transfer switch consideration
- Manual water level measurement: Have a weighted tape to check water level
- Shutoff knowledge: Mark breakers, valves, and understand emergency shutdown
Yellow Light: Proceed with Extreme Caution (or Don't)
Plumbing Connections and Repairs
Difficulty: Moderate | Requires: Plumbing skills, permits may apply
If you're a competent DIY plumber, you might handle:
- Replacing leaking valves or fittings above ground
- Adding irrigation takeoffs or hose bibs
- Repairing pressure relief valve leaks
Know your limits: Complex manifolds, backflow preventers, and well-specific components are best left to pros. Water leaks near electrical components create shock hazards.
Pressure Switch Adjustment
Difficulty: Moderate | Requires: Electrical awareness
Adjusting cut-in/cut-out pressure is technically possible for knowledgeable homeowners, but:
- Requires understanding of electrical safety
- Incorrect settings damage pumps or tanks
- Must coordinate with tank air charge
- Many modern controllers are digital and require programming
If you don't have electrical experience and understand pump specifications, call a professional. A $150 service call beats a $5,000 pump replacement.
Red Light: Never DIY—Always Hire Professionals
1. Pump Replacement or Repair
Why hire a pro:
- Requires specialized lifting equipment and safety rigging
- Submersible pumps can be hundreds of feet down
- Improper installation damages well or pump
- Electrical connections must be waterproof and code-compliant
- California requires C-57 licensing
- Permits and inspections required
- Insurance won't cover DIY pump failures
Cost to hire: $3,000-$8,000 typical
Cost of DIY gone wrong: New pump ($1,500), damaged well ($10,000+), injury (priceless), code violations (good luck selling your home)
2. Any Work Inside the Well
Never, ever go into or reach into a well:
- Wells are confined spaces with drowning, asphyxiation, and entrapment hazards
- Professional well work requires confined space training, safety equipment, and permits
- Objects dropped in wells can be impossible to retrieve
- Contamination risk from anything entering the well
If you drop something in your well, lose your wellhead cap, or suspect problems downhole—call professionals immediately. Don't try to "just look."
3. Well Drilling, Deepening, or Re-drilling
Why hire a pro:
- Requires massive specialized equipment
- California C-57 licensing mandatory
- Permits always required
- Geological knowledge essential
- Improper drilling can collapse wells or contaminate aquifers
- Liability for groundwater contamination is severe
This is never a DIY project. Ever. Not even for "handy" people.
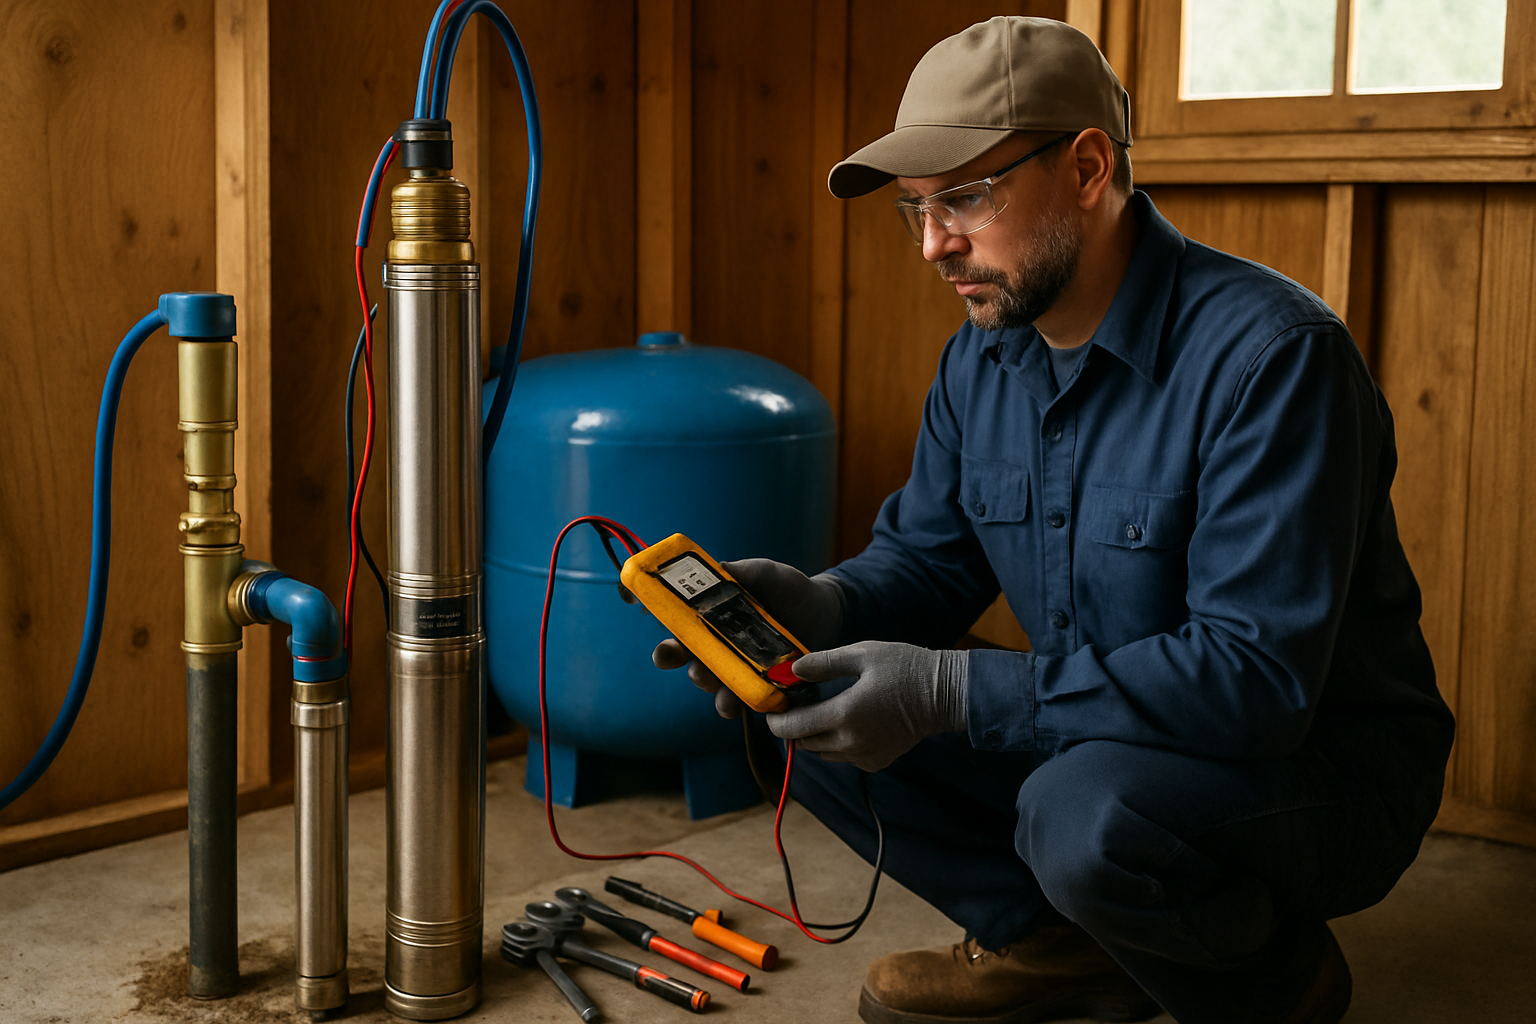
4. Electrical System Repairs
Why hire a pro:
- Well electrical systems involve high-voltage, high-amperage circuits
- Submersible pump connections are complex and must be waterproof
- Improper grounding creates lethal shock hazard
- Control boxes contain specialized components
- Permit and inspection requirements for repairs
- C-10 licensing required for electrical contractors
Diagnosing electrical faults, replacing control boxes, repairing pump wiring, or adding capacity all need professionals. Don't open control boxes unless you're a qualified electrician.
5. Pressure Tank Replacement
Why hire a pro (usually):
- Tanks are heavy (80-120 gallon tanks weigh 400+ lbs when full)
- Plumbing connections must be leak-free and support tank weight
- Proper sizing requires flow calculations
- Electrical interlocks and safety switches may be involved
Very experienced DIY plumbers might tackle small tank swaps (20-40 gallon), but most homeowners should hire this out. Professional installation is $500-$1,200 including tank—cheap compared to flood damage from failed connections.
6. Troubleshooting Complex Problems
Some issues require diagnostic expertise:
- Intermittent failures (pump runs sometimes, not others)
- Low pressure despite new pump (could be well yield, line leaks, valve issues)
- Electrical tripping (overload, short, failing pump)
- Changing water quality (source tracking, aquifer issues)
- Unusual noises or behavior (cavitation, backflow, mechanical failure)
Professionals have testing equipment (amp meters, ohm meters, flow meters, downhole cameras) and experience to diagnose efficiently. DIY troubleshooting can waste money on wrong parts and miss dangerous conditions.
The Cost-Benefit Analysis of DIY Well Work
Where DIY Saves Real Money
- Monitoring and records: Free, prevents $500-$2,000 in avoidable service calls
- Pressure tank air maintenance: 30 minutes saves $150-$300 service calls, prevents pump damage
- Filter changes: $30 DIY vs. $100-$200 service call (save $70-$170 each time)
- Basic inspections: Catch small problems before they become expensive emergencies
Annual DIY savings potential: $300-$800
Where DIY Costs You Money
- Botched pump work: Damaged well, wrong pump selection, code violations ($5,000-$15,000 to fix)
- Electrical mistakes: Fried pump ($1,500), fire damage (insurance denial), injury
- Improper repairs: Bandaids on real problems lead to bigger failures
- Missed permits: Cannot sell property, must retroactively permit and inspect ($1,000-$5,000)
How to Work Effectively with Well Professionals
Even when hiring pros, your DIY efforts add value:
- Provide good information: Your monitoring logs help contractors diagnose faster
- Prepare the site: Clear access, make components accessible (saves billable time)
- Ask to observe: Many contractors will explain their work—you learn for future reference
- Request documentation: Well logs, pump specs, service records help future DIY monitoring
- Understand the system: Ask about maintenance tasks you can safely handle
Building Your DIY Well Maintenance Toolkit
For safe, effective DIY well maintenance, keep on hand:
- Tire pressure gauge: For tank air charge ($10)
- Notebook or app: Record-keeping (free)
- Flashlight: Inspections ($15-$50)
- Water test kits: Basic screening ($20-$50)
- Filter wrench: If you have cartridge filters ($15-$30)
- Replacement filters: Keep spares for your specific system
- Basic hand tools: Adjustable wrench, screwdrivers (most homeowners have)
- Camera/phone: Document conditions, take photos for professionals
- Emergency water: 10-20 gallons stored for outages
Total investment: $100-$200 for well-equipped DIY maintenance kit
Frequently Asked Questions
What well maintenance can I do myself?
Safe DIY tasks include: checking pressure tank air charge, testing water quality with home kits, monitoring water levels and flow, inspecting visible components for damage, maintaining wellhead cover and seal, recording pump performance data, and replacing basic filtration cartridges. These require no specialized tools or licenses.
What well work requires a professional?
Always hire licensed contractors for: pump replacement or repair, any work inside the well, electrical system work, well drilling or deepening, pressure tank replacement, control system repairs, troubleshooting complex issues, and anything requiring permits. These involve safety risks and California licensing requirements.
Can I replace my own well pump?
No. Well pump replacement requires specialized equipment, California contractor licensing, and permits. Improper installation can damage the well, create electrical hazards, or violate codes. Submersible pumps hundreds of feet deep require professional rigging and safety equipment.
How much money can I save with DIY well maintenance?
DIY maintenance can save $200-$500 annually by avoiding service calls for simple tasks like pressure tank checks, basic inspections, and filter changes. However, DIY repairs gone wrong can cost thousands more than hiring professionals initially. Focus DIY efforts on monitoring and prevention.
What tools do I need for basic well maintenance?
Essential DIY tools include: tire pressure gauge (for tank air charge), flashlight, notepad for logging, water test kits, measuring tape, and basic hand tools. Specialized equipment like well sounders, pull equipment, or electrical testers should be left to professionals.
The Smart Homeowner's Approach
The best well maintenance strategy combines DIY monitoring with professional expertise for repairs. You become the eyes and ears of your system, catching problems early and keeping detailed records. Professionals provide specialized skills, equipment, and licensing for repairs and major work.
Partner with Well Professionals Who Respect DIY Homeowners
See our maintenance programs and pump services.
Call us today at (760) 440-8520
Serving San Diego, Riverside, Imperial, and San Bernardino Counties
Related Articles
Continue learning about well maintenance and troubleshooting