Tank Tee Setup: Proper Pressure Tank Plumbing Configuration

The tank tee is the nerve center of your well system—it's where pressure is measured, the pump is controlled, and water is distributed. Get it wrong, and you'll have problems. Here's how to set it up correctly.
📋 In This Guide
What Is a Tank Tee?
A tank tee is a specialized plumbing fitting that connects your pressure tank to the rest of the water system. While it looks simple, the tank tee serves several critical functions:
- Connects the pressure tank to supply and distribution piping
- Provides mounting points for the pressure switch and gauge
- Ensures accurate pressure sensing by positioning controls at the tank
- May include relief valve, drain valve, and check valve ports
Why "At the Tank" Matters
The pressure switch must sense actual tank pressure—not pressure affected by flow through pipes. When water flows, friction creates pressure drop. If your switch senses pressure in a flowing line instead of at the tank, it may:
- Turn the pump on too soon (pressure reads lower than actual)
- Turn the pump off too late (overshooting cutoff pressure)
- Cause erratic cycling
- Damage the pump over time
Tank Tee Components
Standard Tank Tee Features
A typical tank tee includes:
| Port | Purpose | Typical Size |
|---|---|---|
| Tank connection | Connects to pressure tank | 1" or 1-1/4" |
| Supply/inlet | Water from well | 1" or 1-1/4" |
| Distribution/outlet | Water to house | 1" or 1-1/4" |
| Pressure switch port | Mounts pressure switch | 1/4" NPT |
| Gauge port | Mounts pressure gauge | 1/4" NPT |
| Relief valve port (some) | Pressure relief | 3/4" NPT |
| Drain port (some) | System drain | 1/4" or 3/4" |
Types of Tank Tees
Basic Tank Tee
Simple cross or tee fitting with 1/4" ports for switch and gauge. Most common for residential systems.
Tank Tee with Integral Check Valve
Includes a built-in check valve to prevent backflow from the tank to the well. Useful when a check valve isn't installed at the wellhead.
Union Tank Tee
Includes union connections for easy tank removal without cutting pipes. Recommended for serviceability.
Tank Tee with Sampling Port
Includes a dedicated port for water testing samples. Required in some jurisdictions for periodic testing.
Proper Installation Layout
Recommended Flow Path
Water should flow through the system in this sequence:
- Well/Pump → supply line from the well
- Check valve → prevents backflow to well (if not at wellhead)
- Tank tee inlet → water enters the tee
- Pressure tank → connected to tee, stores water under pressure
- Tank tee outlet → water exits to house
- Shutoff valve → isolation for service
- Distribution → to house and treatment equipment
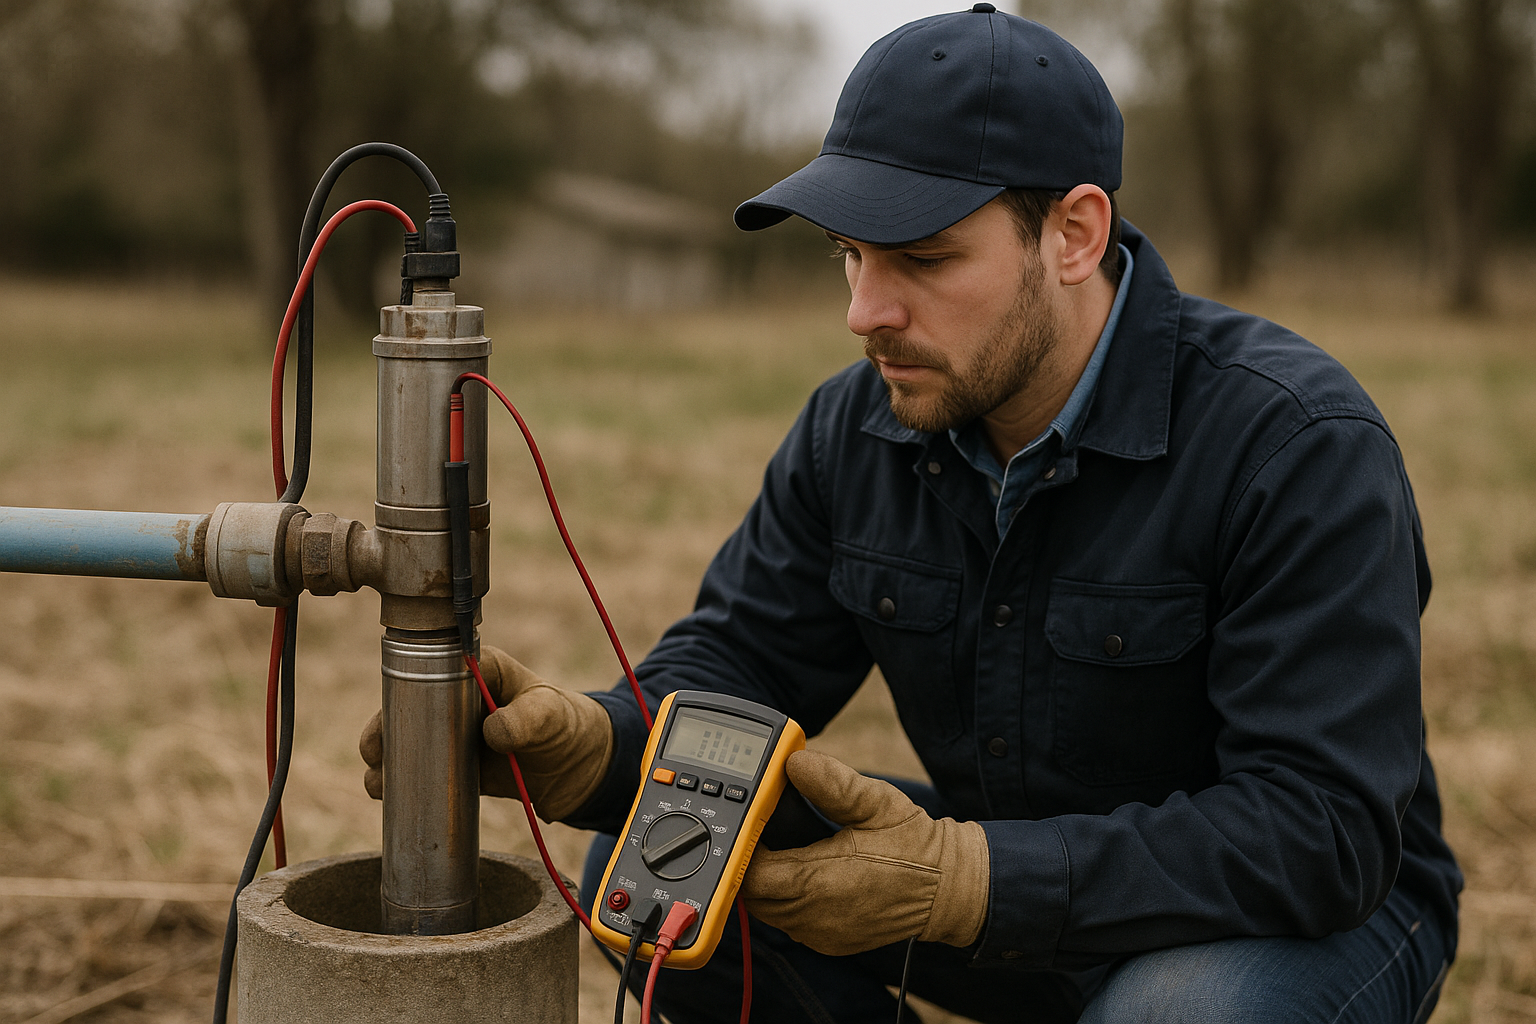
Pressure Switch Placement
The pressure switch connects to a port on the tank tee that's:
- Not in the direct flow path
- Connected to the tank side of the tee
- Oriented to allow moisture to drain (prevents switch damage)
The switch should be positioned so the diaphragm points downward or horizontal—never with the sensing port facing up where water can collect.
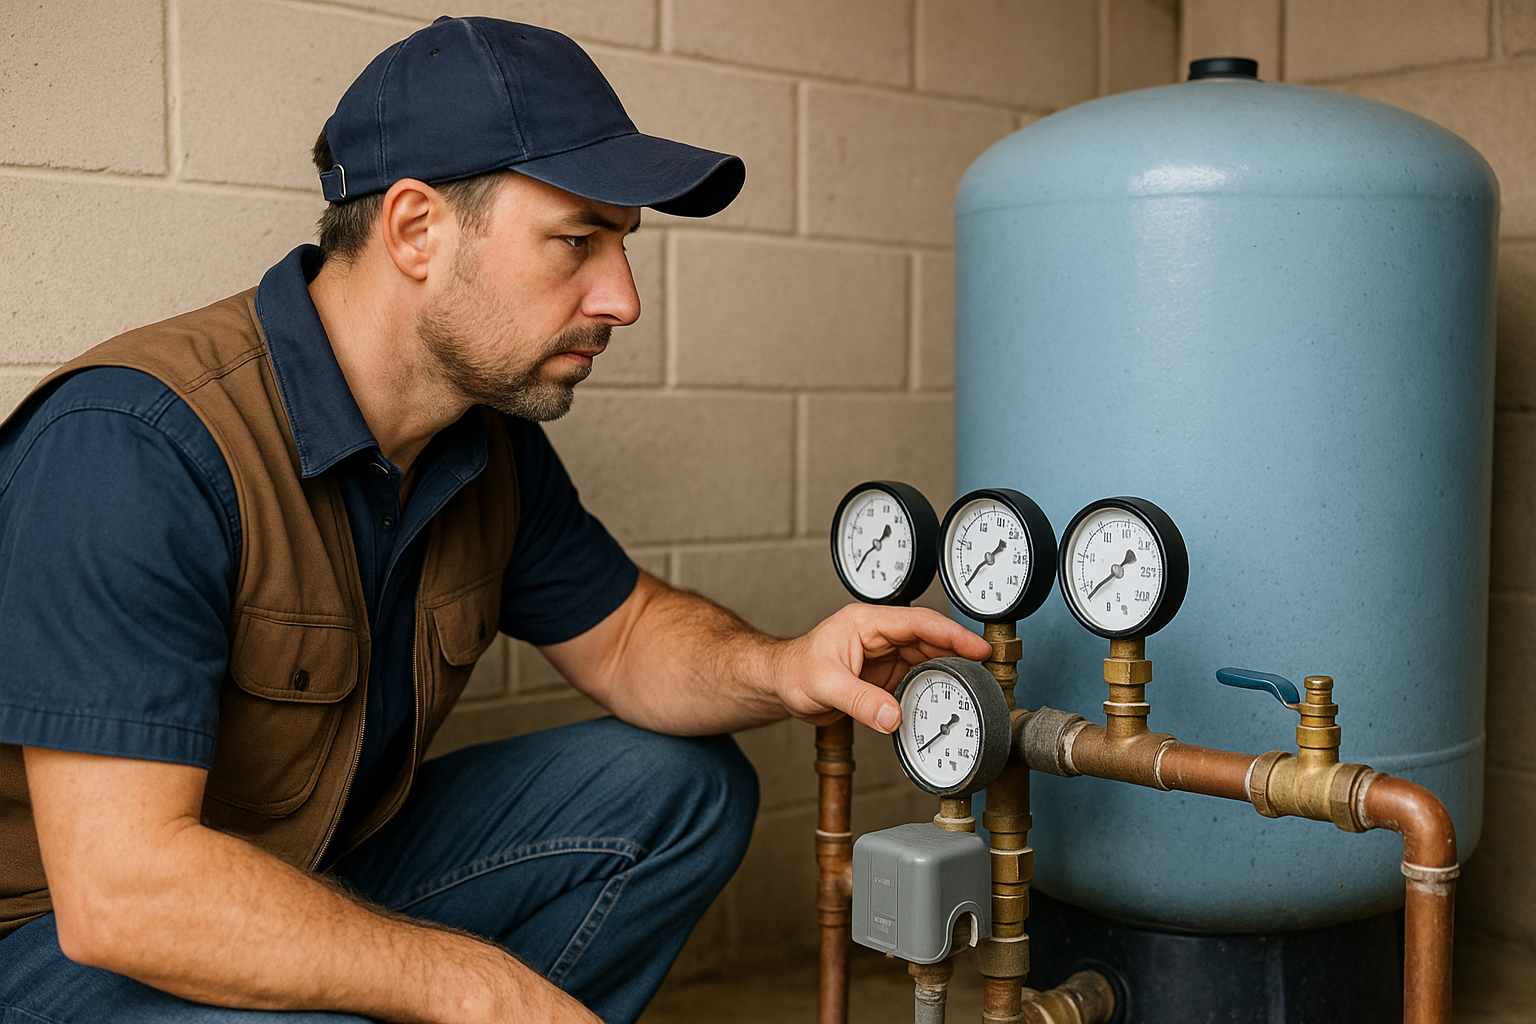
Pressure Gauge Placement
Install the gauge where you can easily see it. Many tank tees have a dedicated gauge port. The gauge should:
- Be visible without bending or crouching
- Have a shutoff cock for easy replacement
- Match the system's pressure range (0-100 psi typical)
Common Installation Mistakes
1. Pressure Switch Not at Tank
Installing the pressure switch on a pipe away from the tank causes inaccurate pressure readings during flow. The switch may short cycle the pump.
Fix: Always mount the switch on the tank tee or directly on the tank fitting.
2. Check Valve in Wrong Location
Installing the check valve downstream of the tank tee (between tee and house) traps pressure in the tank when the pump stops. This causes:
- Tank can't fill properly
- Pump runs against closed system
- Possible pump damage
Fix: Check valve goes upstream of the tank tee (between well and tee), or use a tank tee with integral check valve.
3. Undersized Piping
Using smaller pipes than the tank tee's rated size creates restrictions that:
- Reduce flow capacity
- Cause pressure drops during high demand
- Make the system work harder
Fix: Match pipe size to tank tee size throughout the system.
4. No Unions for Service
Hard-piping everything makes tank replacement a nightmare. You'll have to cut pipes to remove the tank.
Fix: Install a union between the tank tee and tank, and consider a union tank tee design. See our union fittings guide.
5. Pressure Switch Tube Too Long
Using a long tube or nipple between the tank tee and pressure switch creates a "dead leg" where water can stagnate and corrode the switch.
Fix: Keep the connection as short as possible—directly to the tee is best.
6. Inadequate Support
The tank tee and connected piping carry significant weight and stress. Without proper support:
- Joints can fail
- Pipes can move and vibrate
- Tank connection can crack
Fix: Support pipes within 12" of the tank tee. Use hangers or straps rated for the pipe material and water weight.
Sizing Your Tank Tee
Tank tee size should match your system's pipe size and flow requirements:
| Home Size / Flow | Pipe Size | Tank Tee Size |
|---|---|---|
| Small home, 1-2 bath | 3/4" - 1" | 1" |
| Average home, 2-3 bath | 1" - 1-1/4" | 1-1/4" |
| Large home, 3+ bath | 1-1/4" - 1-1/2" | 1-1/4" to 1-1/2" |
| Commercial/agricultural | 1-1/2" - 2" | 1-1/2" to 2" |
Don't undersize—a restricted tank tee creates a bottleneck that affects the whole system.
Tank Tee Materials
Brass
- Pros: Durable, corrosion-resistant, traditional
- Cons: Higher cost, may contain lead in older fittings
- Best for: Most residential applications
Stainless Steel
- Pros: Very durable, completely corrosion-resistant
- Cons: Highest cost
- Best for: Corrosive water, commercial applications
Plastic (Polypropylene/PVC)
- Pros: Lowest cost, no corrosion
- Cons: Can crack under stress, some pressure limitations
- Best for: Budget installations, non-potable systems
For potable water systems, ensure any brass fittings are lead-free (NSF/ANSI 61 certified).
Installation Steps
Basic Tank Tee Installation
- Turn off power to the pump and relieve system pressure
- Position the tank near its final location
- Apply thread sealant (Teflon tape or pipe dope) to all male threads
- Install the tank tee onto the tank fitting (hand-tight plus 1-2 turns)
- Connect supply pipe from well (with check valve upstream)
- Connect distribution pipe to house
- Install pressure switch on designated port
- Install pressure gauge
- Support all pipes adequately
- Turn on power and check for leaks
- Verify pressure settings match tank pre-charge
⚠️ Important: The pressure tank's air pre-charge must be set correctly before filling the system. Pre-charge should be 2 psi below the cut-in pressure. See our pressure tank guide.
Need Professional Tank Tee Installation?
We install and service pressure tank systems throughout San Diego County. Get it done right the first time.
Call (760) 440-8520Serving San Diego, Riverside & San Bernardino Counties
We install Well-X-Trol (Amtrol) and Flexcon pressure tanks — industry-leading bladder tanks that outlast standard diaphragm models. Proper sizing with a quality tank can double your pump's lifespan.
Frequently Asked Questions
- What is a tank tee?
- A tank tee is a pre-assembled fitting that connects the pressure tank to the water system. It typically includes ports for the pressure switch, pressure gauge, and sometimes a relief valve and drain. The tee design ensures the pressure switch senses actual tank pressure for accurate pump control.
- Where should the pressure switch be installed?
- The pressure switch should be installed on the tank tee, directly connected to the pressure tank. This location ensures it senses the tank's actual pressure rather than pressure affected by flow through pipes. Mounting it elsewhere can cause erratic pump cycling.
- Does it matter which port the pressure switch connects to?
- Yes. The pressure switch needs a port that isn't in the direct water flow path. On most tank tees, the side ports are designed for the switch and gauge. The inline ports connect to supply and distribution. Incorrect placement can cause pressure readings that fluctuate with flow.
- Can I install a tank tee myself?
- If you're comfortable with basic plumbing, a tank tee installation is achievable. However, mistakes can cause pump damage or system failures. Common DIY errors include wrong port assignments, inadequate pipe support, improper sealing, and forgetting to check tank pre-charge. When in doubt, hire a professional.
- Where does the check valve go in relation to the tank tee?
- The check valve should be installed upstream of the tank tee—between the well and the tee. This allows water to flow into the tank but prevents backflow to the well. Installing it downstream of the tank tee can trap pressure and prevent proper system function.
- What size tank tee do I need?
- Match the tank tee size to your main supply and distribution pipes—typically 1" for small homes, 1-1/4" for average homes, and 1-1/4" to 1-1/2" for larger homes. Don't undersize, as this creates a flow restriction.
Related Articles
Continue learning about well maintenance and troubleshooting
Low Water Pressure From Well: Complete Fix Guide
Diagnose and solve low pressure problems
Well Pressure Switch: Settings, Adjustment & Replacement
Everything about pressure switches
Pressure Tank Maintenance: Complete Guide
Keep your pressure tank working properly